For this practice, we have a Windows XP SP3 Operating System and Step5 Software Version 7.23 that can be run directly; with previous versions, it had to be executed in MS-DOS. It is also tested on a Virtual Machine installed on Windows 7.
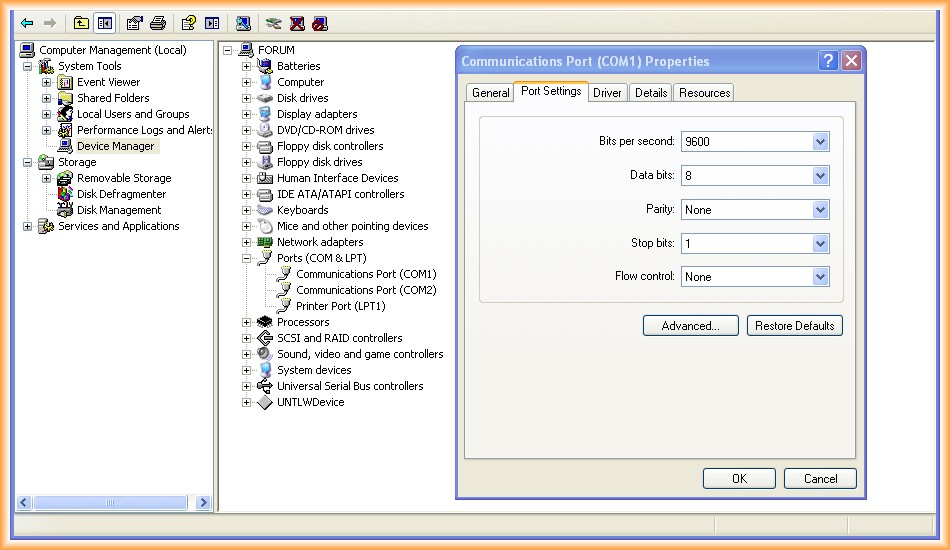
1.- Configuration of the COM port, for this we go to device manager and it is important to set the speed to 9600
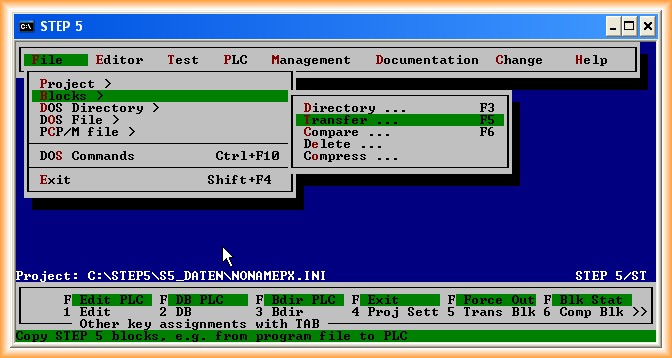
2.- We open Step 5 and this is the screen that appears at the start.
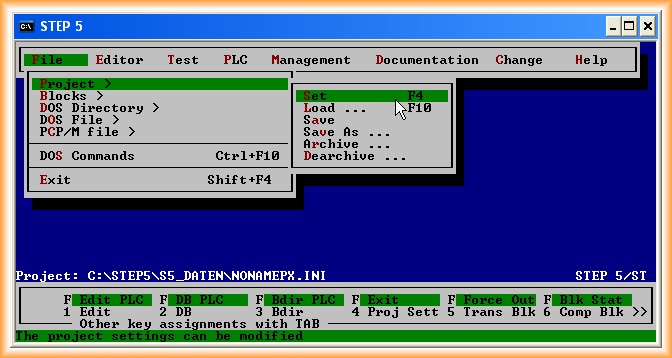
3.- We press F4 to enter the configuration, change the COM port if necessary; in this case, we leave it as is since ours is COM1
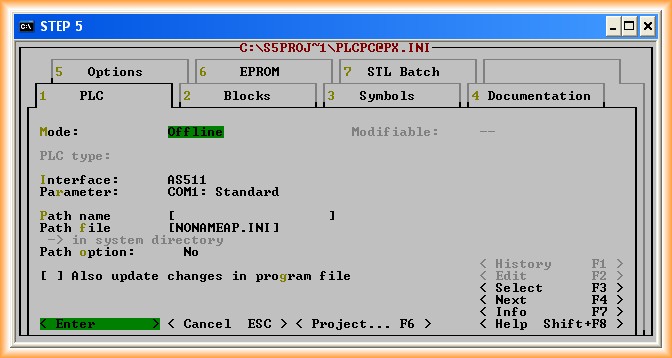
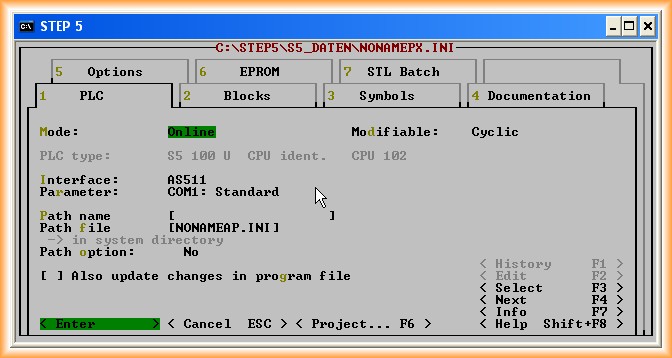
4.- We double-click on Offline and if the configuration is correct, we will switch to Online. To confirm the switch to Online, we accept by pressing Enter.
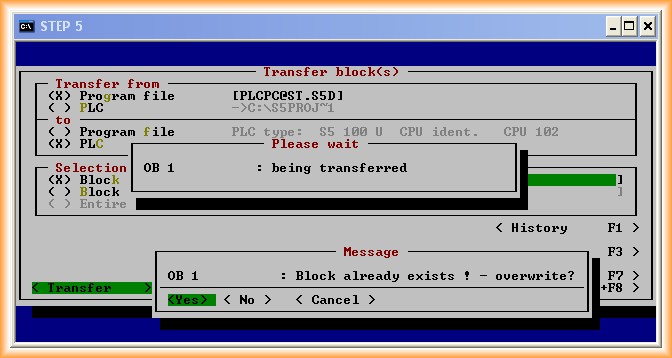
5.- Now we can transfer from PLC to PC or vice versa; for this, we go to File->Blocks->Transfer and the following image appears:
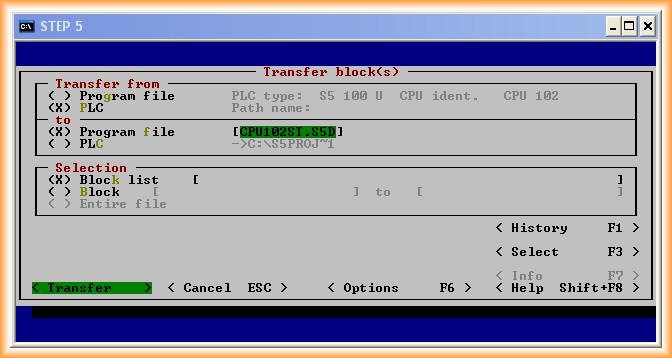
Select PLC to Program file, where we look for the directory and the name of the file where our copy will be saved.

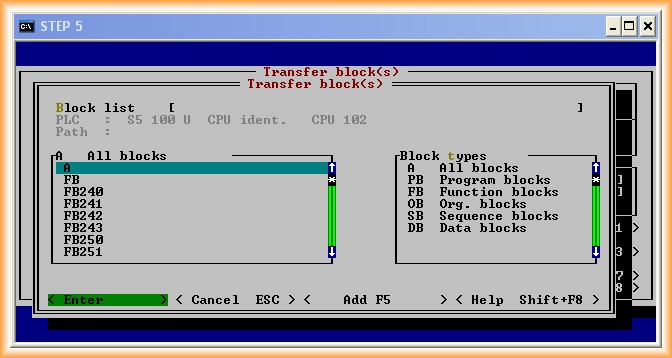
Next, we will specify which blocks we want to copy; if we want to make a complete copy, we will indicate A.
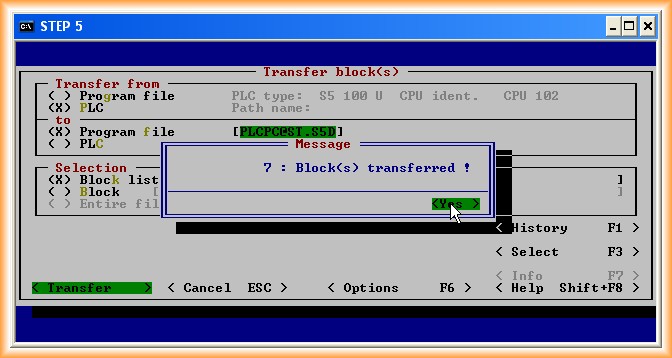
Once these steps are completed, we are ready to start the transfer; once transferred, a window will appear indicating the number of blocks that have been copied, confirm by pressing Yes, and the ESC key to go back.
We are now ready to view and modify the block that interests us.
Editor -> STEP5 Blocks (F1)
A window will appear where we will select the block we want to modify; once edited, we confirm the changes made and we can then transfer them to our PLC.

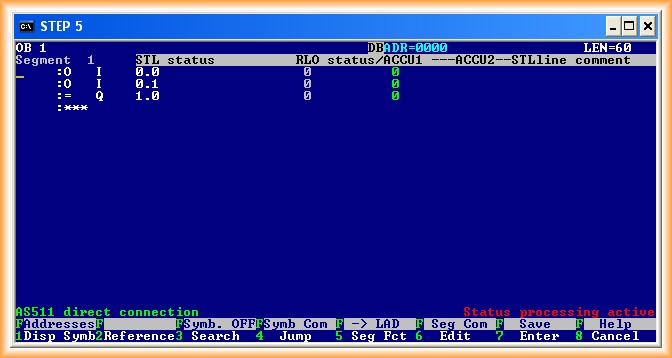
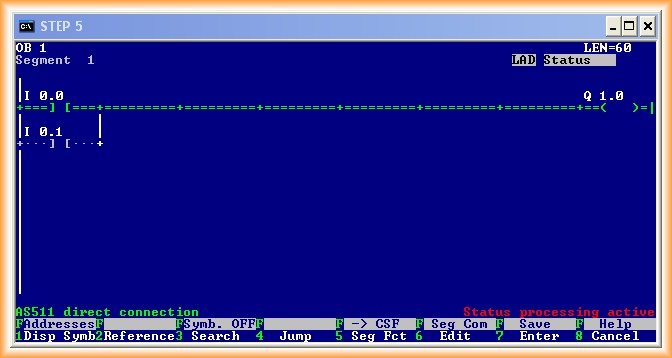
Now we just need to visualize the execution of the program; we go to:
Test -> Block Status
Select the Block we want to visualize Online and that's it.
July 2012