In this first practice, I will configure the CX-Simulator to check our program in the CX-Programmer.
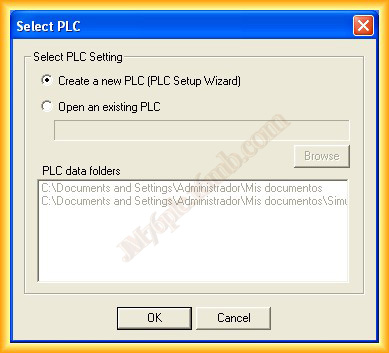
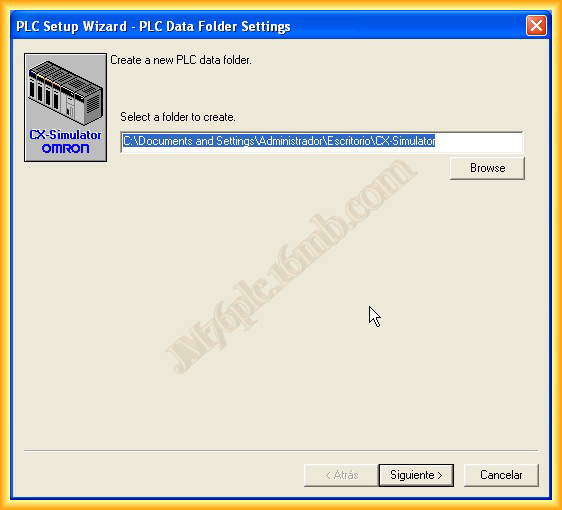
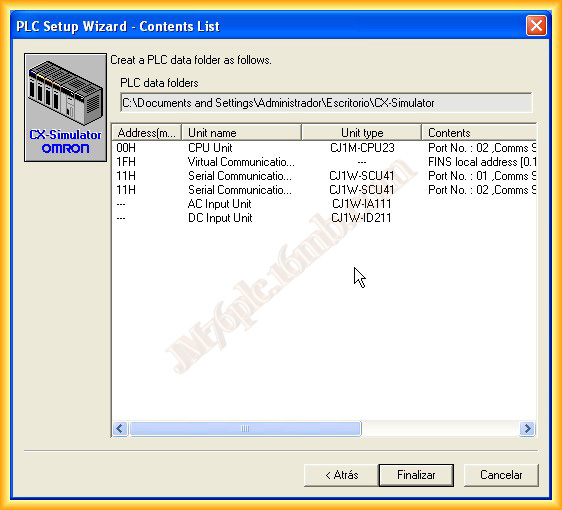
1.- We run the CX-Simulator and create a new PLC with the wizard, specifying the directory where the necessary files will be created
2.- The next step is to select the type of CPU; I have selected a CJ1M-CPU23.

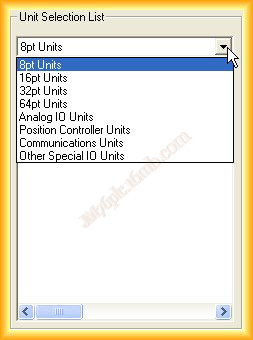
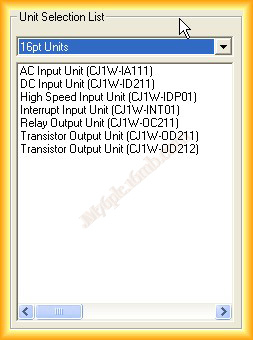
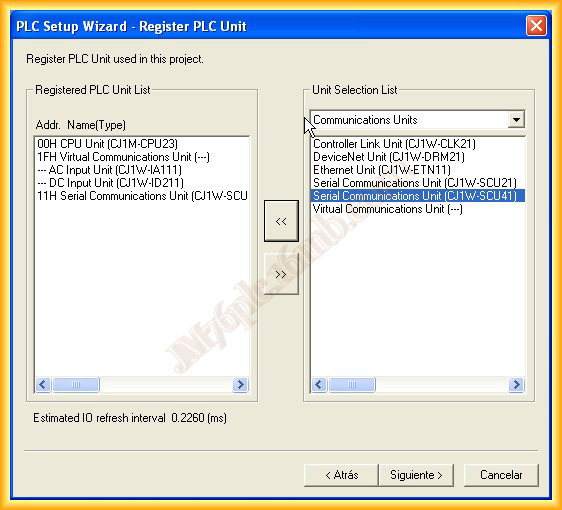
3.- The next step is to select the modules that our PLC will have; we can select from the different types and add them according to our needs by clicking on the << icon to add and >> to remove.
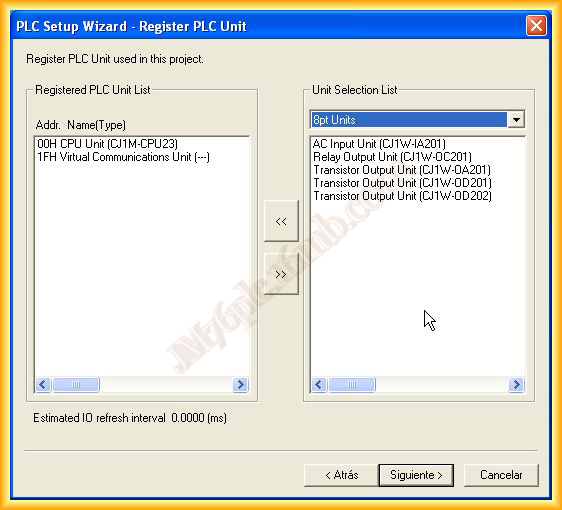
4.- Once all modules have been added, we continue with the wizard by clicking next.
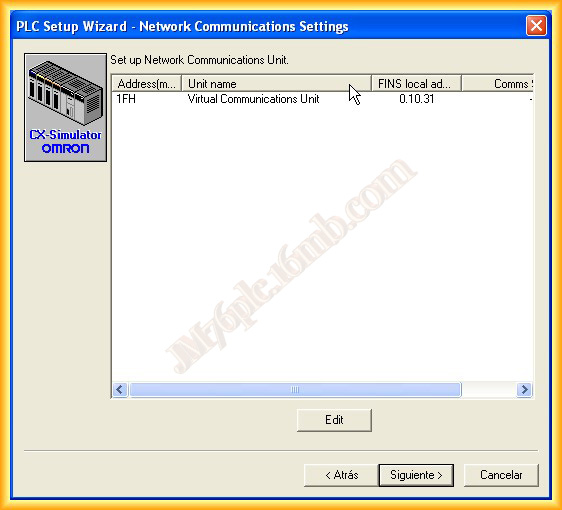
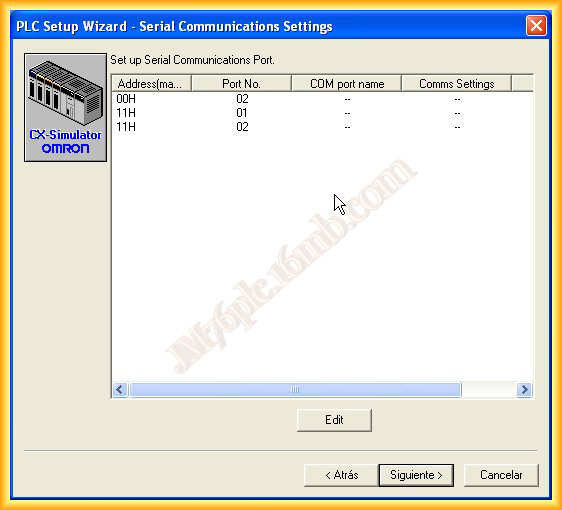
5.- The following screens can have their values left as default; for simulation operation, it is not necessary to modify them.
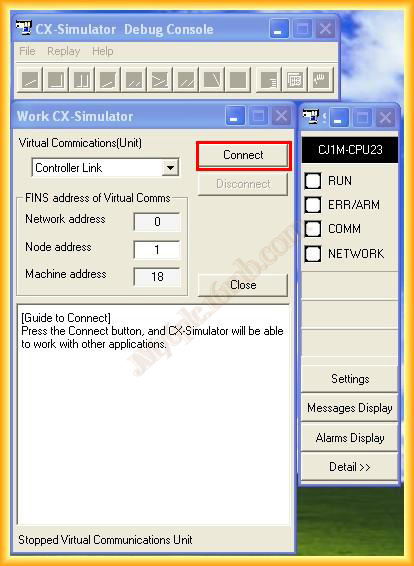
6.- With these steps, we have finished configuring the virtual PLC; now we click on Connect and it will be ready to operate.
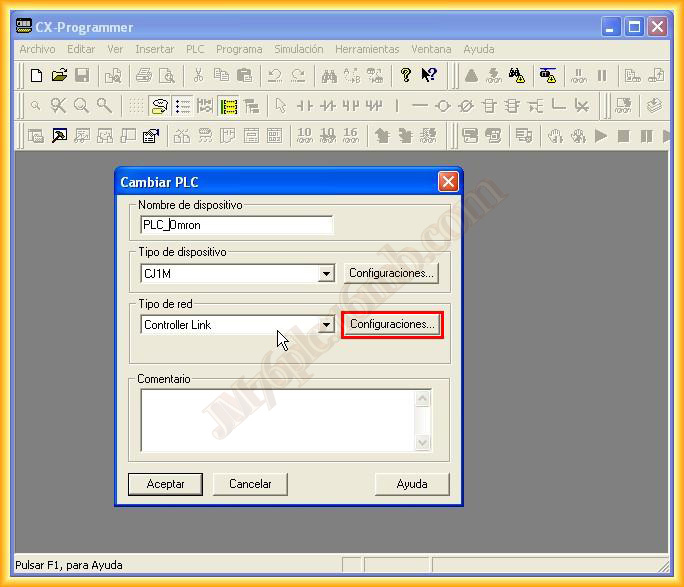
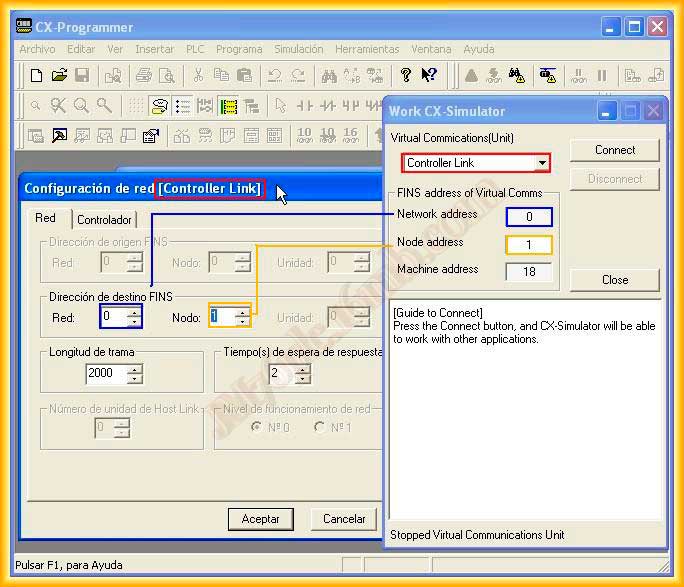
7.- Now we open our project in CX-Programmer or create a new one; if we create a new one, select the same CPU that was used when creating the Virtual PLC and in the network type, click on configuration to set the same parameters as those in the Simulator.
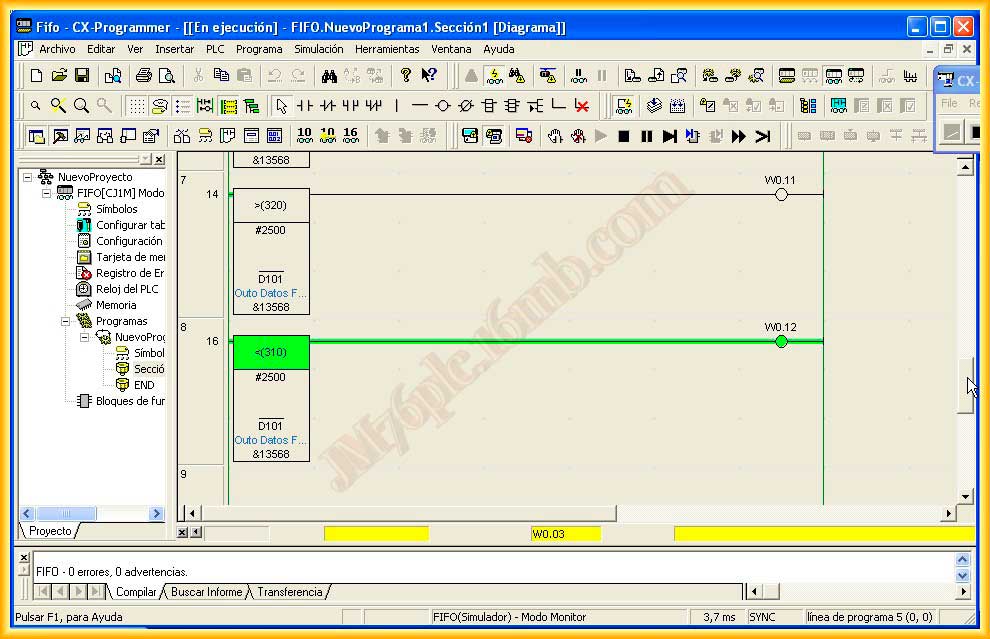
8.- Once opened, to start the simulation, we go to the simulation tab and click on connect with Online Simulator and the PLC goes into Run mode.

9.- We can now check our project, force variables, observe the program, etc...
September 11, 2012