In this practice, we will see how to convert our PC into a PLC. For this, the software we will use is WinAC RFX from Siemens, which will automatically convert our PC into a PLC that, if I remember correctly, will be equivalent to having a CPU 315.
However, we cannot connect an input and output module to the PC; for that, we need to add a CP (Communication Processor) and specify which buses we will work with. For example, I will work or do practices with a CP 5611, which means my PC is equipped with MPI/Profibus, allowing me to access the decentralized peripheral and also with an Ethernet CP. Although this practice will be the introduction.
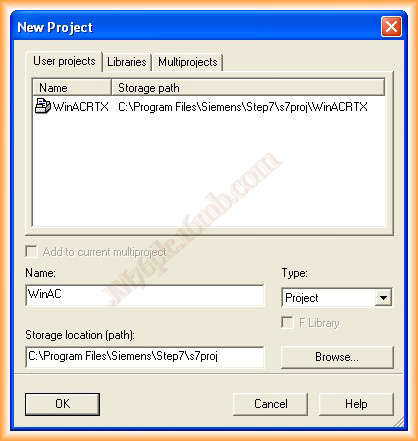
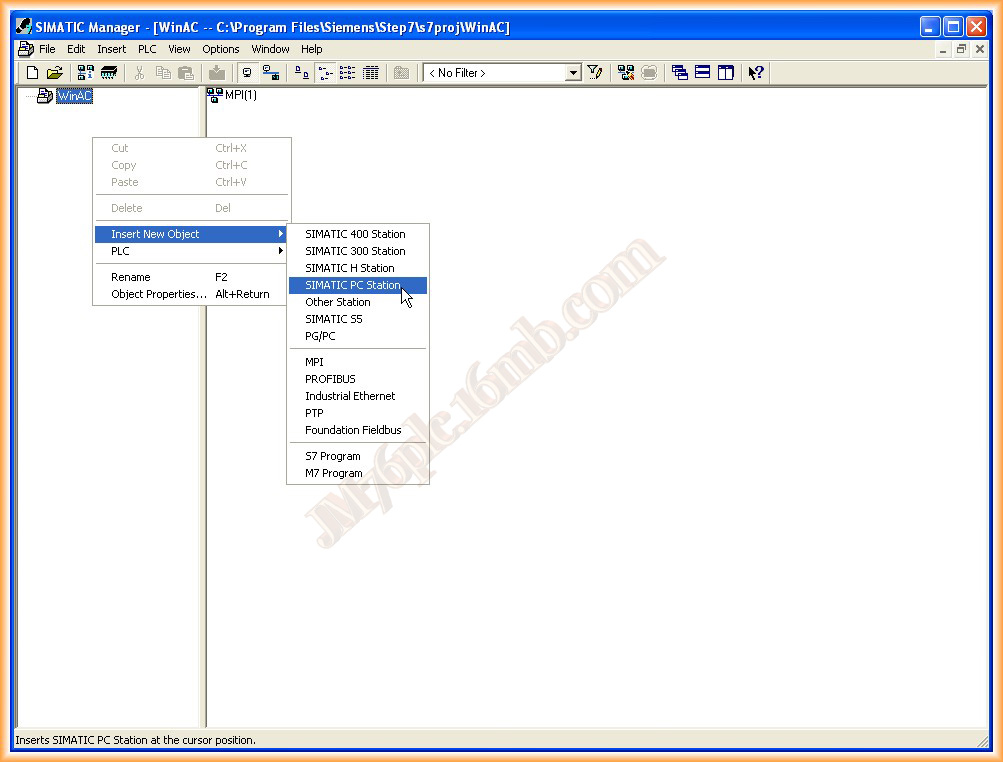
The first thing we will do is create a new project, specify the name we are interested in, and then we can insert SIMATIC PC Station into our project, which will be our PC.
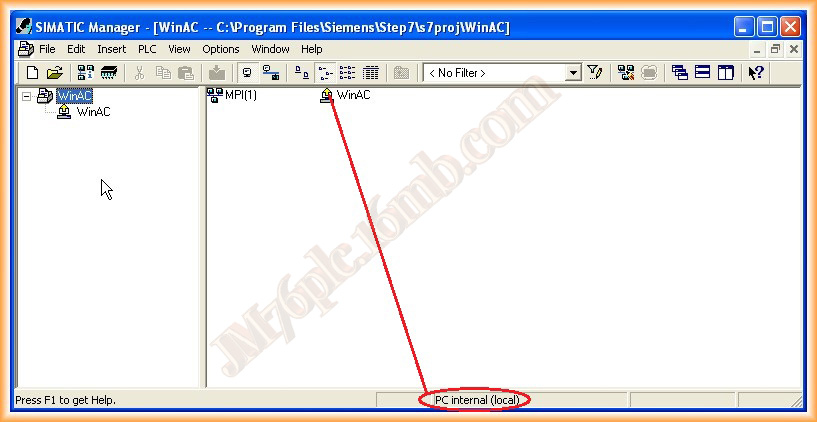
As can be seen, a yellow arrow appears, indicating that the interface setting is selected as PC internal (local), which is the type we need to transfer and load our configuration to the PC.
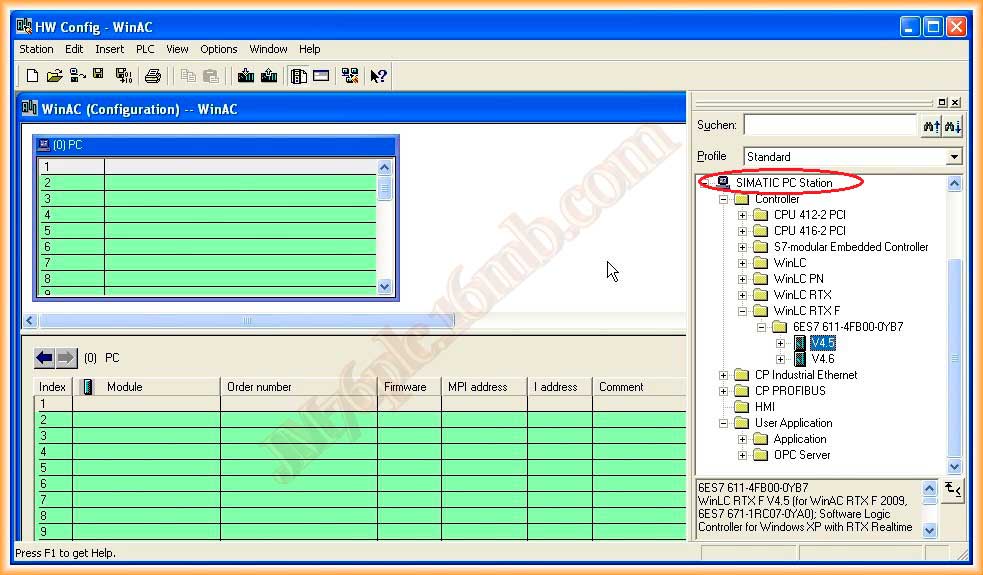
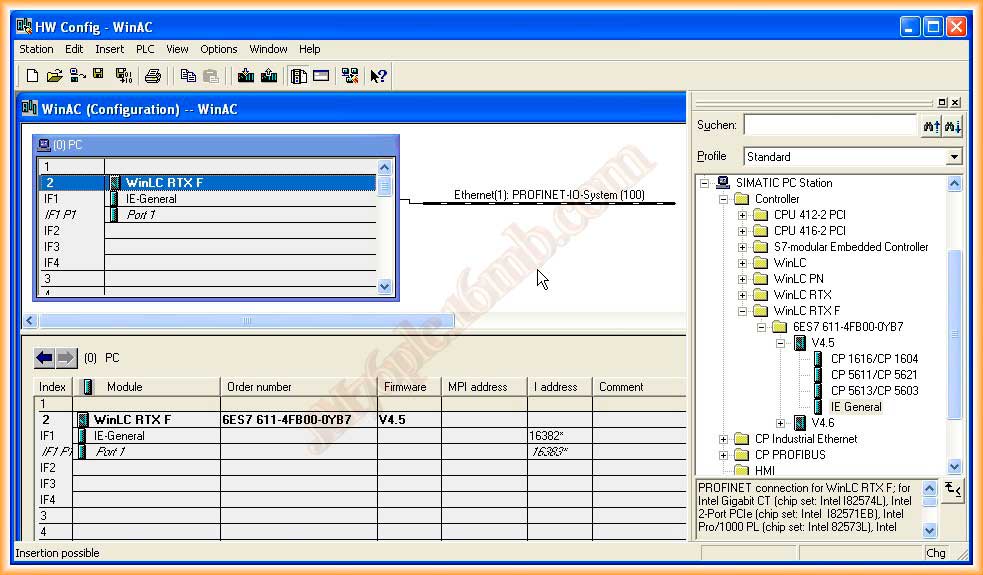
Now we will configure the hardware. We go to our catalog, expand the SIMATIC PC Station, and select depending on the software we will use. In this example, I will use version 4.5, select it, and drag it.
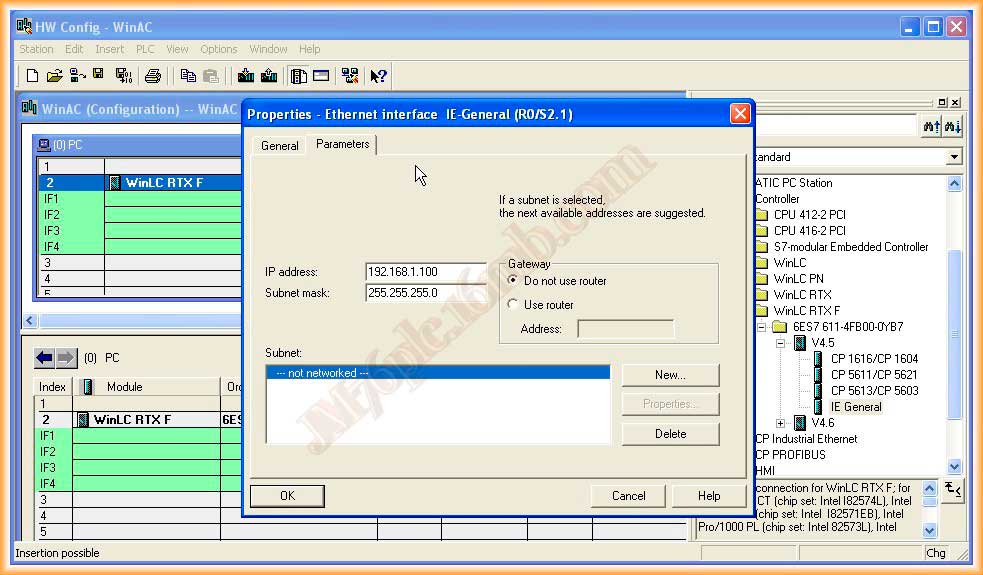
I will also provide it with an Ethernet port and will use the IE General. Important note: not all network cards can be included as IF, please consult the manual! I assign its IP address, subnet mask, and click New to add it.
At this point, I already have a Controller with an included Ethernet port. We will differentiate between CPUs that come with their Ethernet port included and a CP 343 Ethernet. In this example, the Ethernet port is as if it were part of the controller and not as a CP.
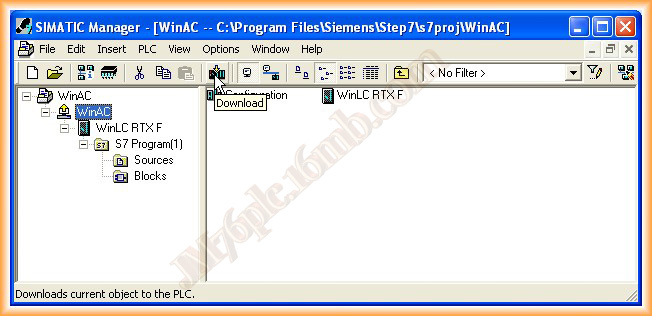
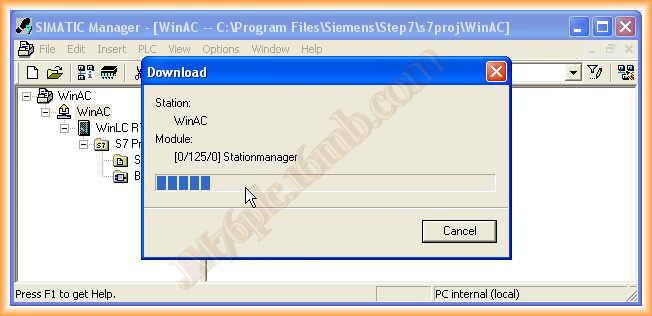
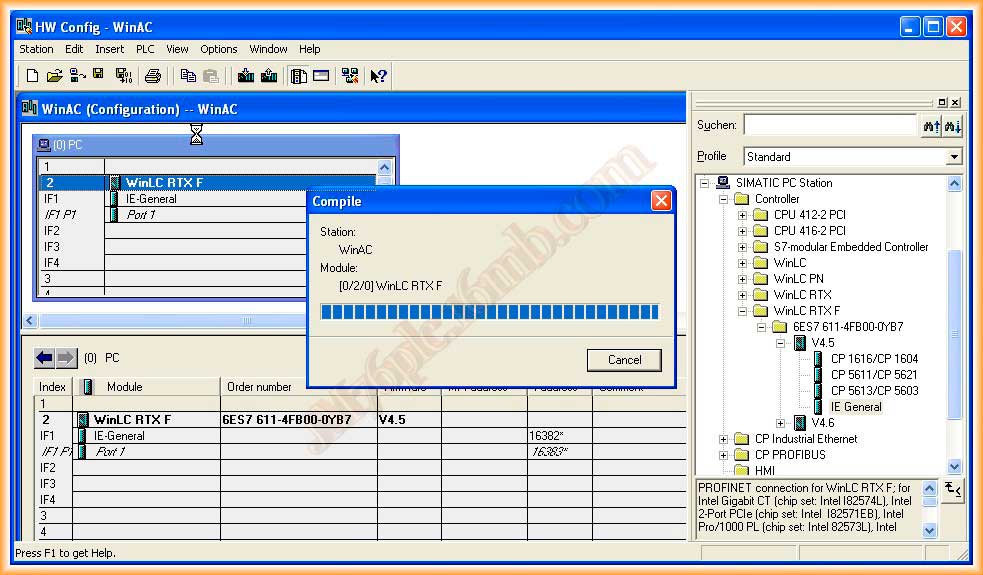
Next, I can save and compile. If there have been no errors, the transfer can be made, and the configuration can be loaded, as has been the case here.
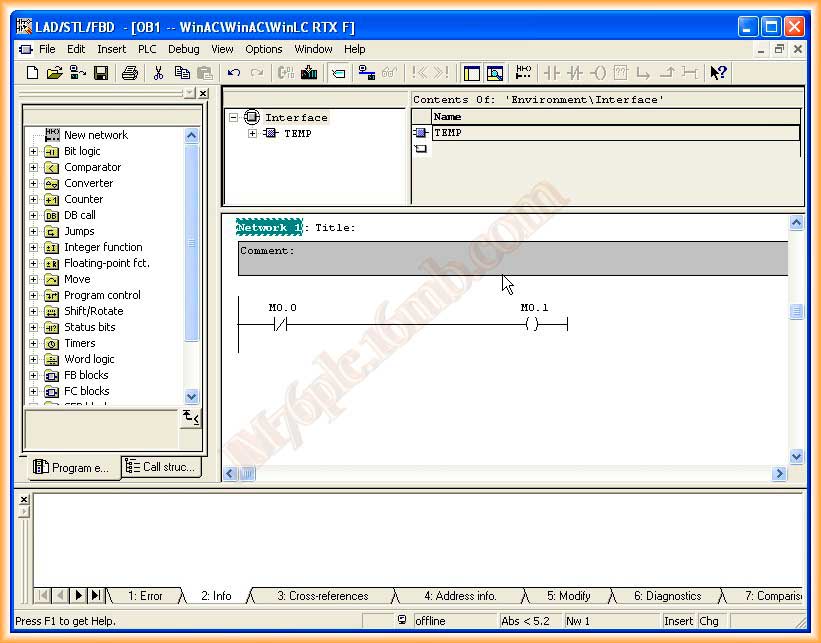
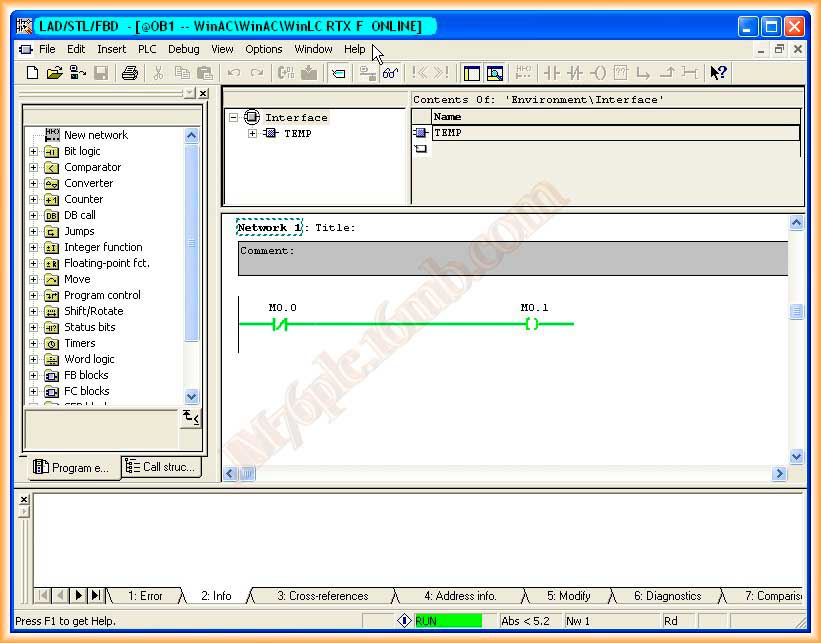
We can now deploy our Controller, and it appears as if it were a normal PLC, with a directory for blocks and another for sources, everything normal. Since this first practice is an introduction, we open our OB1 and insert a segment to check its functionality; we will work with internal markers since we have not yet configured decentralized peripherals.
We create all the OBs and necessary Functions...
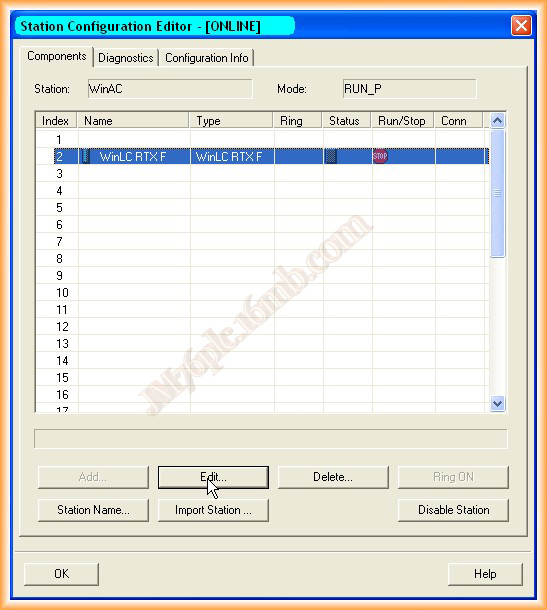
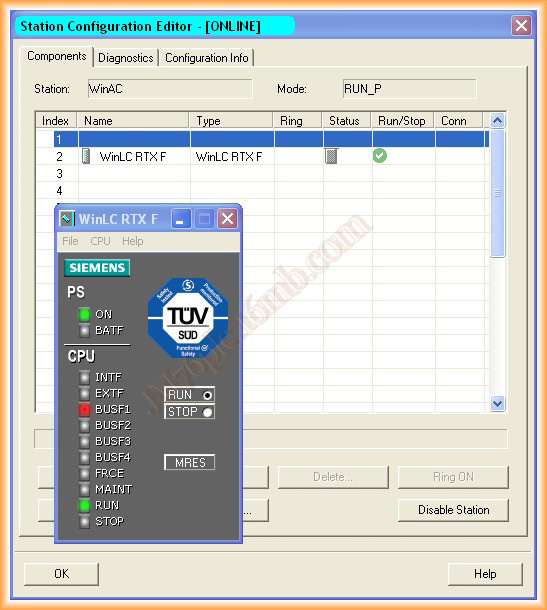
With the installation of WinAC, the Station Configuration Editor component has been installed, which is used to apply the same configuration that we perform on the hardware of our project; it must match, and in fact, some components were inserted when the hardware was configured. However, if we perform this configuration first, when we configure the hardware in the SIMATIC manager, we must keep in mind to maintain the same arrangement of all components.
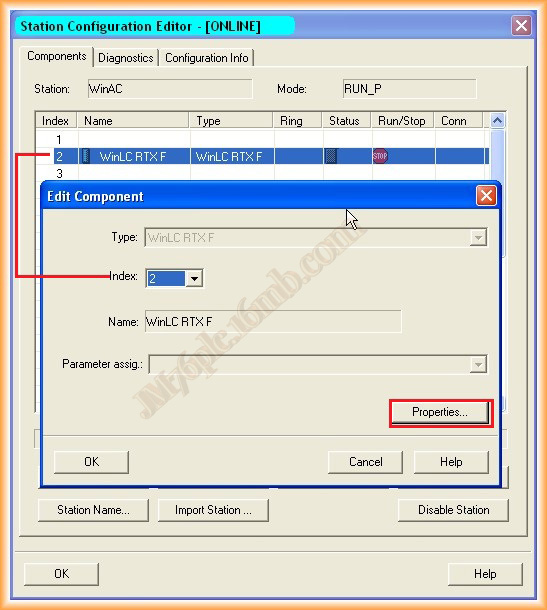
In Rack number 2, the WinLC RTXF controller was inserted, and if we analyze its properties in the submodules tab, we will see our network card.
NOT ALL NETWORK CARDS CAN BE INSERTED IN THE SUBMODULES, PLEASE CONSULT THE MANUAL.
With these simple steps, we can now transfer our project and check the results.
We can now put our CPU in RUN and observe the execution of our program. Like any CPU, if there is an error, it will also indicate it and has its reserved area for log files.
We open our OB1, and to check its operation, we go Online and observe our program, although there is little to observe here.
November 21, 2012