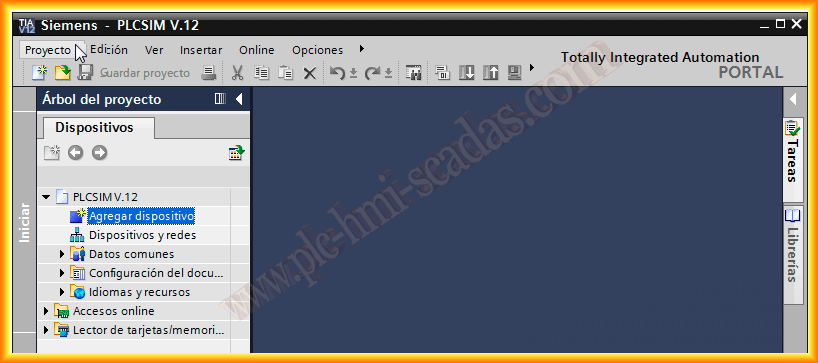
With the advancement of TIA Portal V.12, it is now possible to simulate the 1500 series. In this practice, we will see how to start the simulator and load our program.
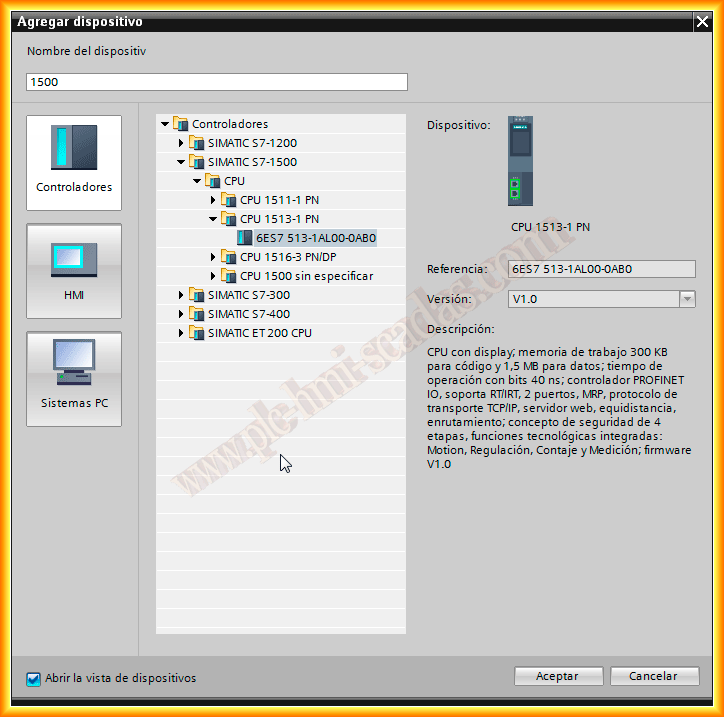
We will create a new project; the first thing we do is add a new device and select a CPU from the 1500 series.
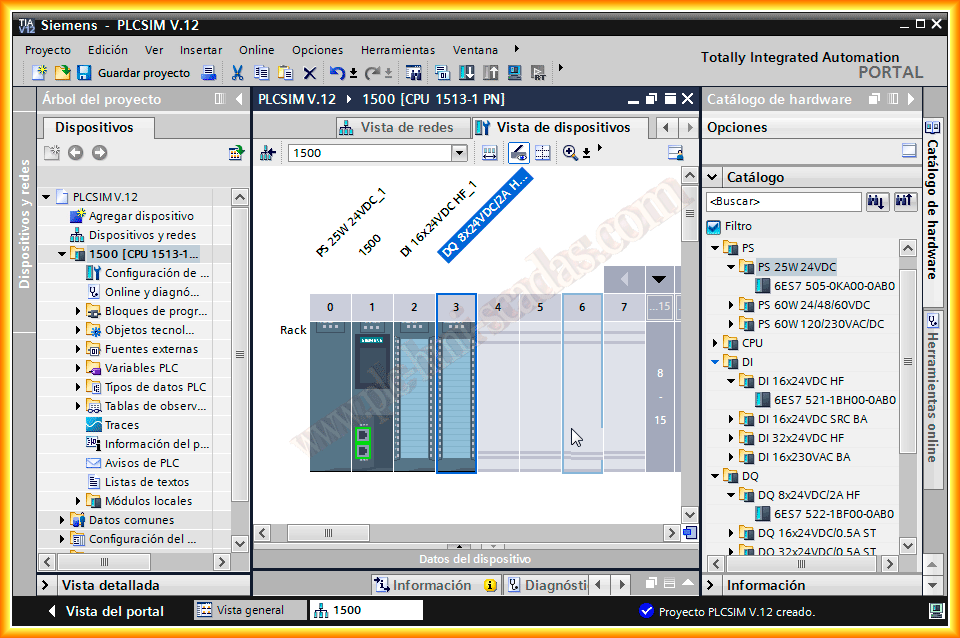
Once added, the next step is to configure the hardware. For this, we drag the modules we have or the necessary ones for our simulation project from the Catalog to our rack.
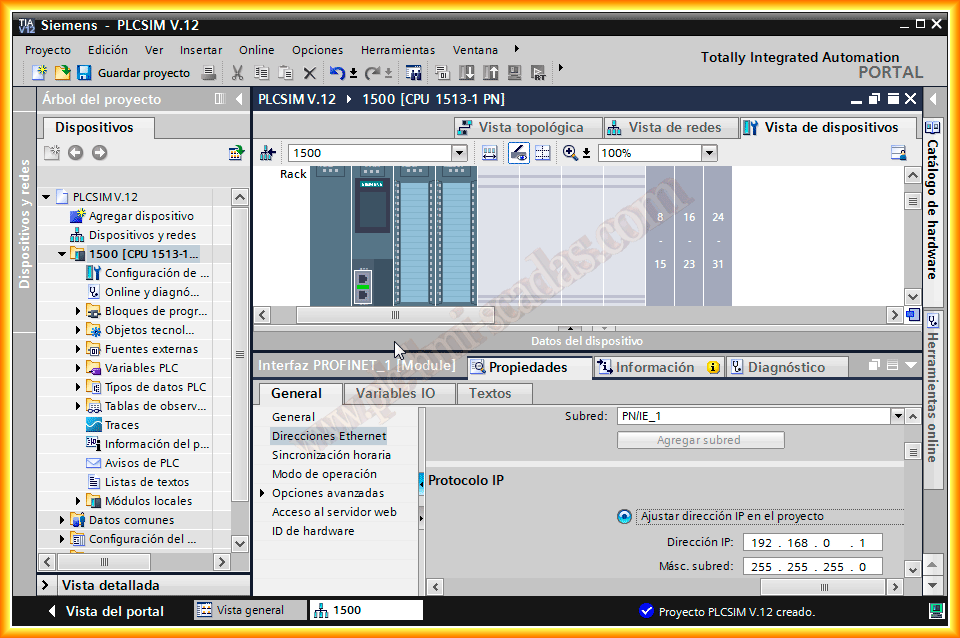
Once the modules are added, what we will do is add our PLC to a subnet and assign it an IP address, which is necessary for the simulation. If we click on the Ethernet port, the properties will open to make the necessary changes.
With the previous steps, we would have our hardware configured. Now we will configure our software; since it will be a simple test, we will insert a simple segment in OB1.

We assume that the program we want to test has been created in the software, and we will proceed to start the simulation. There are several methods to start it, either by the top icon, through the menu bar, or as shown, right-clicking on the CPU and starting the simulation.

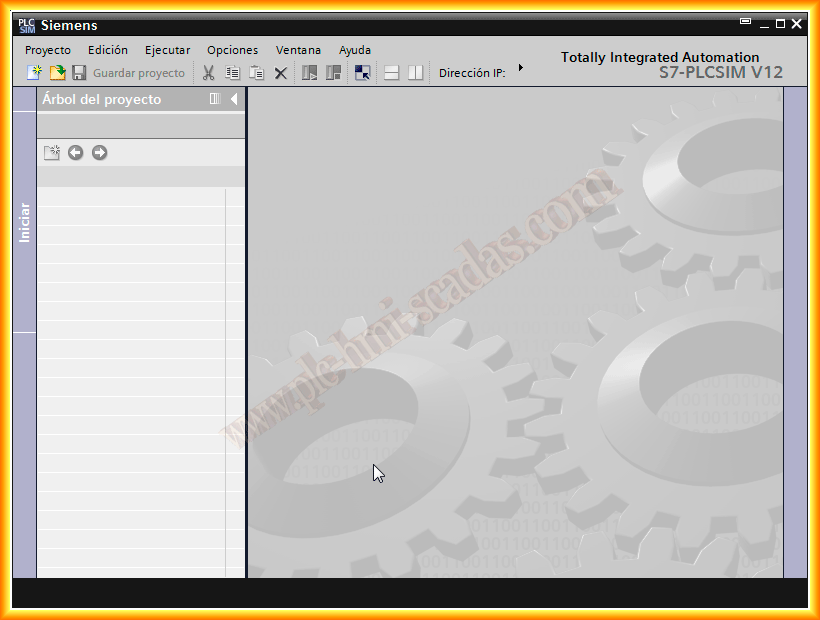
When starting the simulation, PLCSIM v.12 is executed. We create a new project by giving it a name of our choice, and this is the interface that is displayed.
There is also the possibility of having started PLCSIM and created a project by configuring the hardware we have, but in this case, this option has not been used.

The next step is the configuration of the medium used for the transfer. We select PN/IE and as the interface as shown. Since we have added our PLC to a subnet, we select this in the Connection with subnet. It will automatically detect our PLC, and we can click on load.

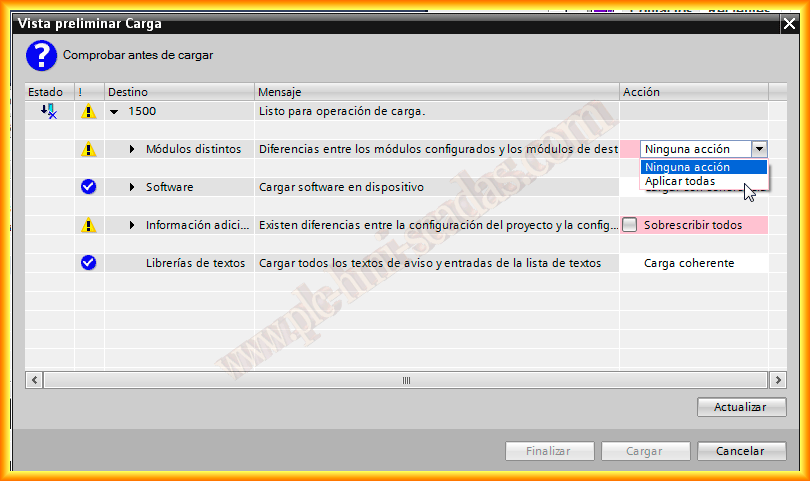
Before loading, the compilation of the configuration we have made is initiated, and one of the warnings alerts us that the configured modules and the target modules are different. This is because we have not previously configured the hardware in PLCSIM, so we select apply all.

It is also necessary to select the checkbox to overwrite the configuration. Once done, the warnings have been resolved, and the configuration is loaded.
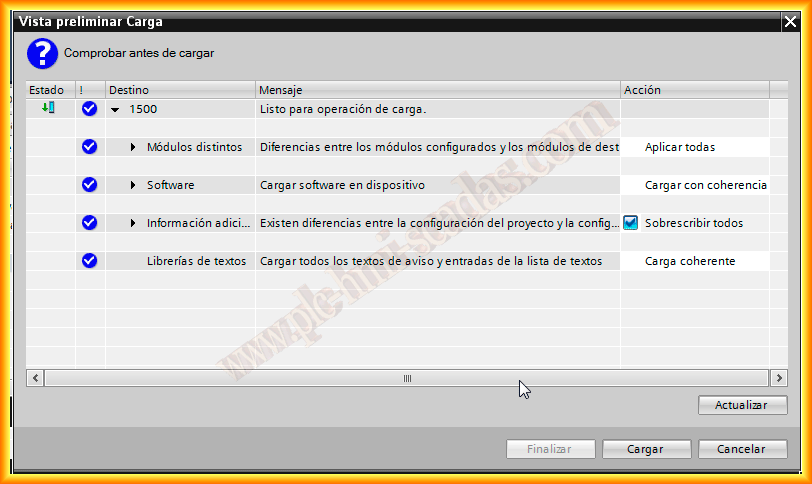

To finish, we select start all and initiate as observed, and the finish button. With this, we have completed loading our project and started PLCSIM.

Now, if we click on device configuration in PLCSIM, we will see that both the CPU we configured and the input and output modules have been loaded.
With the SIM tables, we can force the values we are interested in for our program.

And if we return to our program and go online, we can observe our program and its execution as we force values directly or with the SIM tables from PLCSIM.

April 29, 2013
If you liked it or found it useful, share it...