KepServer Configuration with SoftLogix5800
KepServer Configuration with SoftLogix5800
Today’s practice will be conducted using SoftLogix; this time we will configure the OPC Server KepServer for this Controller, although what we will see will also apply to a CompactLogix, ControlLogix, or FlexLogix.
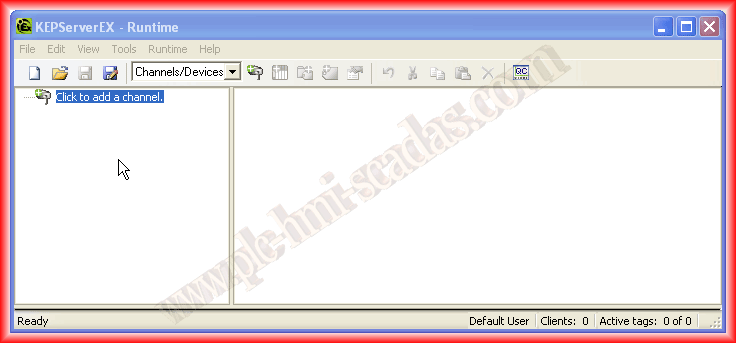
As we are already familiar with the environment from previous practices, the first thing we will do is add a new Channel.
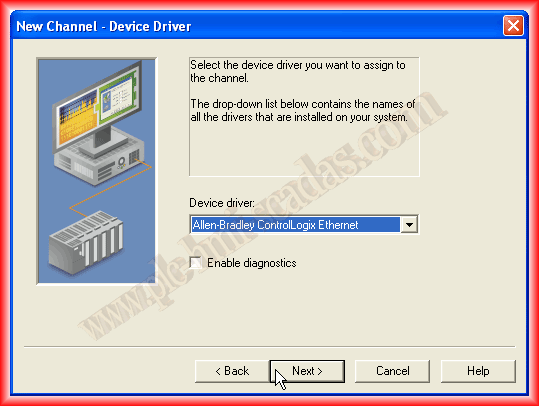
We assign a name that interests us; I have called it SoftLogix. Next, we will specify the driver we are going to configure, from the various ones related to Allen-Bradley; for our purpose this time we select ControlLogix Ethernet.

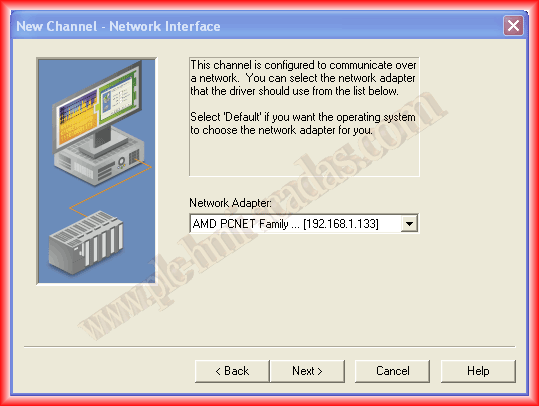
The next step is to define our Network adapter, which refers to our Network card. In my case, since I am running SoftLogix on the same PC as KepServer, the IP address will be the same at this step and when defining the device address. The next steps can be left with the default values to adapt as needed.
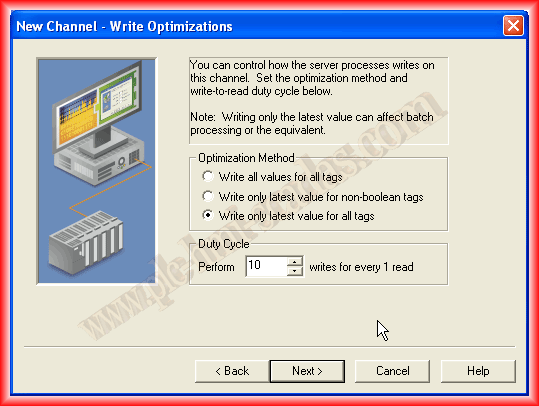
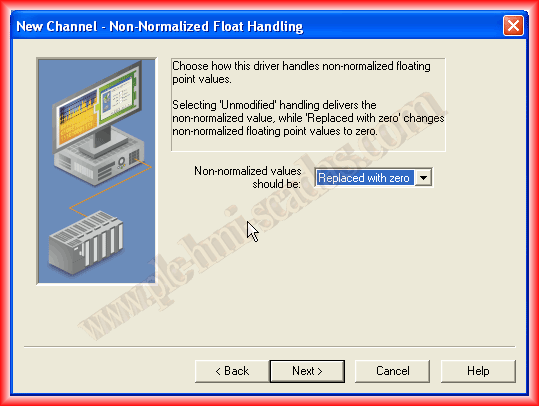
The next step refers to how it will handle analog values in case of non-normalized values. By default, I leave its option, as it has no more importance for my purposes; we click next, and with this, we have finished configuring our Channel.
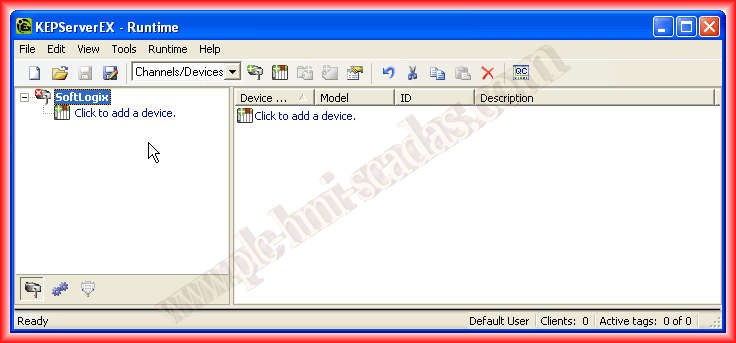
We now have the Channel, and now we need to configure the Device. We click on add a device and move on to the next step:
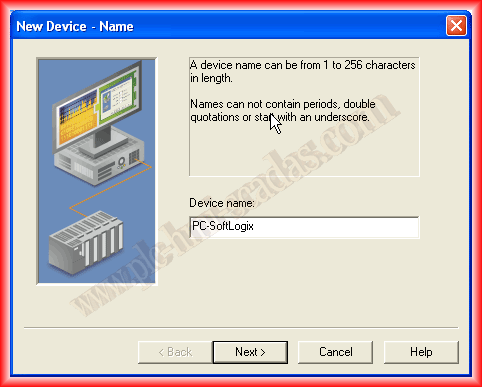
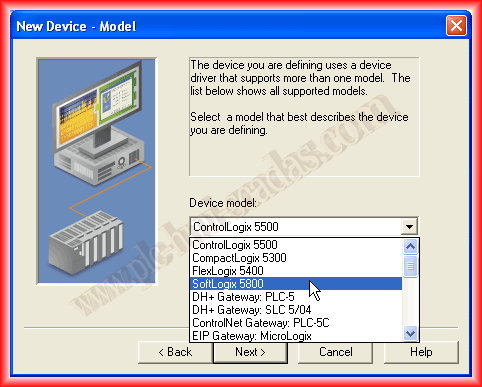
The first step is to give our device a name and specify the model, so what we do for SoftLogix is applicable to Logix5000 controllers.
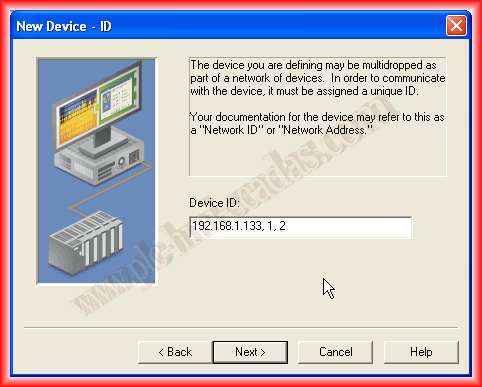
The next step is one to take into account; the first thing we need to provide is the IP address of the Ethernet module of the SoftLogix, followed by a 1, which refers to the backplane, and finally identify the slot number where the CPU is located, in my case slot 2.
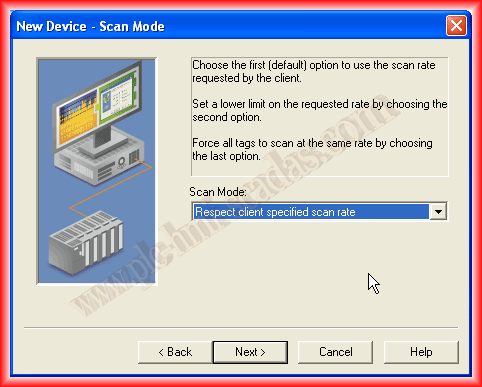
The next step can be left as default or according to our interest.
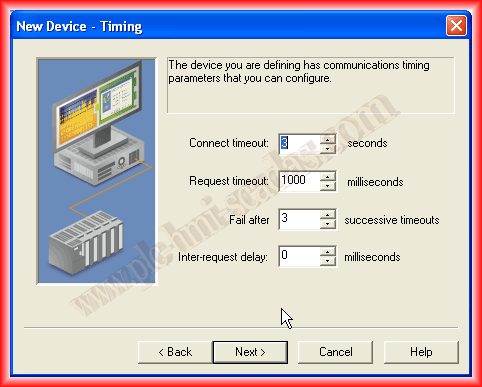
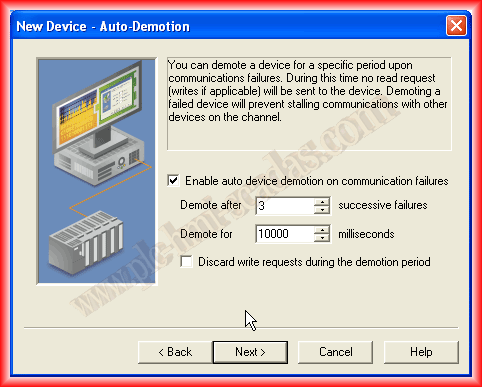
The following parameters refer to connection attempts, timeout time, and attempts; by default, these values can be left as is.
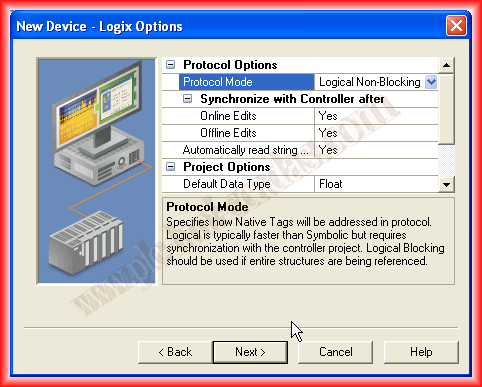
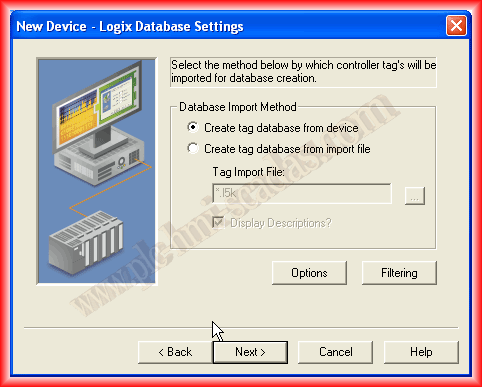
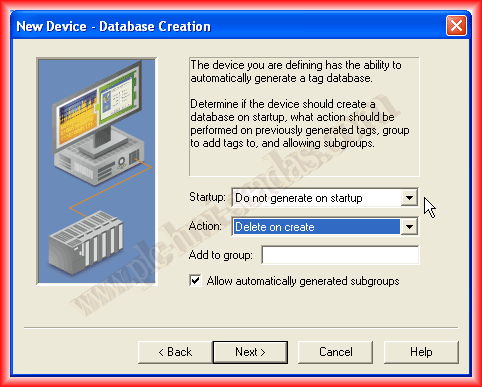
The following parameters do not need any modifications unless necessary. When creating tags, we have the option to create them from the device or by importing our project, a file that needs to be provided if that option is selected.
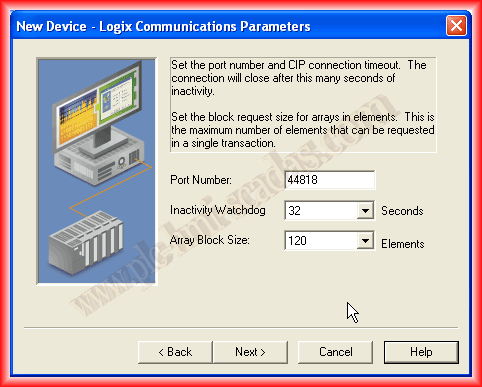
In the next steps, in my case, I did not have to make any changes; the default port is 44818, the Watchdog time is by default 32, and I do not have any array created with more than 120 elements, so I leave it as is.
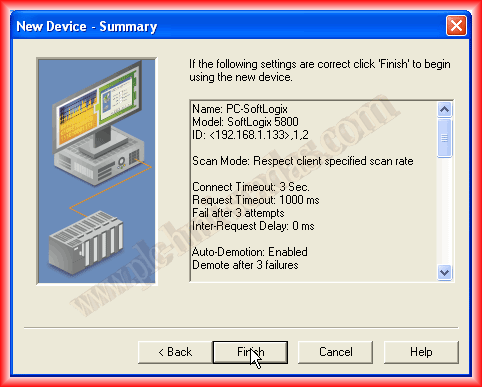
We read our configuration and can confirm with finish. We have configured our device.
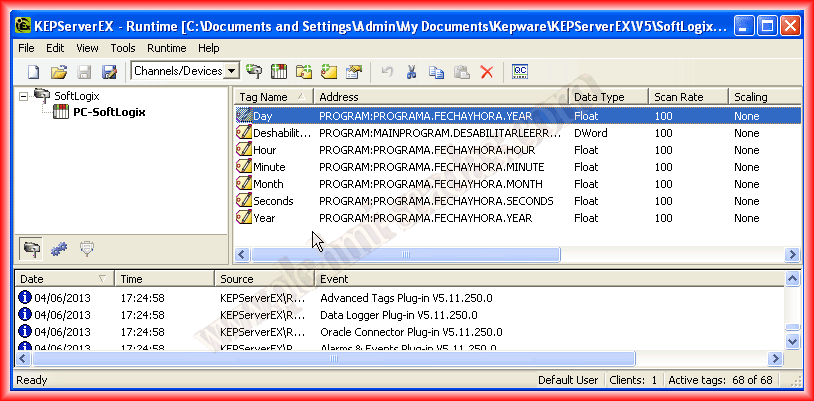
Next, we can add the tags that we want to visualize or are interested in. Here we need to use the help to correctly address the tags; if they are controller tags (Global), when creating a new item, we provide its own name; if they are program tags, the following image serves as reference: Program:program name. Tag name.
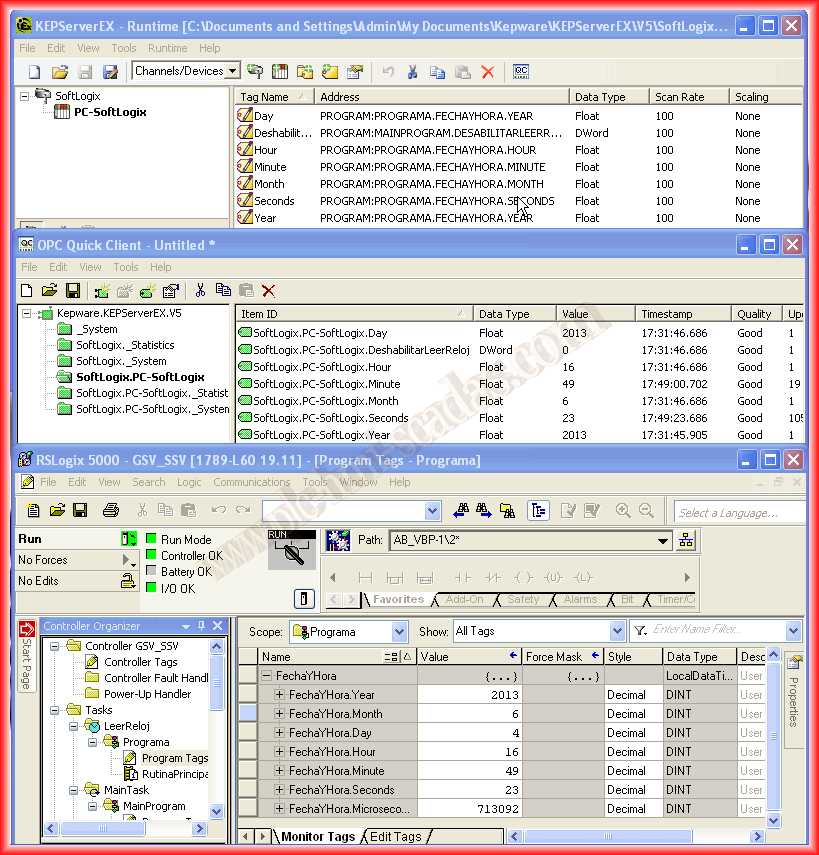
We just need to run the OPC Client and check that our configuration is correctly done and works properly; the following image shows that everything is correct.
June 4, 2013
If you liked it or found it useful, share it...