Hardware Configuration in RSLogix5
We are going to create a Project from scratch in RSLogix5, so we can see some of its features and learn how to program a PLC5/xx or modify a program, etc...
We create a new project and the first thing we need to specify is the type of Processor we have, in this case, I have the following. If we already have the driver configured in RSLinx, we can select it.

And this is the interface that RSLogix5 shows us, the same as RSLogix500, so many of its features are shared, what we learn or know can be applied in both.

The first thing we are going to configure is the Hardware, we do this within the directory Controller -> IOConfiguration and by default the chassis that comes is the 4 slot one, so this is the first thing we are going to change, it can also be observed that port 0 is configured for DF1, port 1A for DH+ and port 1B for I/O Scanner, we will configure this according to our interest.

The first change we must make is to define how many Slots our chassis has, in my case, 16 slots.
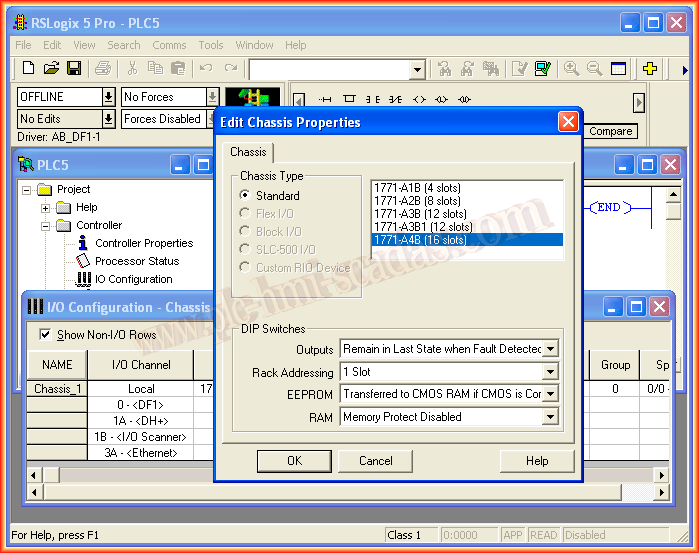
Having defined the chassis we have, it is now ready to insert the corresponding card into each Slot, for this within the table, we click on the Module Type cell of each of the slots and from the available library we select its corresponding card.


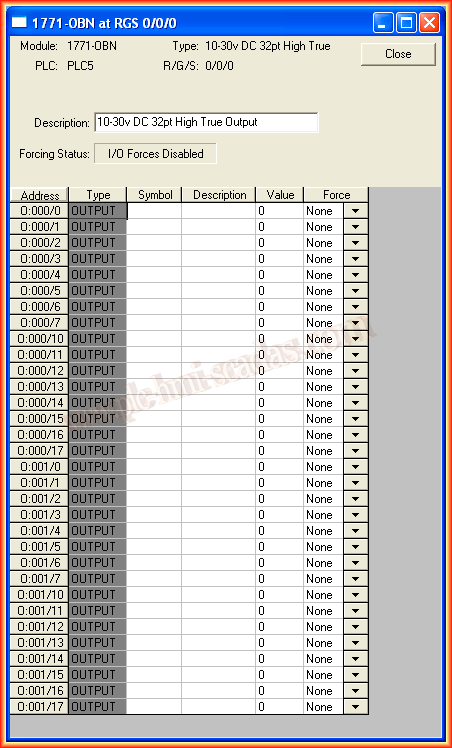
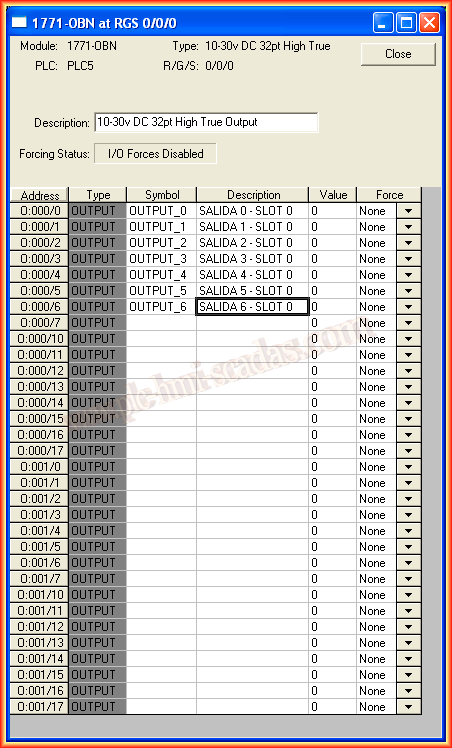
At the same time, once we have selected each of the cards, we can configure its corresponding symbol and description by clicking on I/O Point, the following configuration window opens.
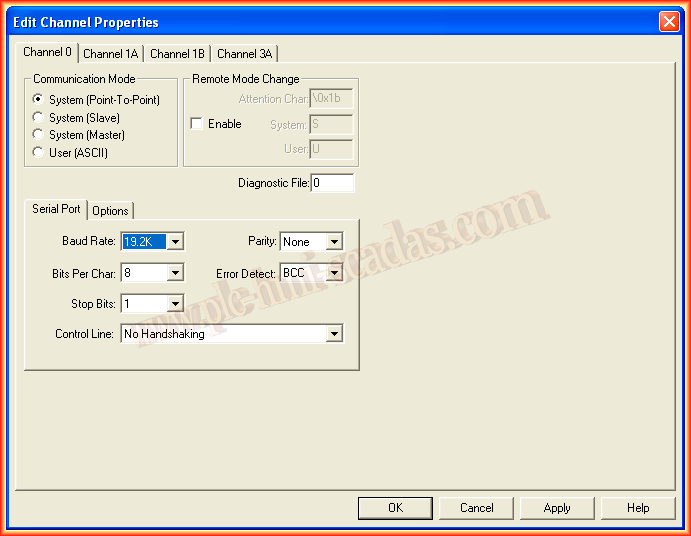
We have already configured the chassis and its cards, defined their symbols, now we are going to configure the ports of our Controller, we leave Channel 0 for communication, keeping the default values, except for the speed set to 19,200.
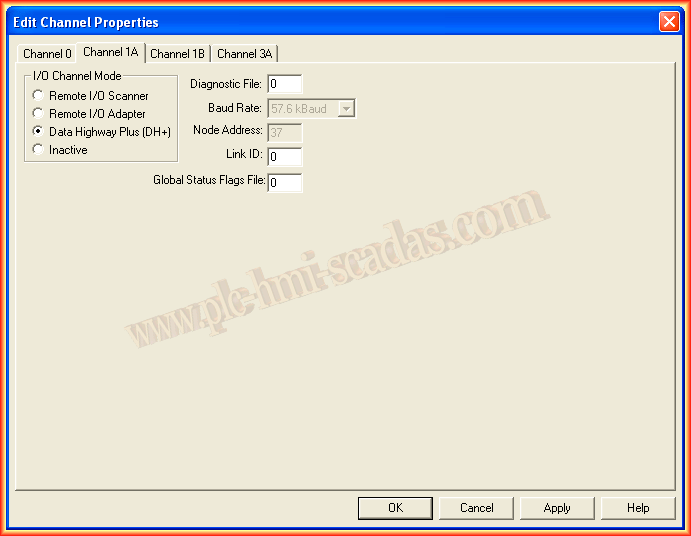
Channel 1A, by default, is defined for DH+ at a speed of 57,600 and node number 37, in case we are interested in changing it to configure for I/O Scanner/Adapter.
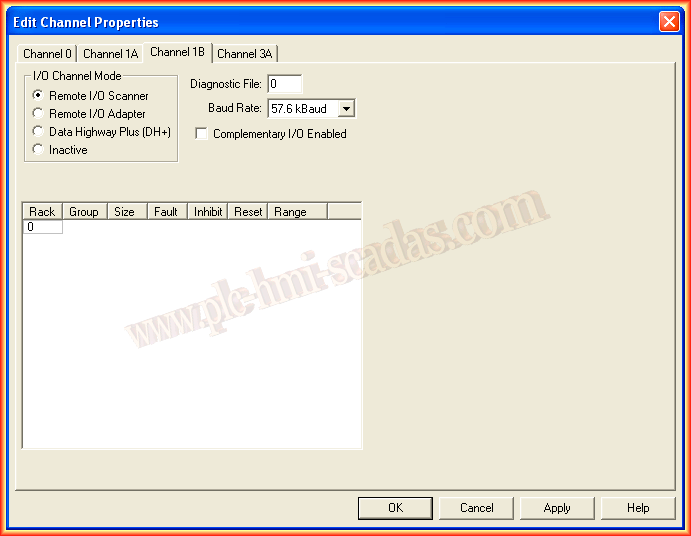
Channel 1B is by default defined for I/O Scanner, but we can adapt it to our needs, for the next example, I will configure it for DH+ and communication with a PanelView 550.
With these steps, we have already configured the Hardware for our PLC5, we can now create a small program and transfer it to the processor.
August 5, 2013