SoftLogix5
We have already seen how to configure the SoftLogix5800, and today we will see the SoftLogix5, this software was designed to run on a Windows NT or Windows 2000 operating system, in this case it is installed on a Windows NT operating system.
The SoftLogix5 is like having a PLC5-80, depending on the cards we have installed, we will be able to communicate with different networks, by default the only card here is the Network card and the serial card COM1.
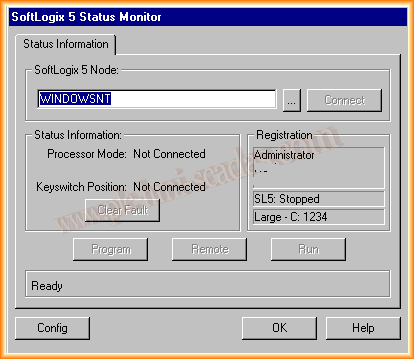
Once installed, we will see its status in the toolbar, and depending on the status it will be as seen, a black circle or a green circle if it is configured and running.

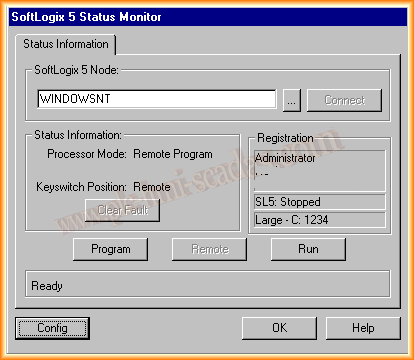
For its configuration, we double click on the circle or from start -> Programs -> Rockwell -> SoftLogix and this is the interface that shows for configuration and commissioning.
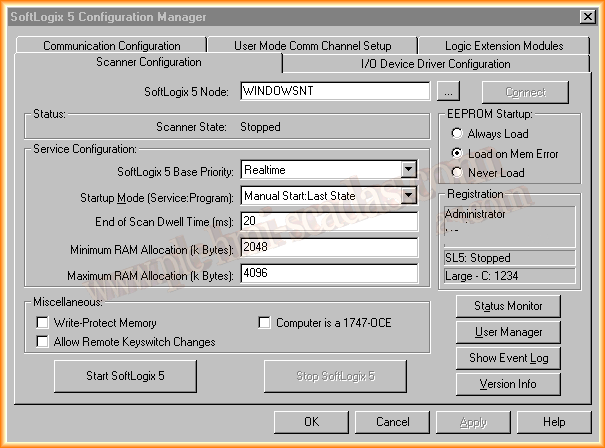
The first thing we do is press the Config button to open the configuration window, and we are shown the following window with 5 different tabs. The first of them is Scanner Configuration and we can leave it with the default configuration or adapt it to our needs.
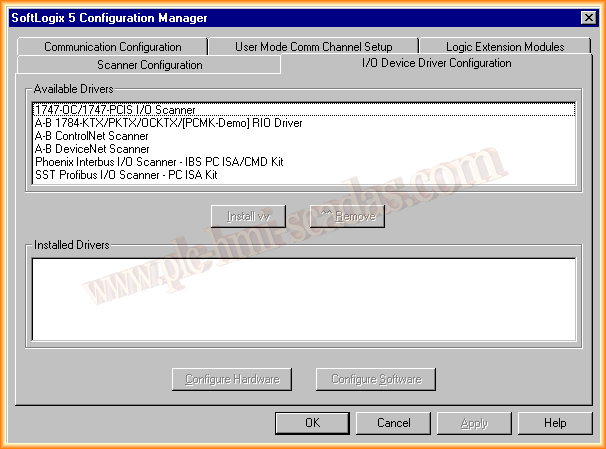
Within the I/O Device Driver Configuration tab, it would be the cards we have installed on the PC and would serve to create a Network, whether DeviceNet, ControlNet, Profibus, etc... as it is not the case, the drivers are not installed, in the case of having one of them it would be selected and the Install button would be pressed.
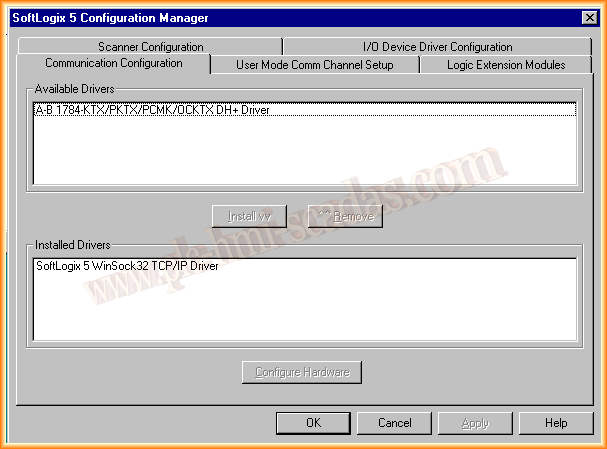
The Communication Configuration tab where we configure the driver for communication, therefore the one installed is SoftLogix 5 WinSock TCP/IP.
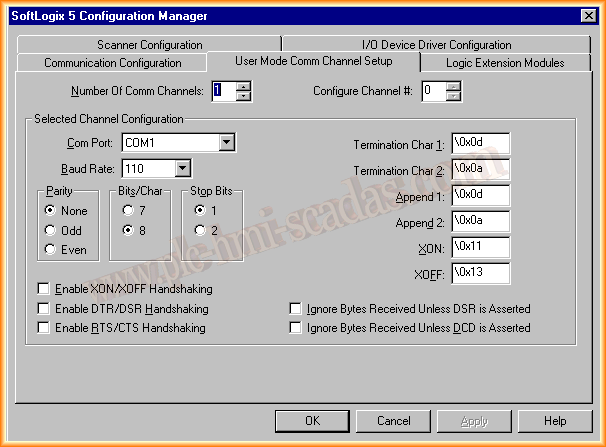
The User Mode Comm Channel Setup tab is used to enable the COM port of our PC, we configure the number of ports and their parameters.
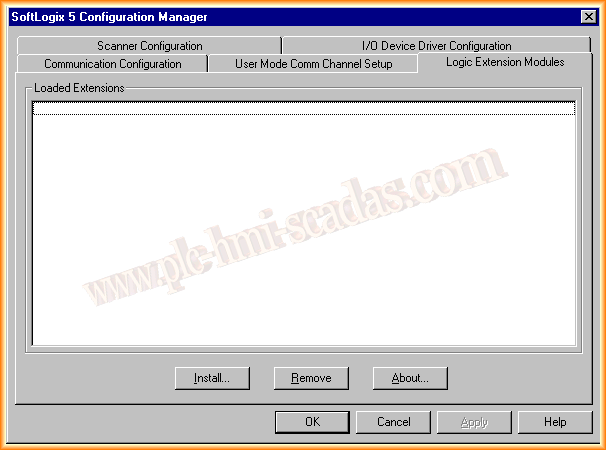
The Logic Extension Modules tab is for the installation of extra modules, as it is not the case, we leave it as is.
Once we have configured the corresponding options, we return to the main tab and we can press the Start SoftLogix5 button, it shows us that the service is running. Once it is Running is when we can load our program from RSLogix5.
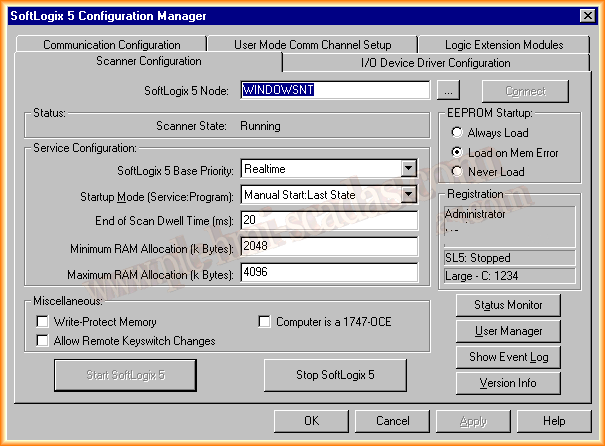
Once running, the main window has three buttons that function as the key, whether to switch to Program, Remote or Run, with these simple steps the most basic of SoftLogix5 would be configured.
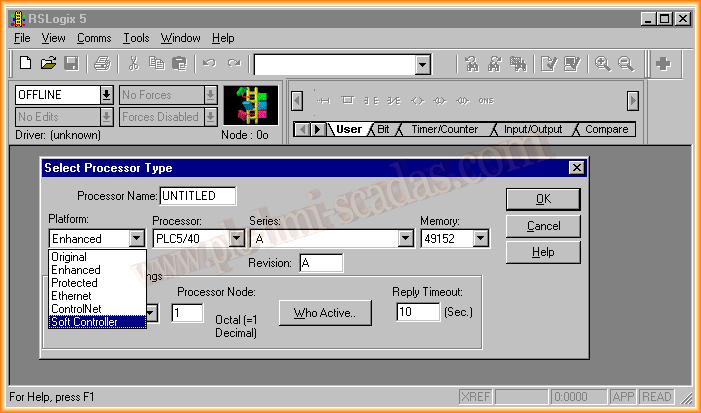
Now we are going to create a small program to check its operation, we start RSLogix5 and create a new project, within this new one, we select Soft Controller as the platform.
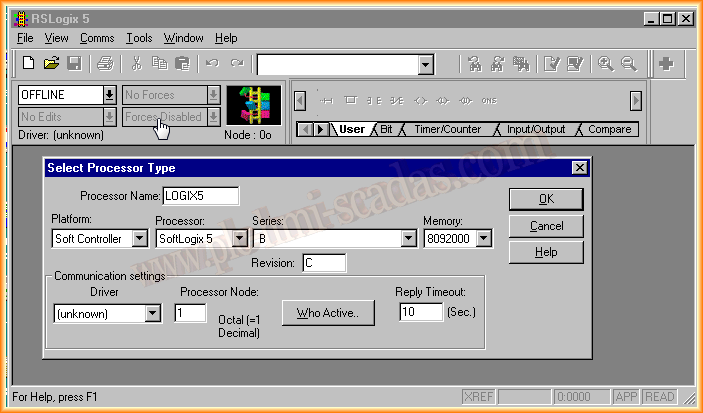
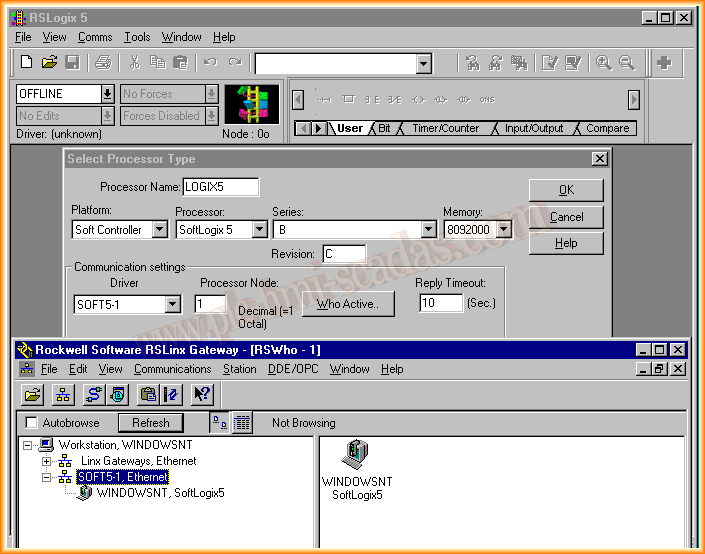
We can already see that automatically the processor changes to SoftLogix5, as we had configured the Driver in RSLinx, we can now select it in the Driver section.
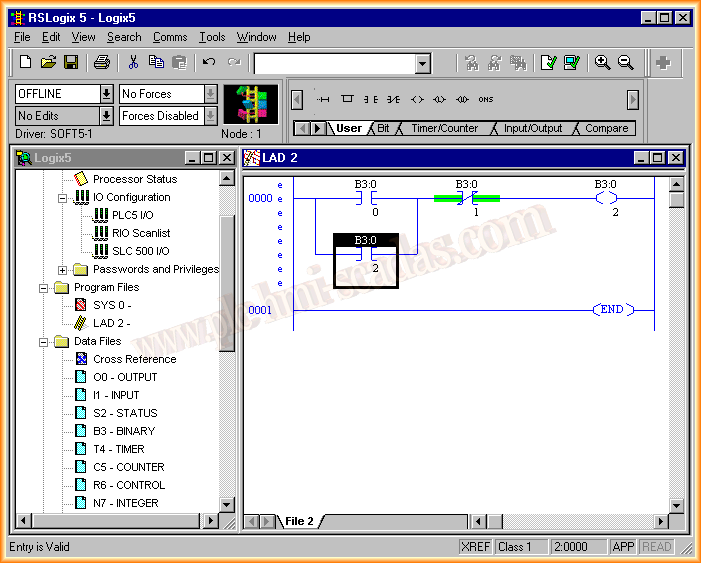
We create a new segment with a start/stop, to check the operation is more than enough.
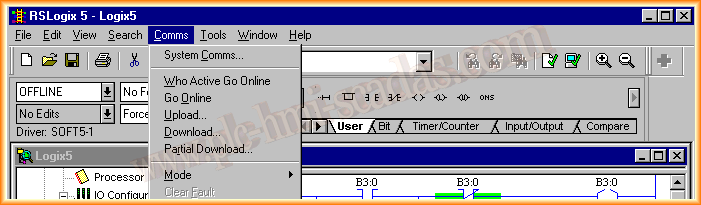
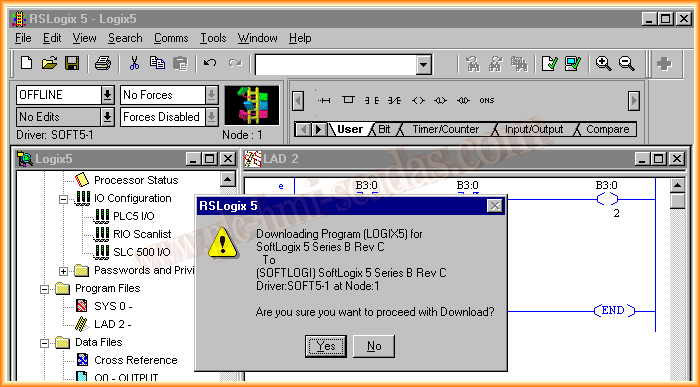
We can now perform the download, we go to Comms -> Download .. as the communication driver has already been previously assigned, it shows us a message for the download, you confirm and our program is transferred.
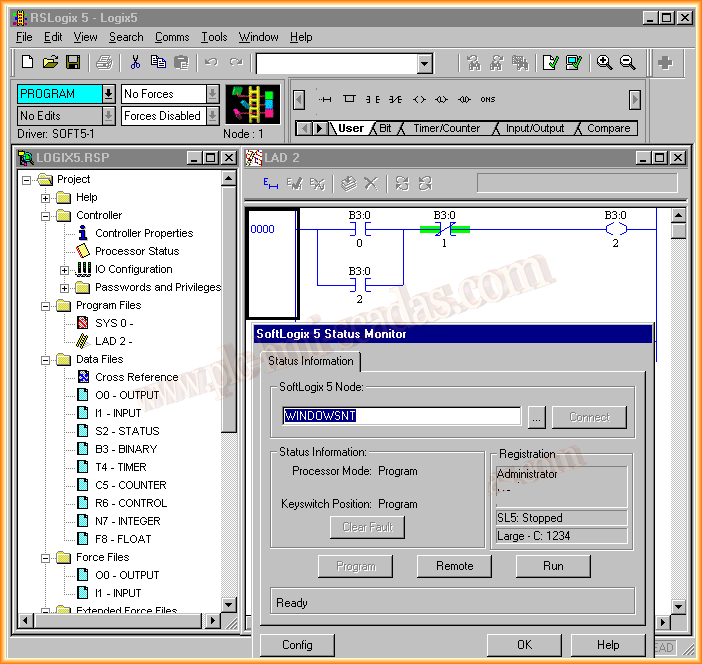
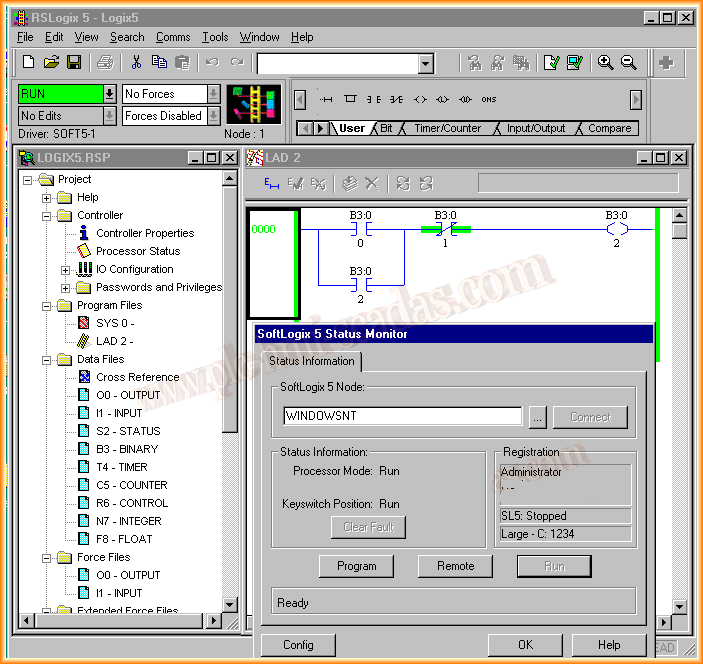
In this image we can already see that we are in Program, if we press Run, we are already online and can check our program.
August 15, 2013