OPC Communication S7-200 with KepServer
In this practice, we will configure the OPC Server Kepserver with a PLC S7-2xx. Once this first part is completed, we will configure the link with several SCADAs, as these usually include an OPC driver to communicate with any PLC regardless of the manufacturer.
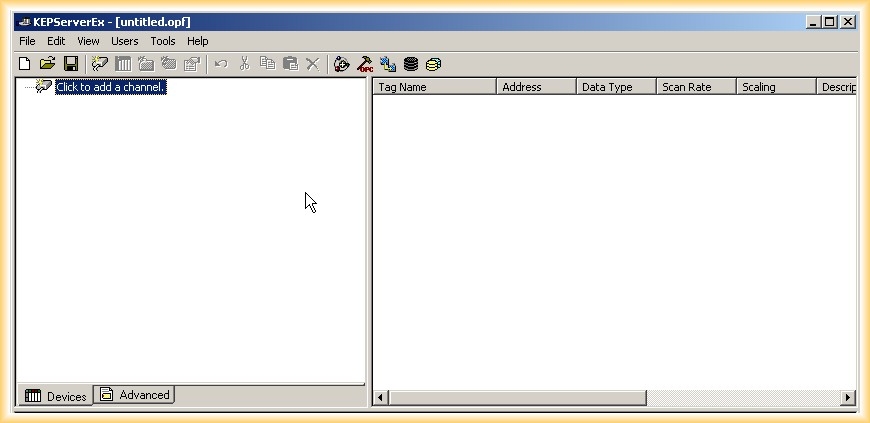
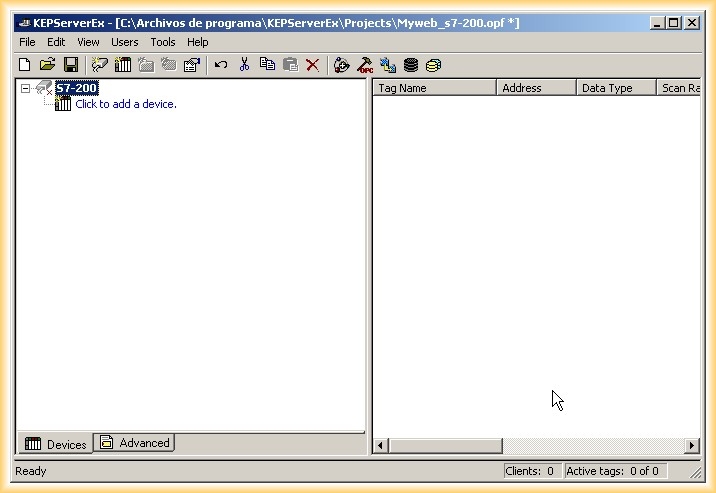
1.- We run KEPServer, and this is the interface it shows.
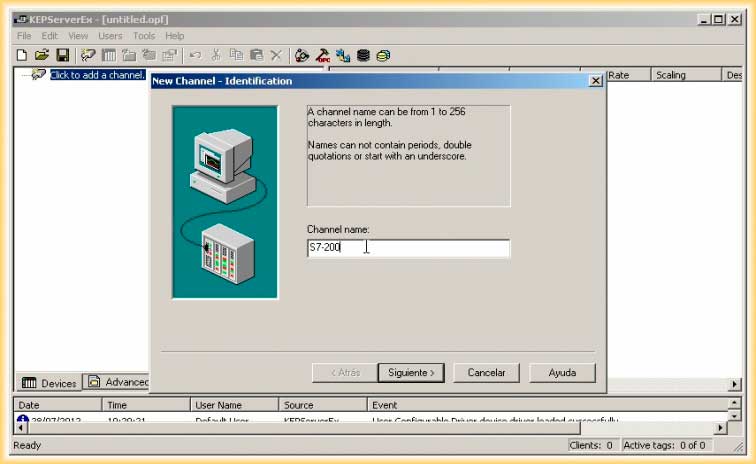
2.- The steps to follow are quite intuitive; the first step will be to create a new channel and we will name it S7-200.
3.- The next step will be to select the driver, so from the dropdown list, we select the one we are going to use.

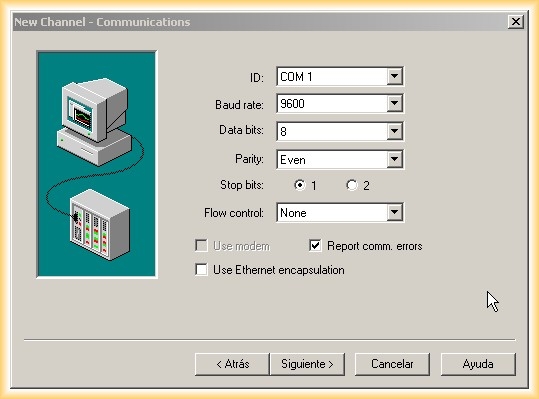
4.- Since we are going to use Point to Point Interface (PPI), we will configure our Serial port; I will leave the default values.
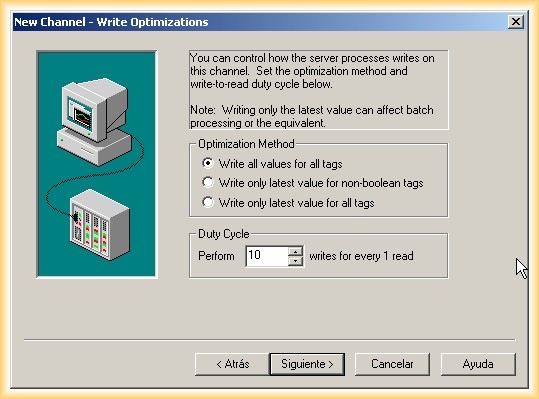
5.- We select the write method for our tags, and choose to write all values for all tags; be careful with the warning if we select the last option.
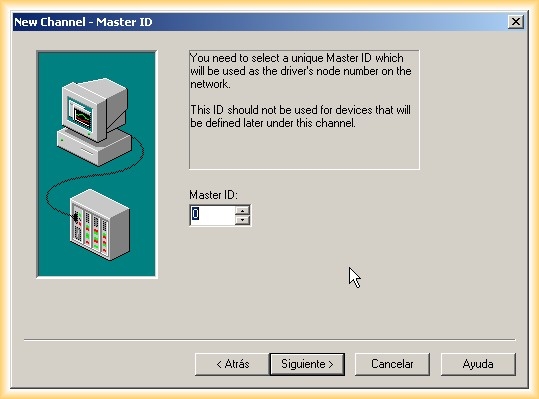
6.- To finalize the channel configuration, we need to specify the ID, which must be unique and cannot be reassigned when configuring the device; with this, we have completed this first part.
7.- Now we move on to configure our device (PLC); we follow the wizard and the first step is to add a device.
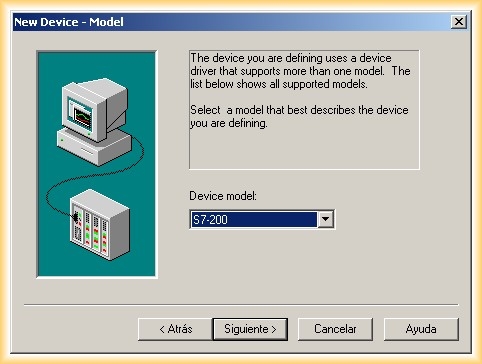
8.- We enter the name of our device and its model.

10.- The next step will be to establish the device ID; for this, if we go to the S7-200 network and if we are online with our PLC, we will observe its address, although by default it is usually 2.
We set the times to receive a response from our device and the repetition periods.

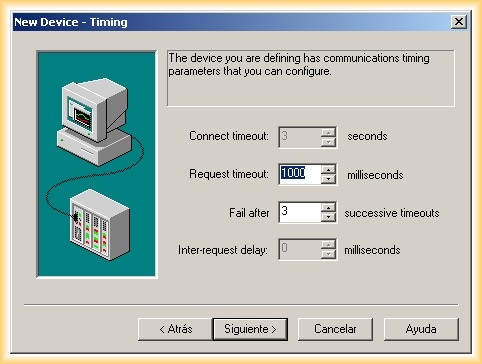
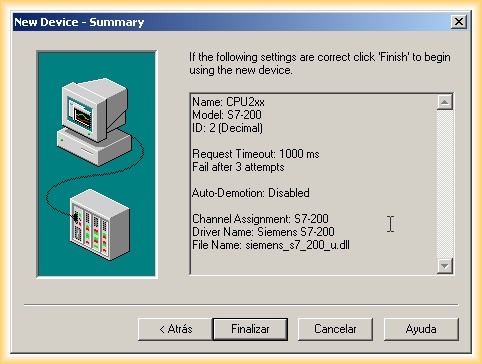
11.- To finalize the device wizard, we configure the last part, although I have not enabled this.
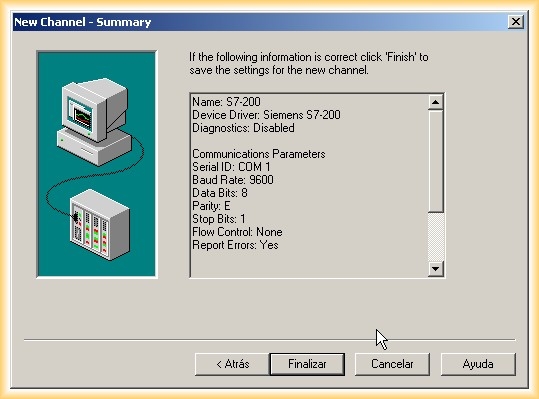
With this, our PLC is configured, and we can observe its configuration in the summary.

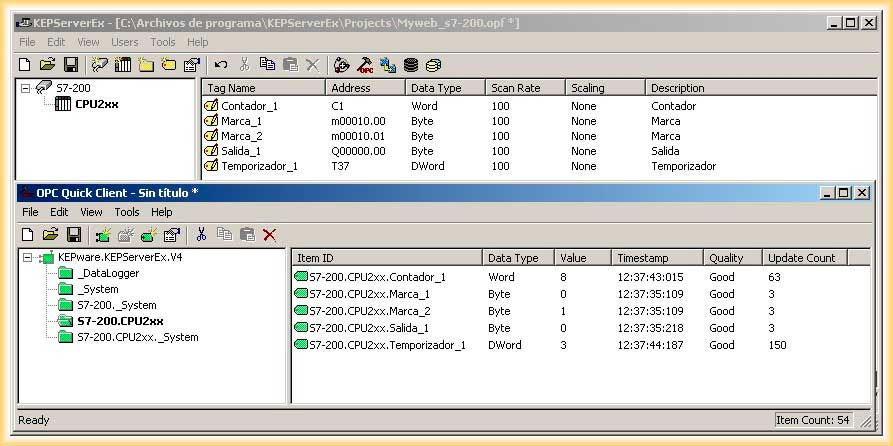
12.- The last step is to add the tags or items that interest us; these will be the ones accessible when configuring our SCADA. If we have any doubts when addressing them, we can refer to the help displayed.

13.- To show several examples, I will add a marker, a timer, and an output; once the address is entered, we click on the validation icon, and it automatically changes the data type to what is needed. Let me explain: if we put the marker M10.0 and select that it is a boolean, we will have problems when accessing that tag, hence the need to confirm.
.jpg)
.jpg)
.jpg)
14.- Once all the tags are added, we just need to test that it works correctly; for this, we use the OPC Client.
15.- Once our OPC is configured, we are ready to configure our SCADA, and the first one we will use will be Intouch, and you can see its configuration here.
July 29, 2012