OPC Factory Server OFS Configuration
Once the OPC OFS Server from Schneider is installed, we have several applications. For configuration, we will run the OFS Configuration Tool.
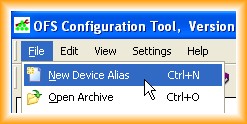
1.- The first step is to create a New Device Alias, giving it a name that we are interested in.
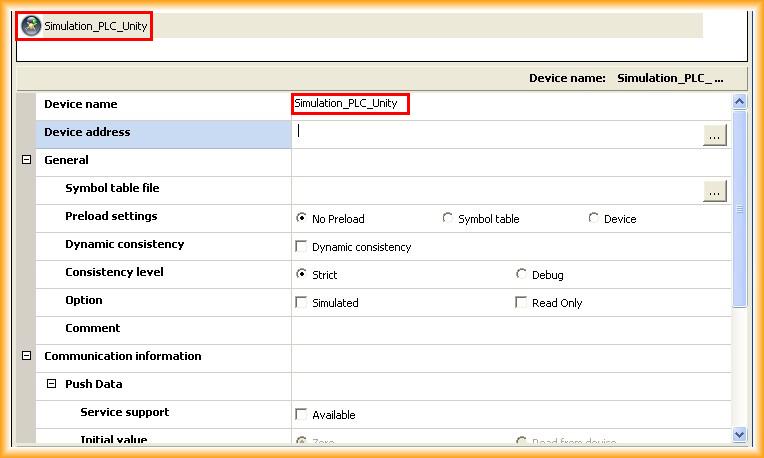
2.- For this example, I will use the Virtual PLC from the Unity Simulator, which was configured in the following practice. We select the options according to our needs.
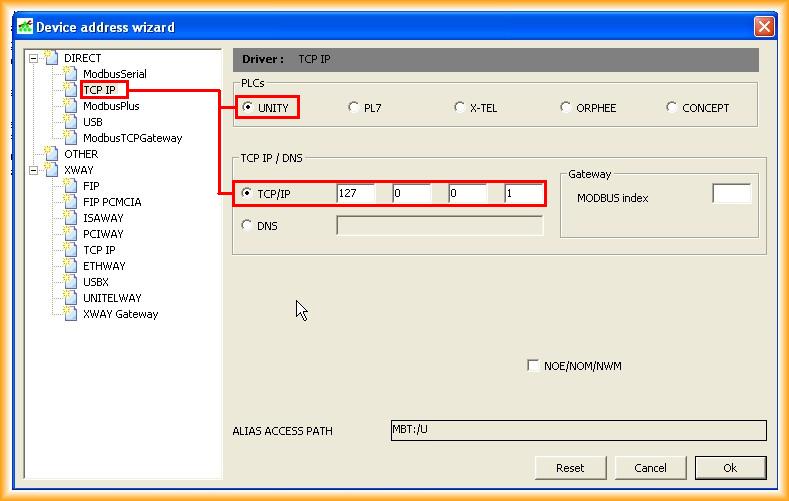
3.- The next step is to configure the equipment we want to access. In our case, we will use the TCP/IP Protocol with a PLC programmed with Unity. We set the IP address of our PLC; we have seen that for simulation purposes, we should select 127.0.0.1 (LocalHost).
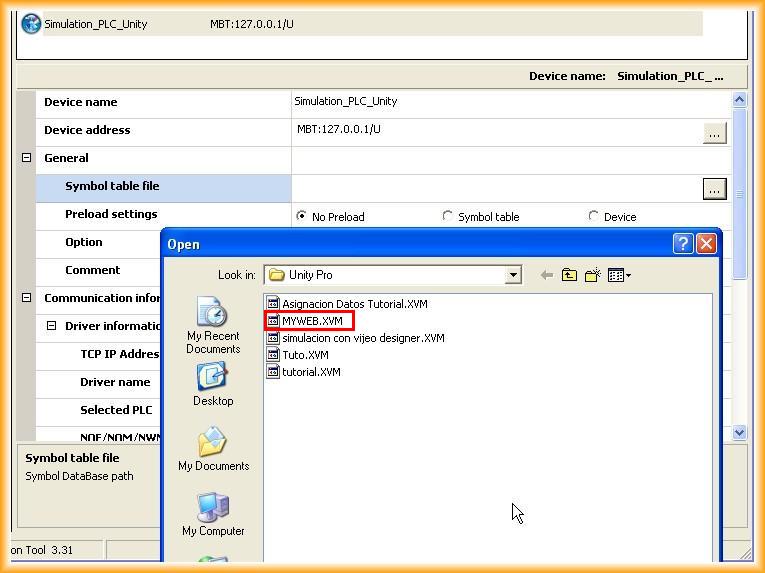
4.- Now we will define the symbols we will have access to, selecting the name of the Project created in Unity, and we will have our configuration completed.
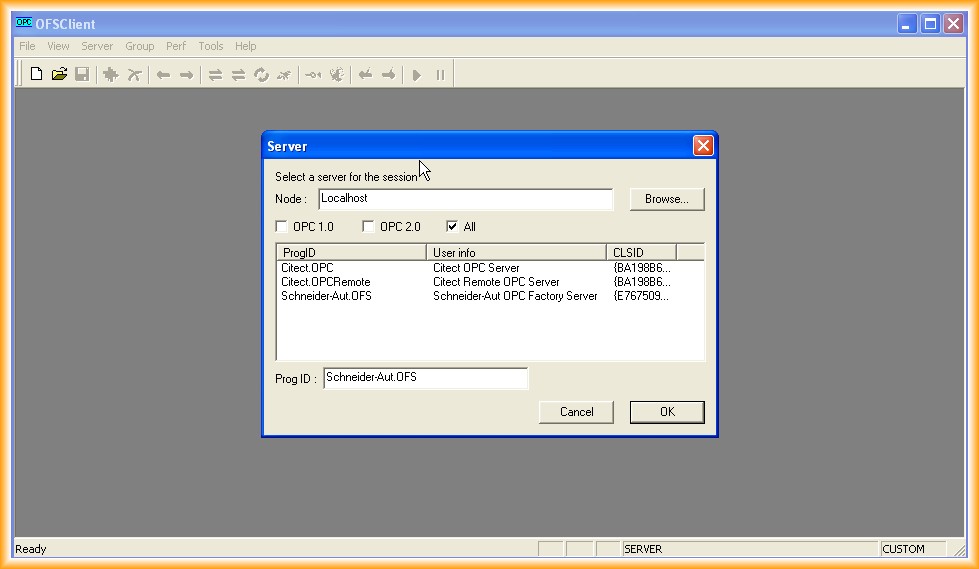
5.- Now we need to test its functionality. For this, there is also an OPC Client available. We create a new project and in Node, specify LocalHost to see the OPC servers, selecting Schneider-Aut.OFS.
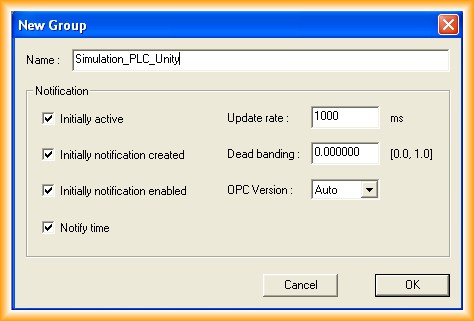
6.- The next step will be to create a new Group, give it a name, and select the available options. In this case, the configuration is the one that appears by default.
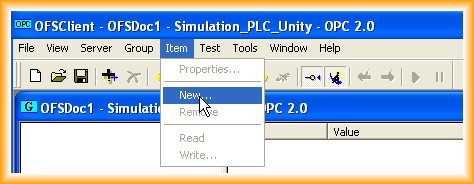
7.- Once the group is created, we need to add the Items.
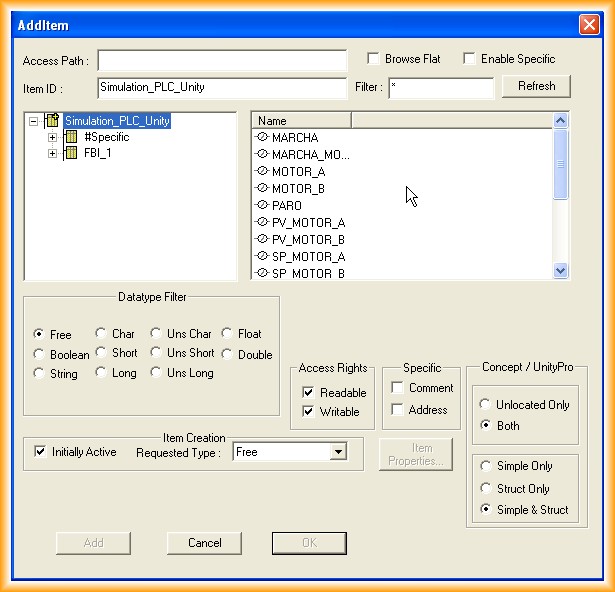
8.- We access the items that interest us or that we want to visualize.
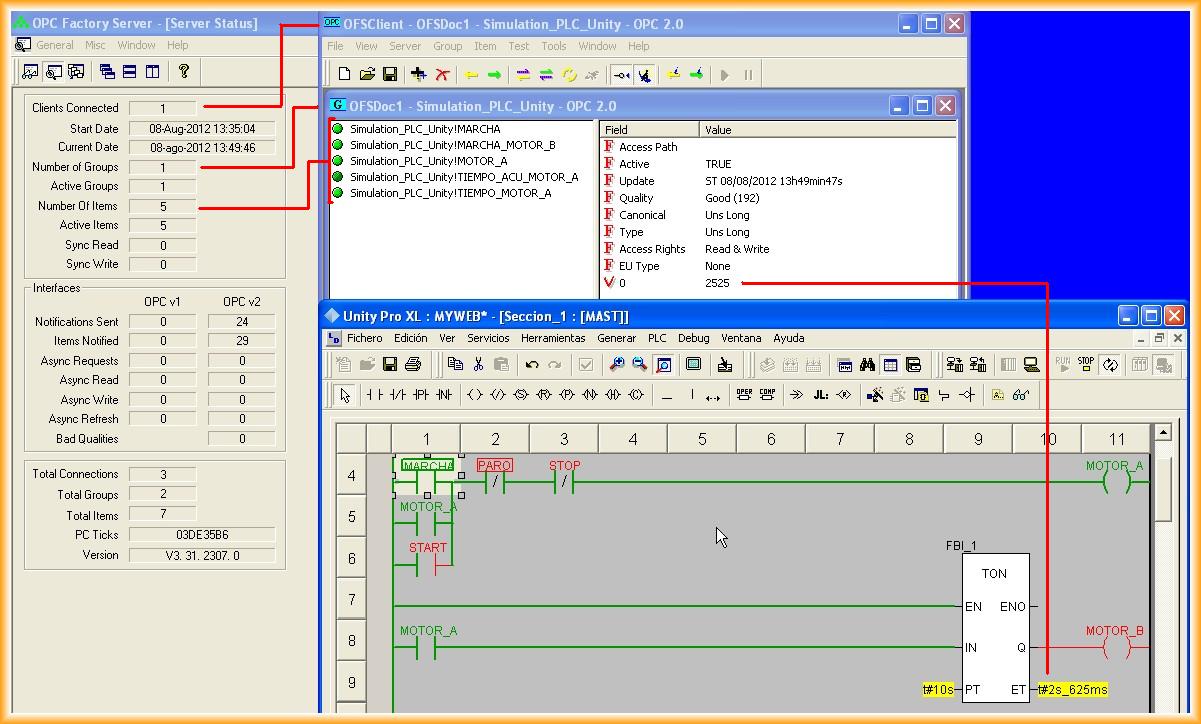
9.- And finally, we check that there is communication and that the configuration is done correctly. With this configuration we have done, we can now configure any SCADA that has OPC drivers and access our PLC.
August 15, 2012