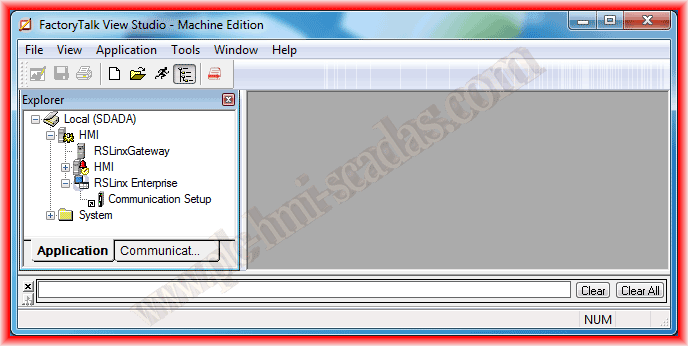
Continuing with the practices of Factory Talk View ME, today we are going to configure RSLinx Enterprise for communication with our PLC. Previously, we configured a link through the RSLinx OPC Server for the simulator; today we will see the link with a Micrologix and a Panel View Plus 600. This practice is dedicated to my friend Miguel Custodio.
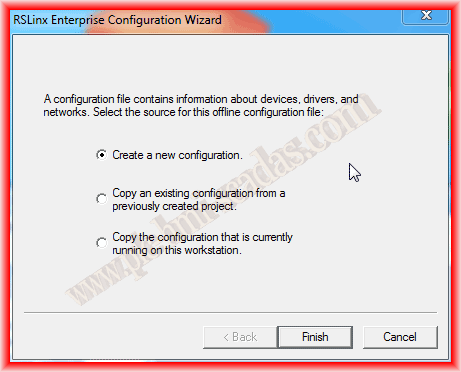
The first step is to run the Communication Setup, and the following pop-up window will appear where we will create a new configuration.
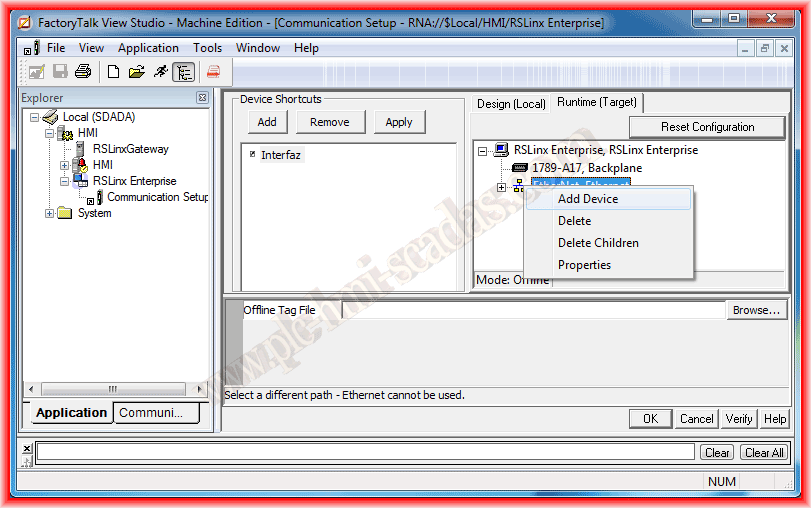
Automatically, the following interface appears, where on one side we need to create a Shortcuts, a shortcut to the PLC of interest, so the first step is to Add and we add the name we are interested in. By default, the driver that appears is Ethernet, but in the case of communicating with another driver, we need to insert it, right-click on RSLinx Enterprise and add a new driver, where we select from the list the one that interests us.


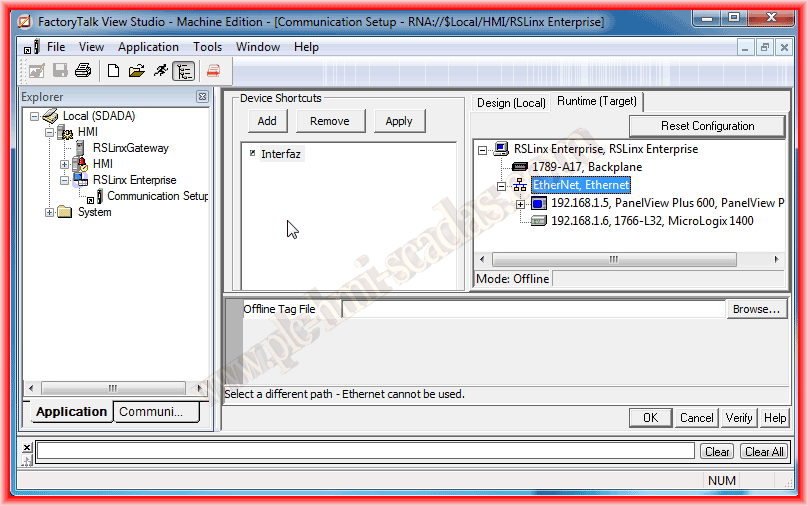
In this example, both the Panel View and the PLC are connected via Ethernet, so it is not necessary to add any additional driver, and by default, they will appear if both devices are connected to the same network as the PC we are programming on. Another important thing to keep in mind is that we are on the Design(Local) tab, so once we select the PLC with the Shortcuts we just created, we can click OK and this part would be finished. However, we still need to configure the Runtime(Target) tab; the easiest way is to click on Copy from Design to Runtime, and with this, the configuration would be completed.

Another option is to configure the Runtime (Target) tab manually; for this, we need to add each of the devices as can be seen in the following images, and in this case of Ethernet, assign the corresponding IP address to each of them.

Finally, once all the devices have been added, we click OK to finish. If we want, we can use Verify to check that it has been done correctly; we also have the option to insert the program file *.ACC for the tags.
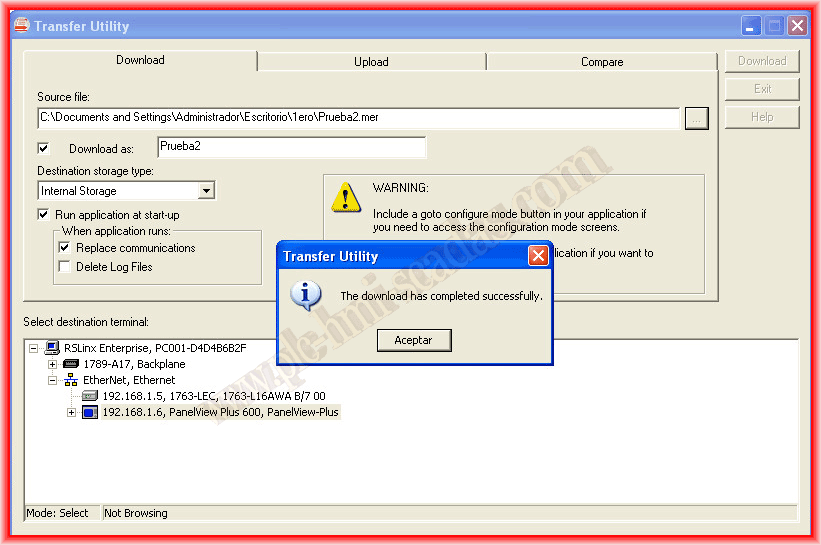
To finish, when we transfer to the Panel View, we already have the link configured; we select the Panel View Plus 600 -> Download and that's it.
March 11, 2013