HMI Simulation of Automation Studio
HMI Simulation of Automation Studio
In the previous practice, we configured the Virtual PLC of Automation Studio, this time we are going to configure the HMI for our simulation. We start from the previous project, where we only saw the Logical View tab, which was the only place we had to work to simulate our project, but this time we need to make a brief introduction to the other tabs.
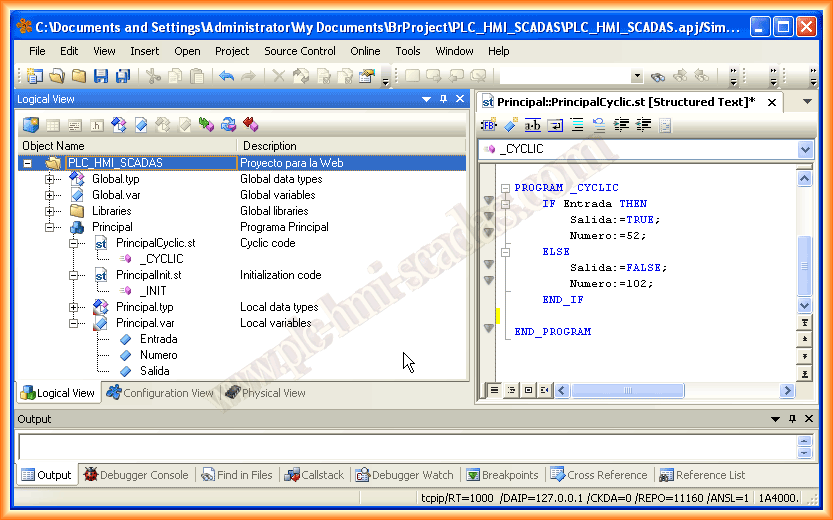
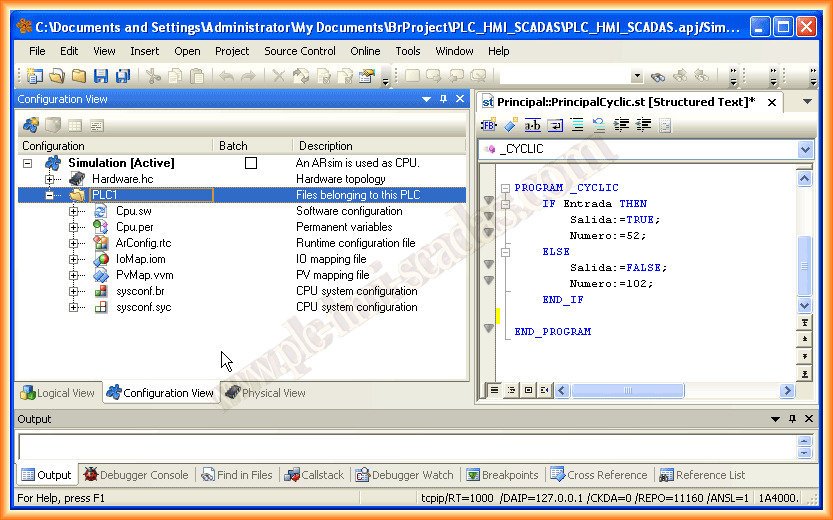
The Configuration View tab contains the configuration files of our project, in this case, since we are in simulation mode, it is the one that appears Active and where we can make the changes we are interested in.
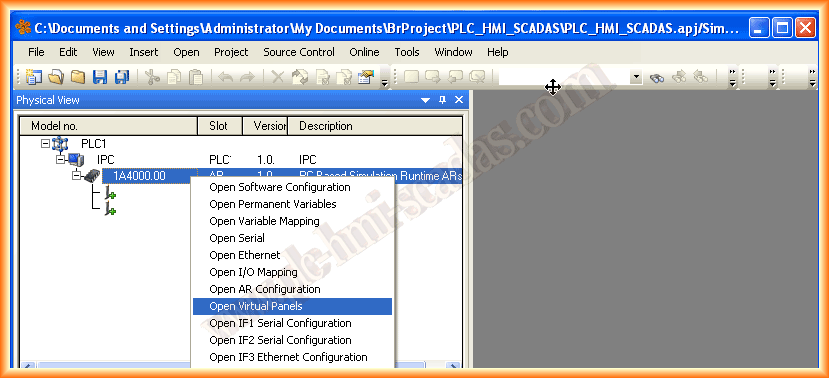
Finally, we move to the Physical View tab, where we will configure the hardware. Since we selected that we would work in simulation mode when creating the project, the hardware is configured automatically and we do not have to make any changes. This time, as we are going to add a Display Panel, we follow the next steps: right-click and select Open Virtual Panels.
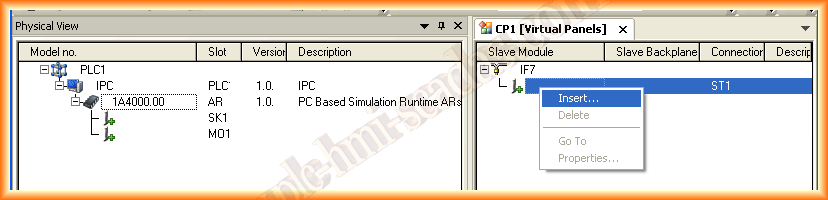
The following configuration window appears, and with the right button, we select Insert to add it.
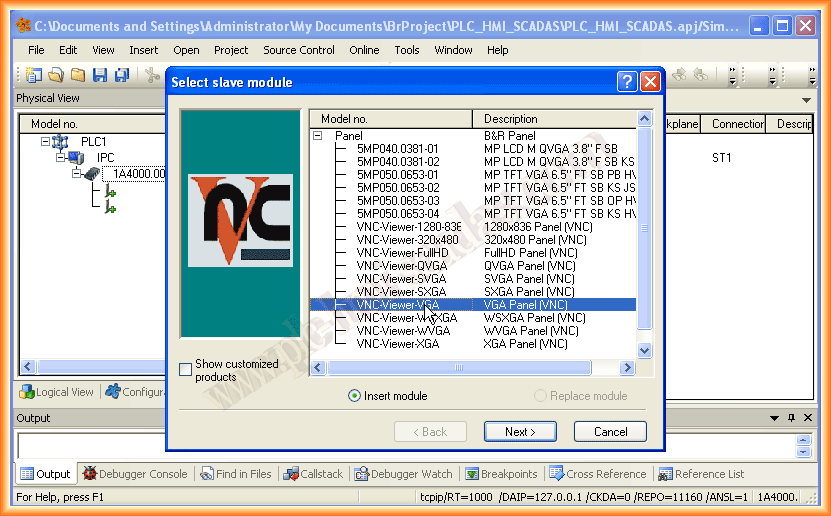
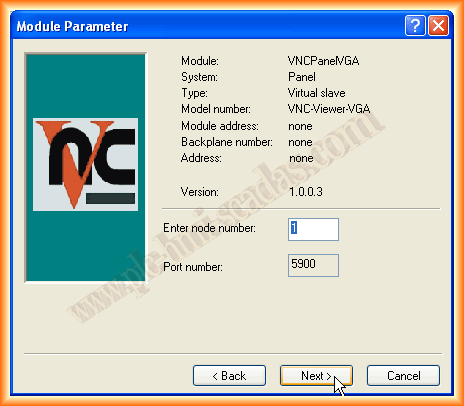
A window appears to select the model we are interested in. To work with the Automation Studio simulation, we will need to download a VNC Viewer application, as recommended by the manual. I have tried with Real VNC, which I have installed on the PC. We select the panel we are interested in and assign it a node number, which by default is 1. We finish with the wizard, and we have now added our Panel to the hardware.
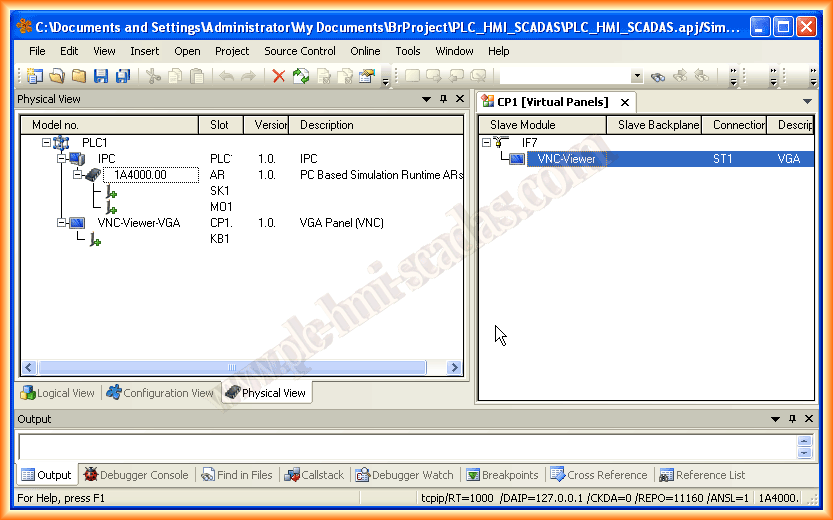
The appearance we should see is as shown in the following image or similar according to the selected model. With this, we conclude the hardware configuration and move to the Logical View tab.
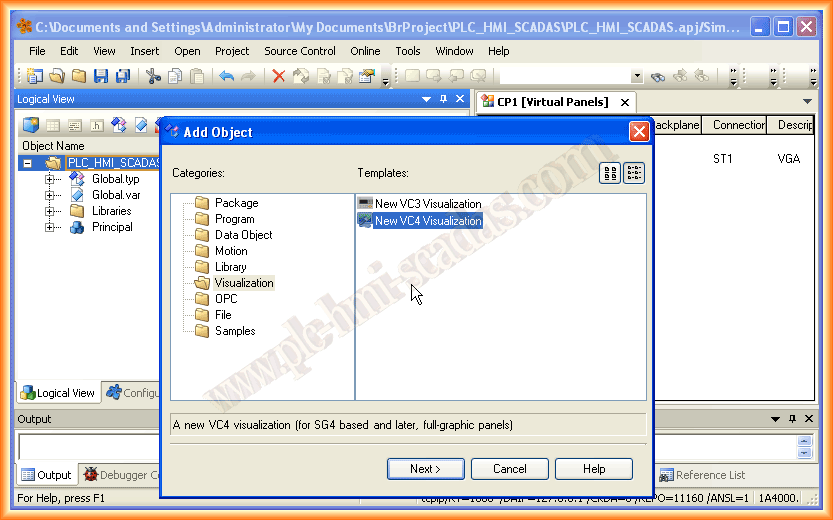
Returning to Logical View, using the same procedure we used to add a program, we will add an Object of the Visualization type, and within this, there are two possible templates. We select VC4 and continue with the wizard.
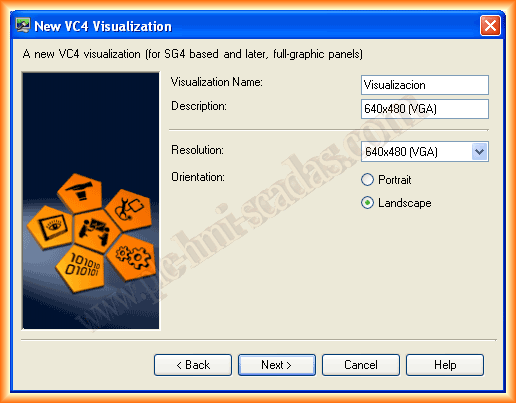
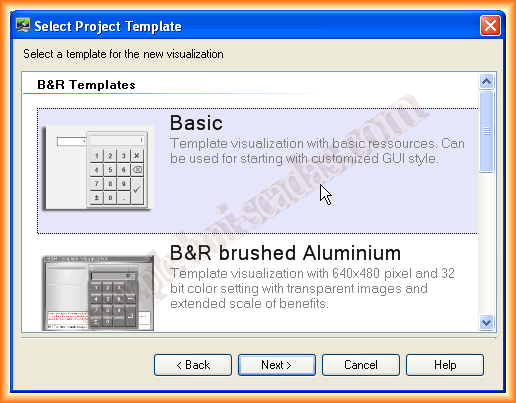
We assign a name and its corresponding description, choose the resolution we are interested in, and the Vertical/Horizontal orientation, continue with the wizard, and select the template we want or an empty project.
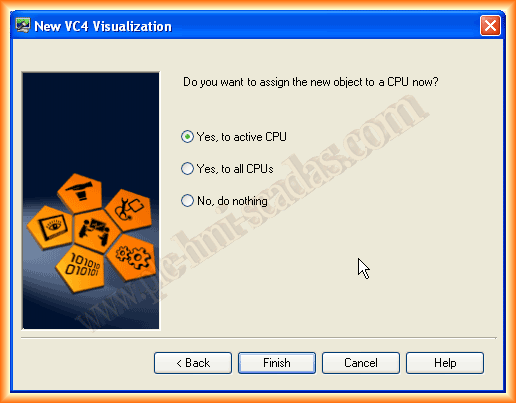
To finish this wizard, it asks if we want to assign this new object to the CPU. By default, the first option appears, which I have left. With this, we finish this wizard, and our object is now added to our architecture.
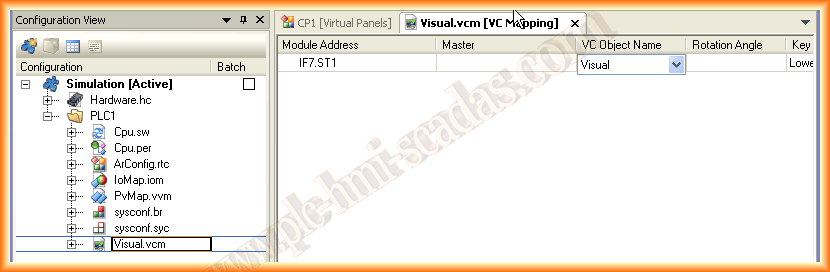
It can be observed that the Visualization appears, which is the name we assigned. Well, so far we have configured the hardware and part of the Software, but between these two steps, we need to link the Visualization Object to the interface of our Hardware. To link them, we do this in the Configuration View tab, and in Visual.vcm.


This is the appearance of our opened file as tables. In the VC Object Name, we expand and link with our Visualization Object that appears as Visual. With this step, we have linked the objects.
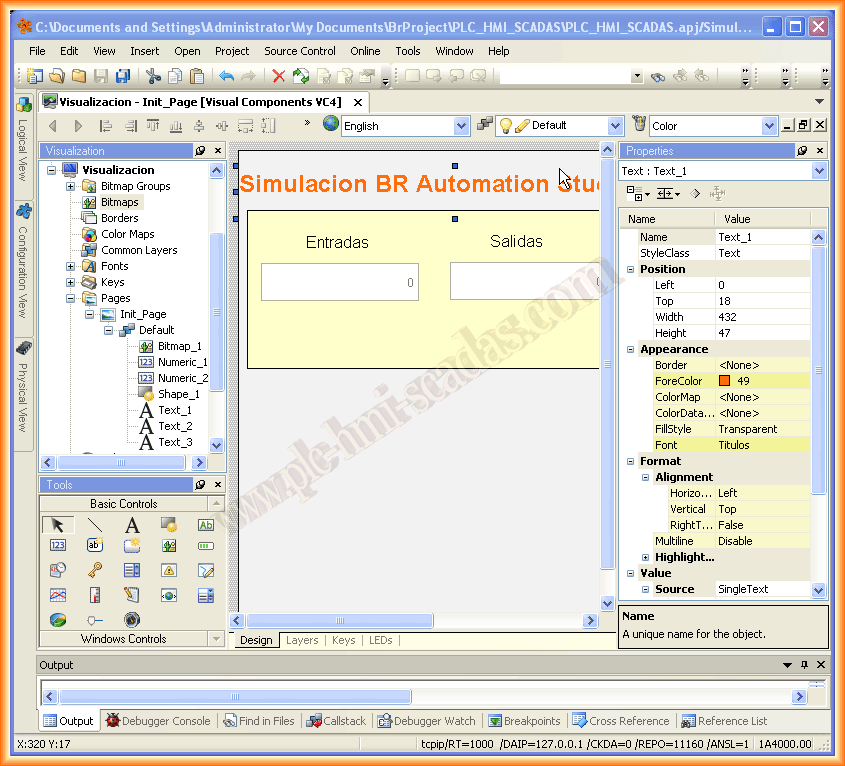
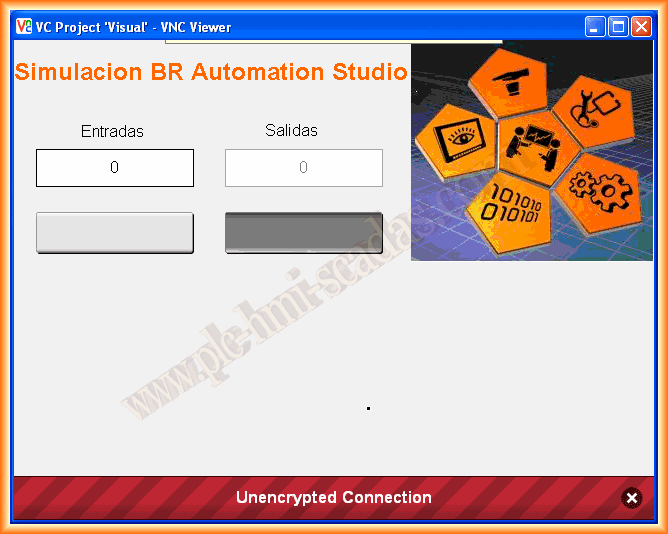
Now we can open our Visualization Object, which takes us to the environment to program the Graphical interface of our screen. To test it, I have inserted some numeric fields, some buttons, text, etc...
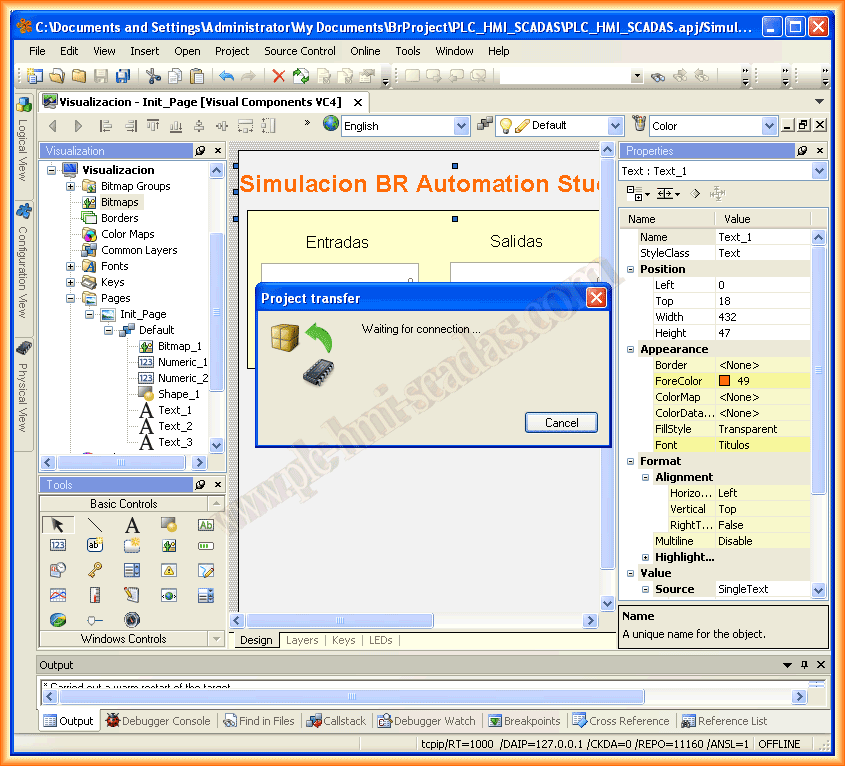
We conclude our screen and do a new compilation and transfer of our project.
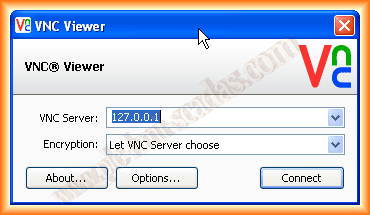
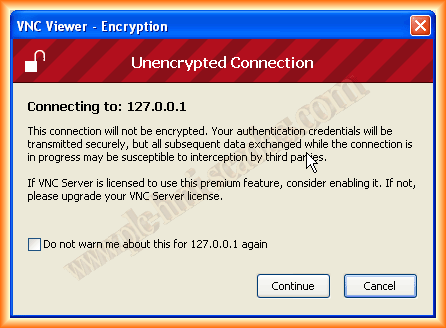
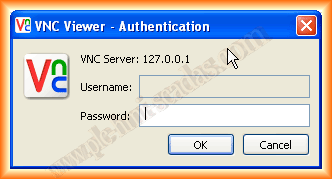
As we have clarified, to visualize our screen we need a VNC Client. We provide the IP address of the Server we want to connect to, which is 127.0.0.1, which as we have mentioned in other practices corresponds to Localhost. Since the communication is not encrypted, we get the following warning. We click continue and it asks for the password. Here I want to clarify that when we have added our Panel by default, it appears without any password, so if we click OK, we will connect. The only problem is that since we have not configured any password, when we are online, we will be in visualization mode and will not have control permissions.
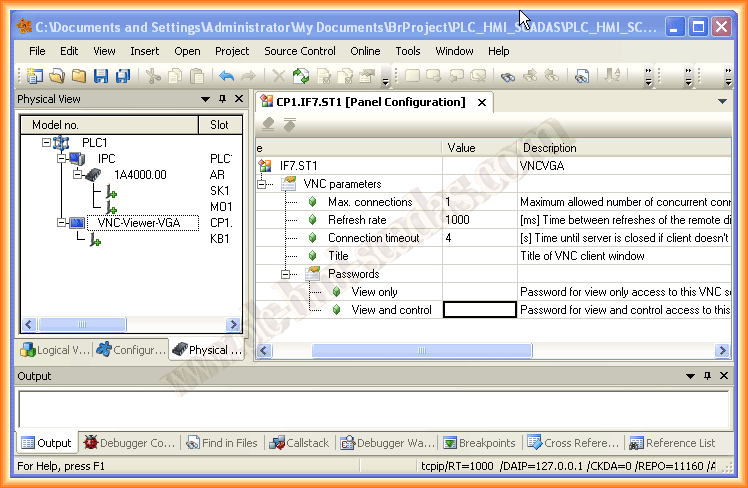
We can observe this if we go to our hardware and right-click to open the Configuration Panel. Here is where we must assign the passwords.
And finally, the image I had configured, if I click on the button, I will change the state of my variable and I can also check it from the view table we created in the first part.
June 25, 2013
If you liked it or found the information useful, share it.