Beckhoff OPC UA Server - CE
We have already seen how to connect remotely with the CERHOST and manage our system. Once the FTP Server is enabled, we will transfer the file to install the OPC UA Server on our device.
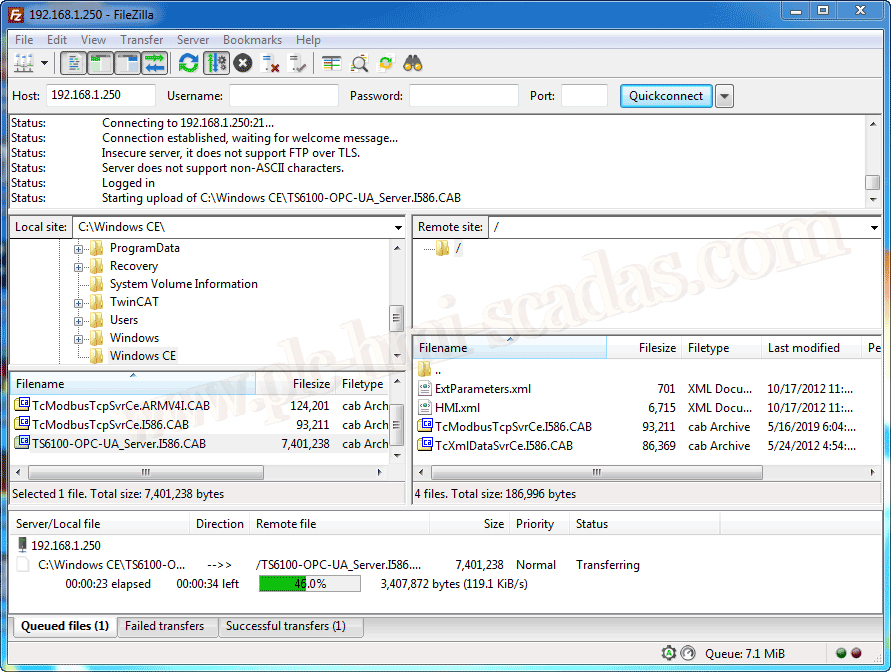
We connect and simply transfer the *.CAB file, which we previously obtained by starting the installation on our machine. Once installed, the *.CAB files have been extracted in the installation directory.
We transfer it to the default directory.
Once transferred, we will start the installation with a double click.

The default installation must be done in the System directory. As shown in the following image.
Once the installation is complete, the *.CAB file will be deleted.

Once installed, what interests us is the PKI directory, for the certificates and the ServerConfig file. In the next article, we will discuss the topic of certificates when we have defined optimal security.

The ServerConfig file is where we will configure our Server.
By default, when the file is created, there is a Demo configuration, which we will update with the parameters that interest us; these are the source parameters.

And here is the updated configuration, where we have updated the following parameters
<AdsNetId>192.168.1.250.1.1</AdsNetId>
<AutoCfg>7</AutoCfg>
<AutoCfgSymFile>\Hard Disk\TwinCAT\Boot\PLC.tpy</AutoCfgSymFile>

We transfer the configuration file *.TPY via FTP, and move it to the directory \Hard Disk\TwinCAT\Boot

Once all these changes are made, we need to restart our device, as we saw Start->Reset, so we do not have to cut power to the device and have to turn it back on

We are going to test its operation; for this, we will use Unified Automation UaExpert

And here we check that everything works perfectly, we can now establish communication with our WinCC

05-25-2019