Simotion Project - OPC Symbols Export
Today we are going to create a Step7 project where we will integrate our Simotion project. We will follow all the steps and start by creating a new project. The goal will be to later communicate WinCC with Simotion via OPC Server DA.
Requirements: Step 7, Simotion Scout, WinCC Flexible

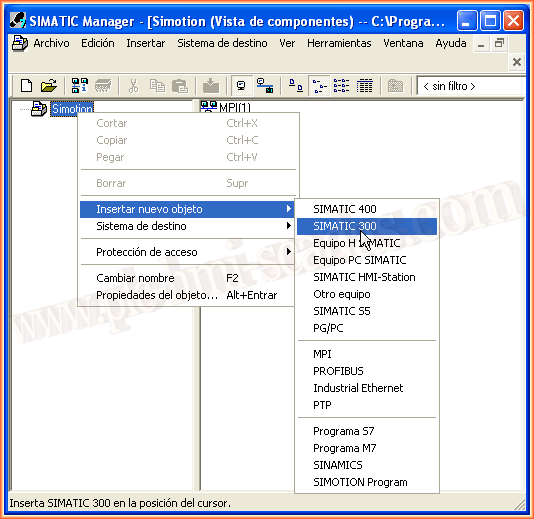
Once we have created our project, we will insert a new object that will be of type SIMATIC 300, and we give it a name that interests us.
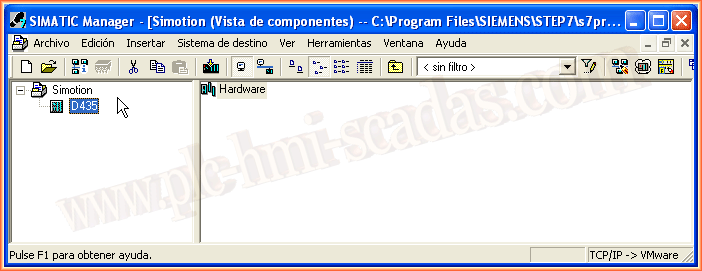
Once this is done, we will open the hardware.
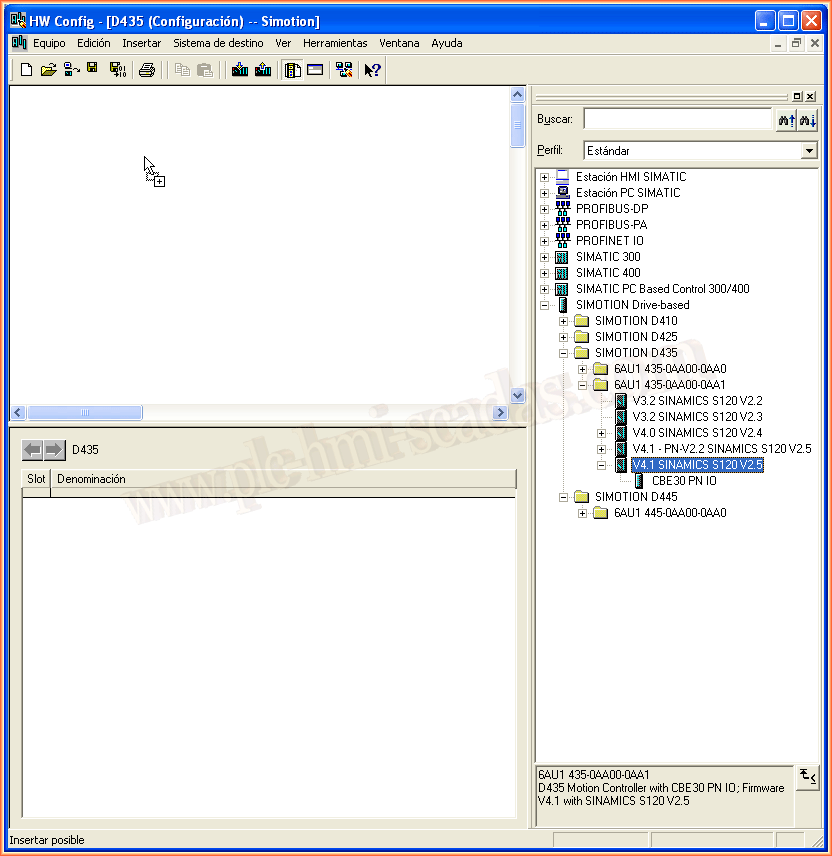
Within the Hardware, we expand and look for our Simotion equipment and drag it.
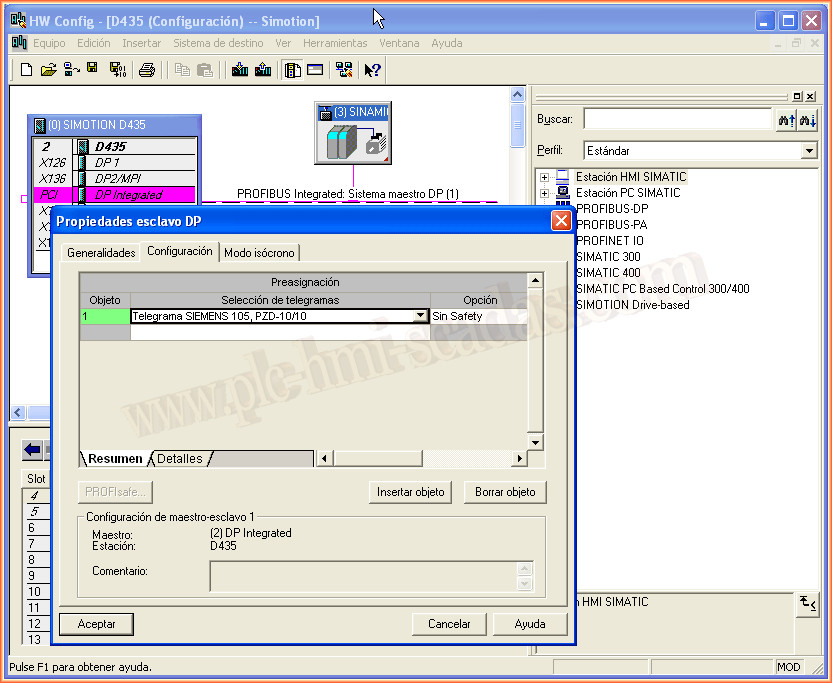
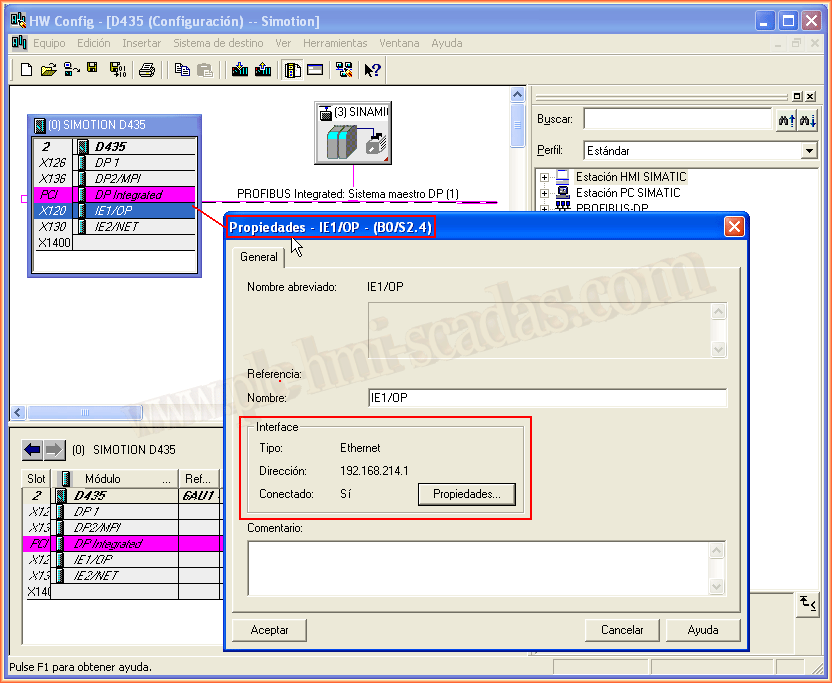
Once the hardware is inserted, we need to configure it according to our needs. I have configured a telegram as an example, but here is where the configuration will change according to each application, etc...
Subsequently, we will configure an Ethernet interface. If we do not have any network created, in the properties, we create a new one and assign the IP address. We could now compile and save the Hardware.
We can now open our Simotion project. As we mentioned, it is a requirement to have it installed together with Step 7.

Here we have the Simotion Scout interface. I will not go into detail about the configuration of Axes and their programming, just the creation of the variables of a program, for later OPC configuration.
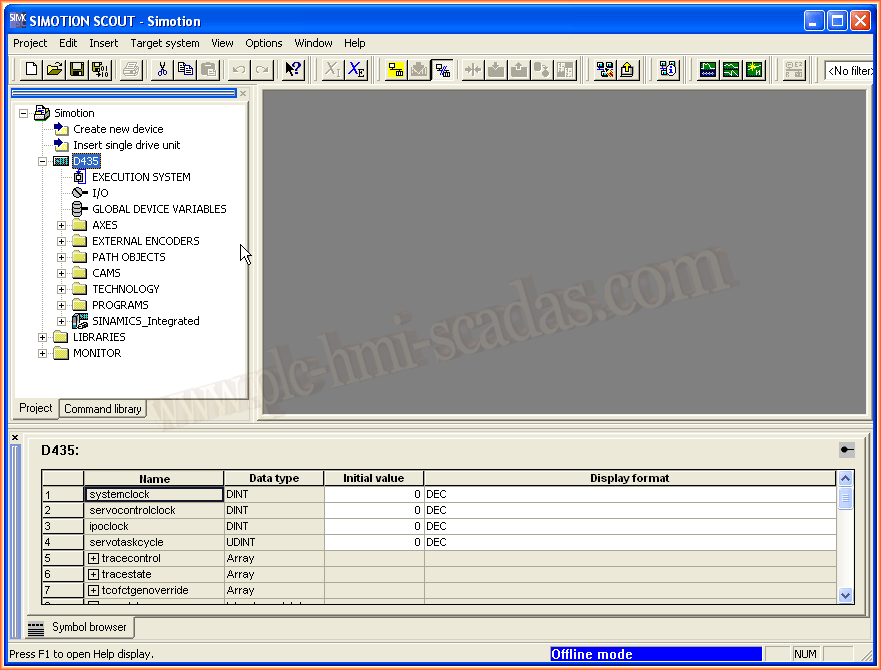
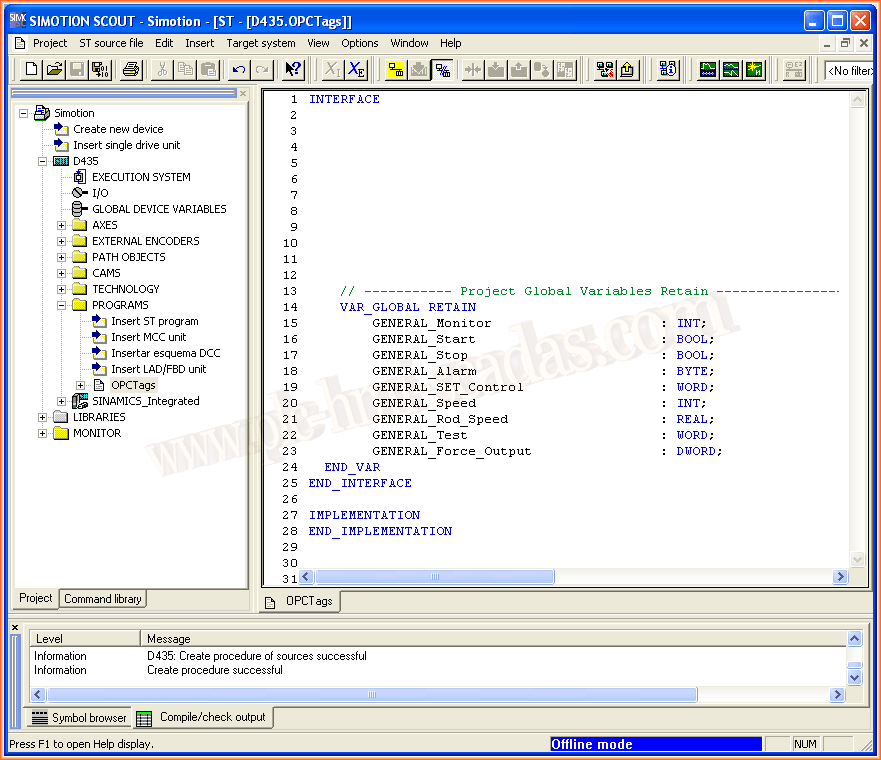
We create a new program and declare the variables and the corresponding code, which we will not see here.
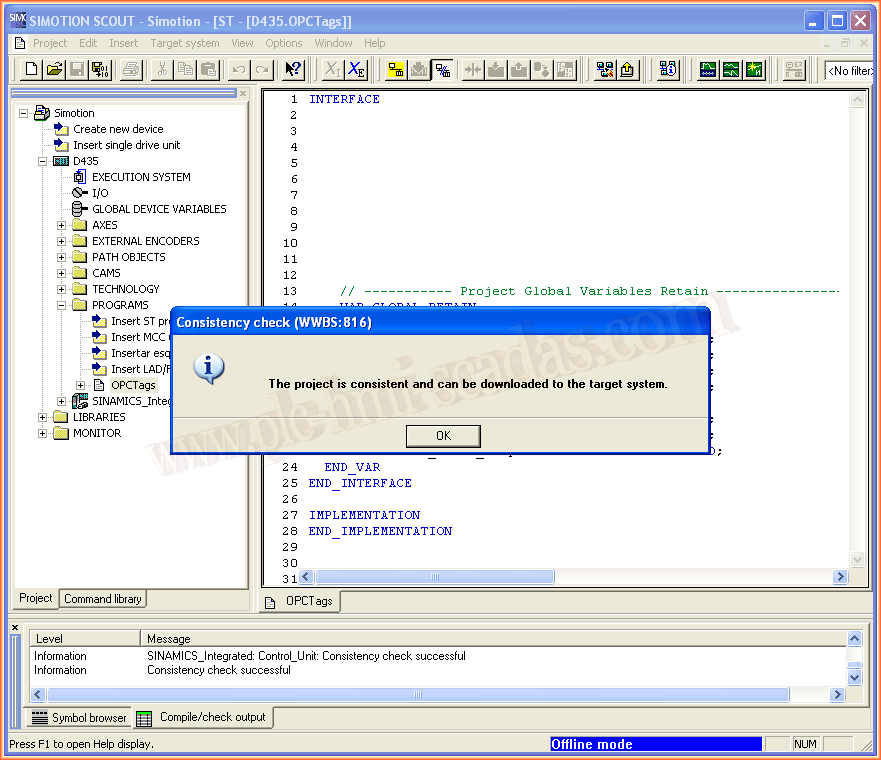
Once the entire program is completed with the necessary changes, the creation of axes, programs, execution definition, and everything else, we must always check the consistency of what we have done.
The practice could have started at this point, which is what we will need for OPC communication with Simotion, and all the previous steps are the basic steps. However, we must not forget about the new students who are joining this field or those who do not have that knowledge.
Once we have our project and have checked the consistency, we can proceed.
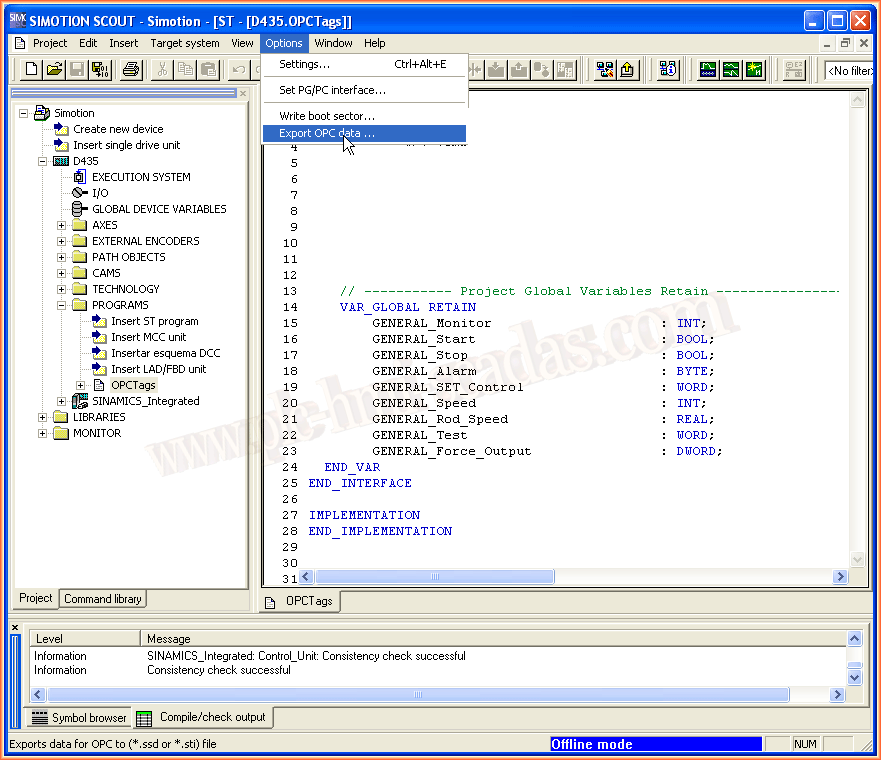
In Options --> Export OPC data
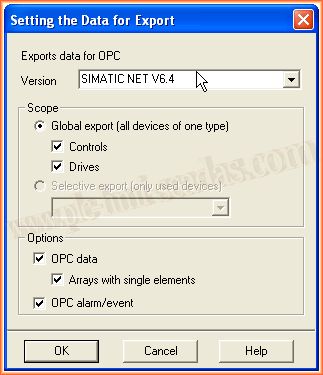
An assistant will appear, and the first step is to configure the version of Simatic Net.
Subsequently, we leave the configuration as in the image, selecting all the checkboxes.
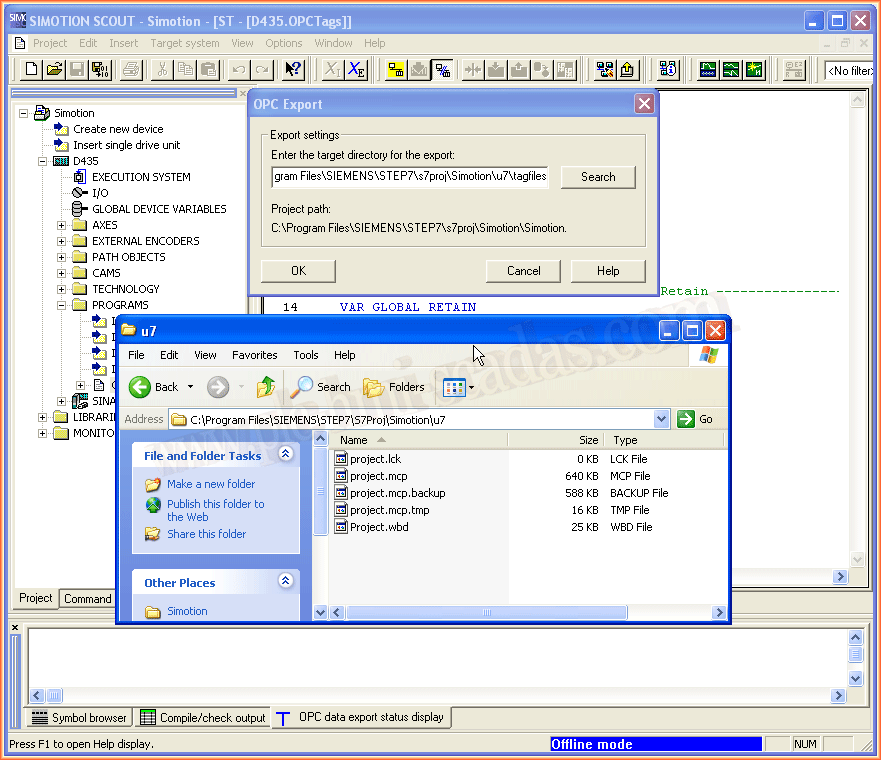
Upon selecting OK, a window will appear to define the path where we want to export our files. We leave the default path that is proposed.
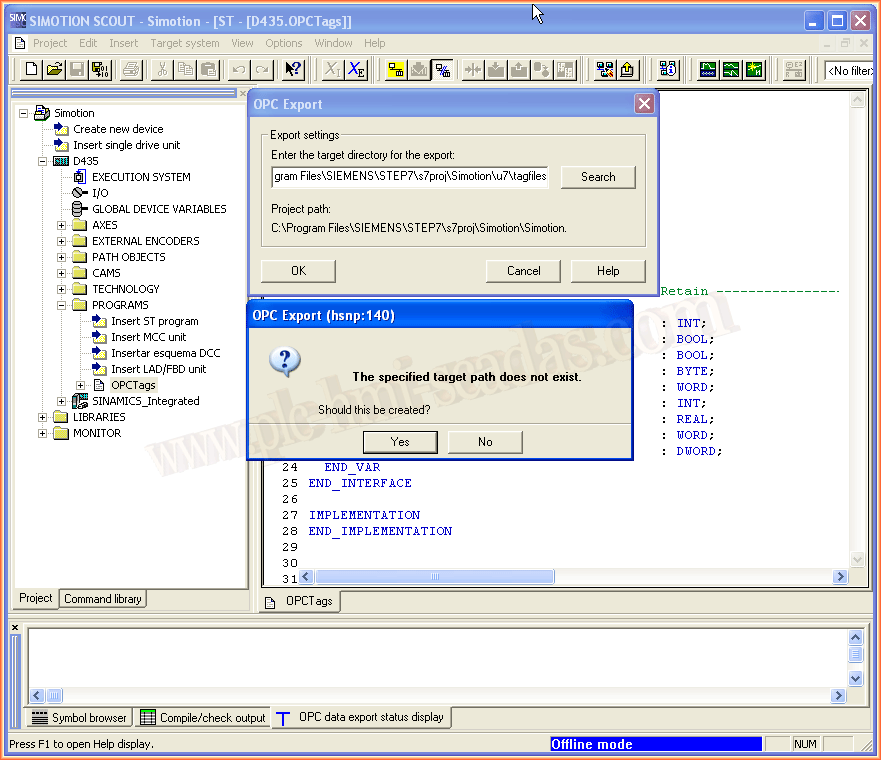
If the directory does not exist, the system will create it for us.
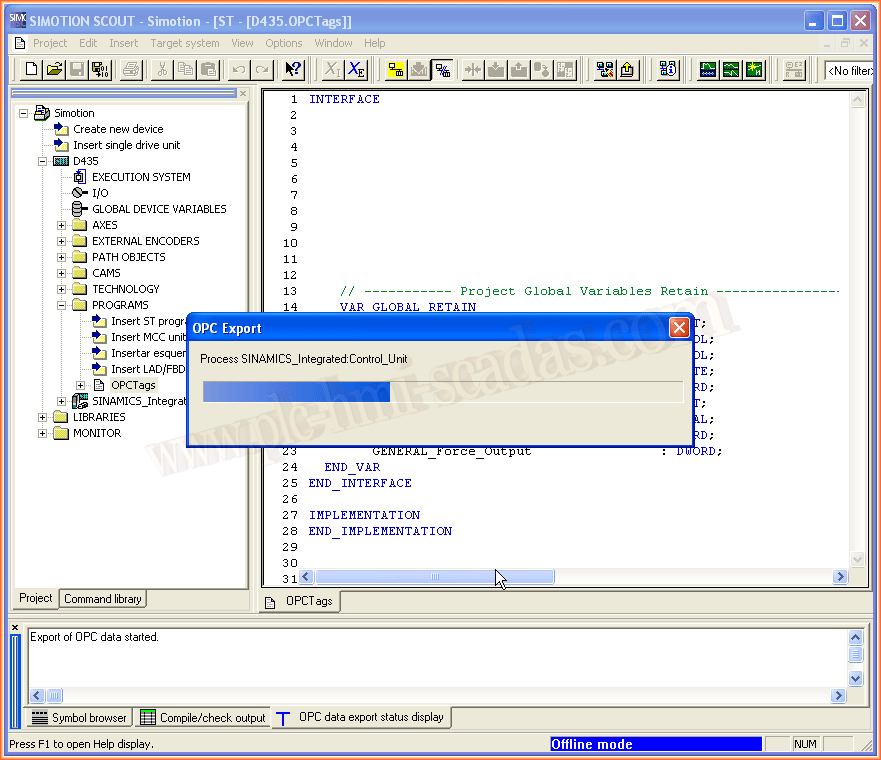
File generation process.
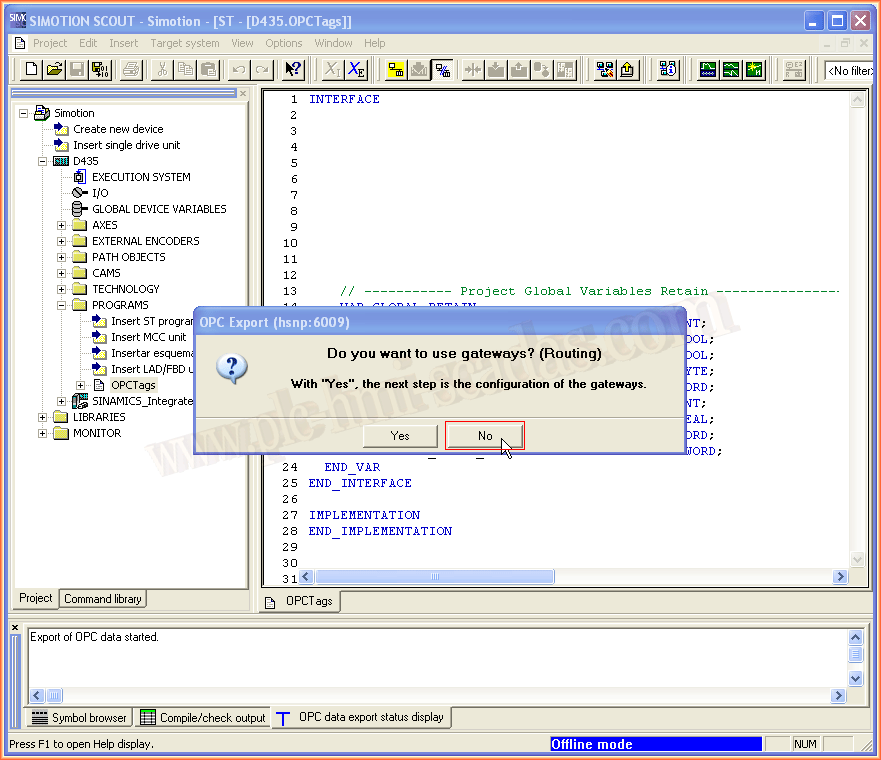
In the last phase of export, it asks us if we want to use gateways (Routing), by default it would be no.
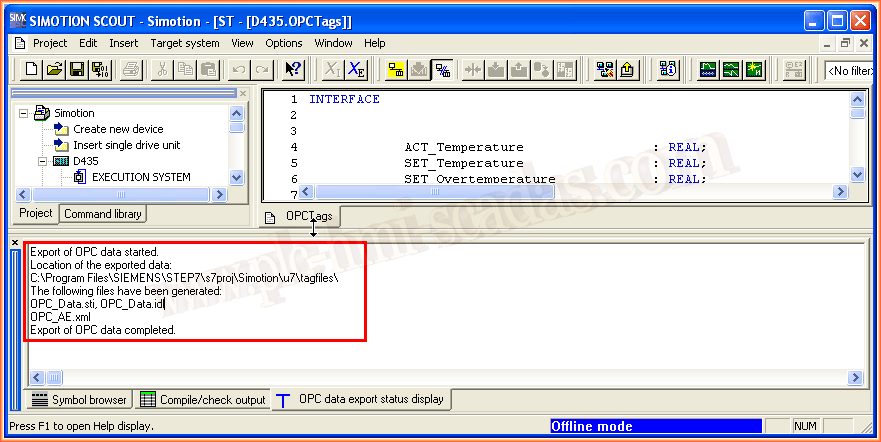
We have now completed the export process.
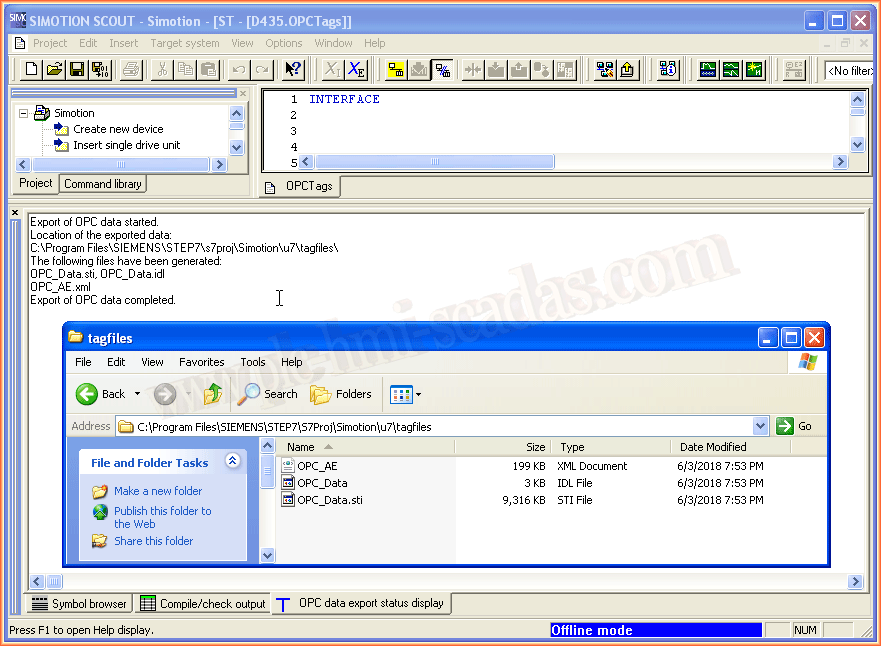
We now have the files that we will need later. We will see it in the next part.
June 8, 2018
"Gratitude in silence serves no one." Gladys Bronwyn Stern