WinCC - OPC SimaticNet (Simotion)
If you are reading this, please check this part to make more sense of it...
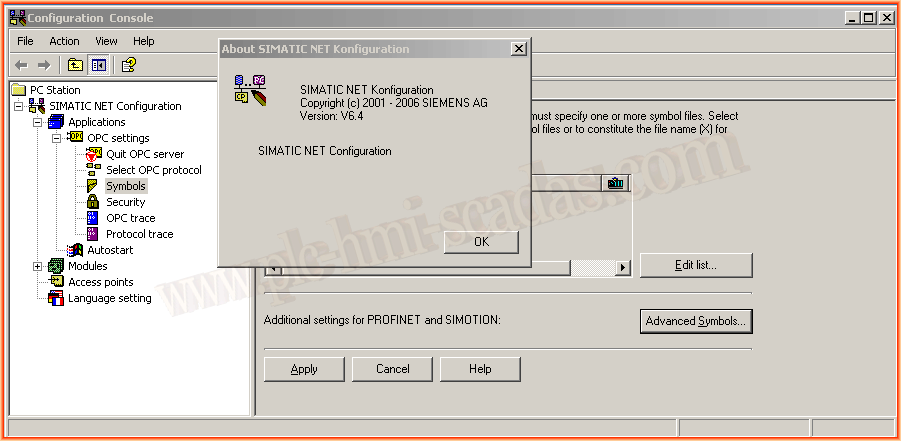
As we have already seen, when we started the export process, we specified the version of Simatic Net. Here you can see the version.
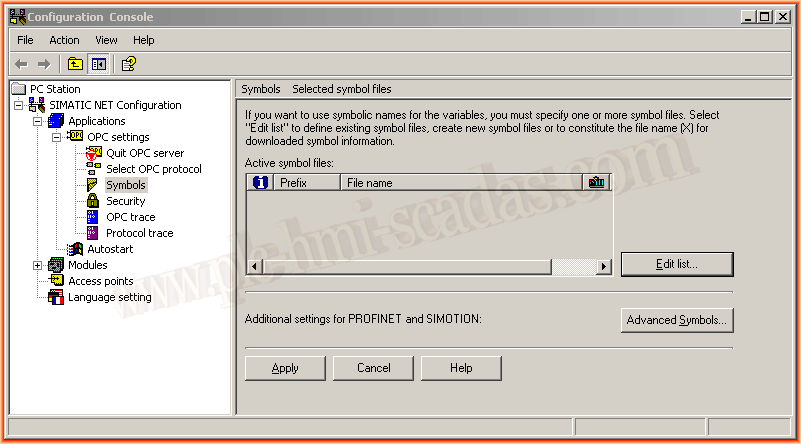
We run the Simatic Net - Configuration Console
We expand within OPC Settings --> Symbols and click the edit list button.
By default, the following image appears and we select the New button
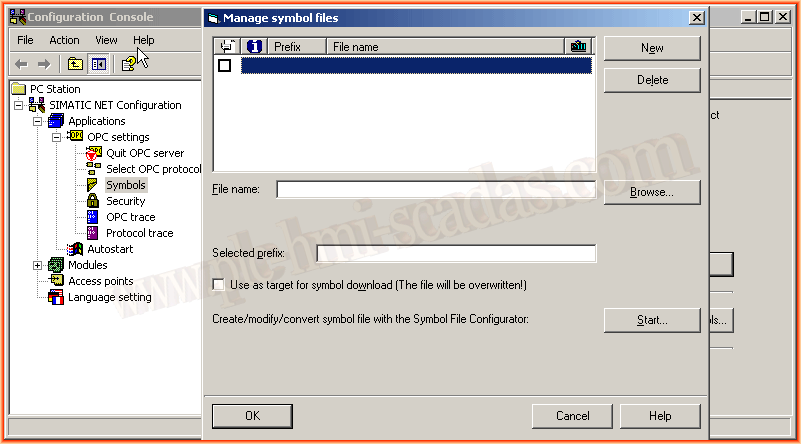
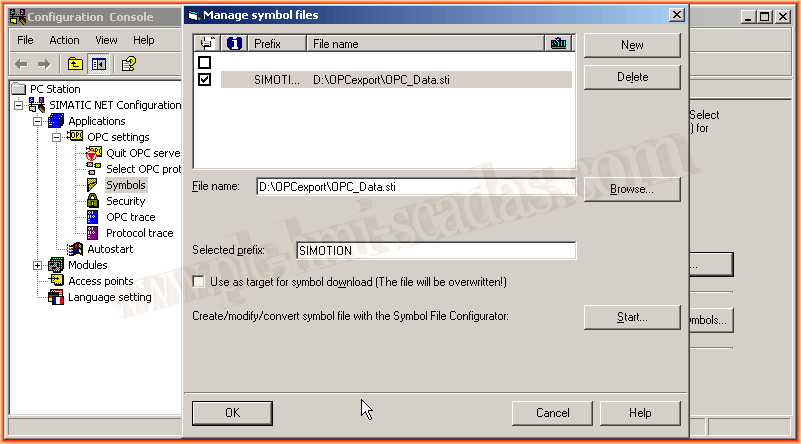
When creating a new one, the default prefix is SYM1, but we adapt it to the name we are interested in and with the browse button, we look for the file we exported earlier.

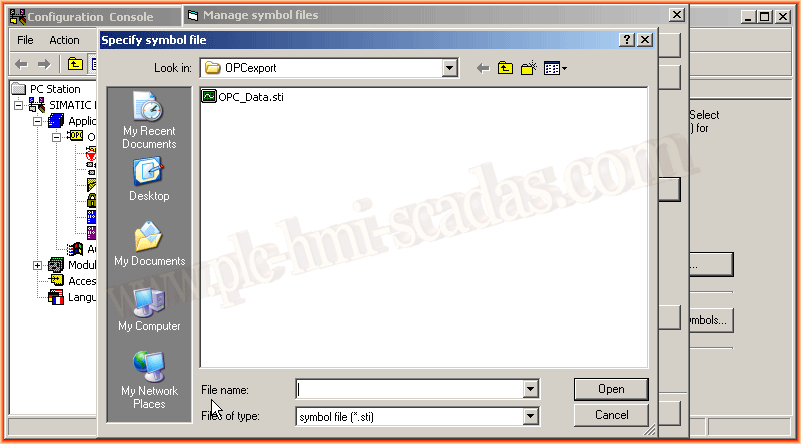
We select the file with the *.sti extension, the extension may vary depending on the version.
We click the OK button, and with this, we finish this part.
Here we can see the configuration of the Symbols.
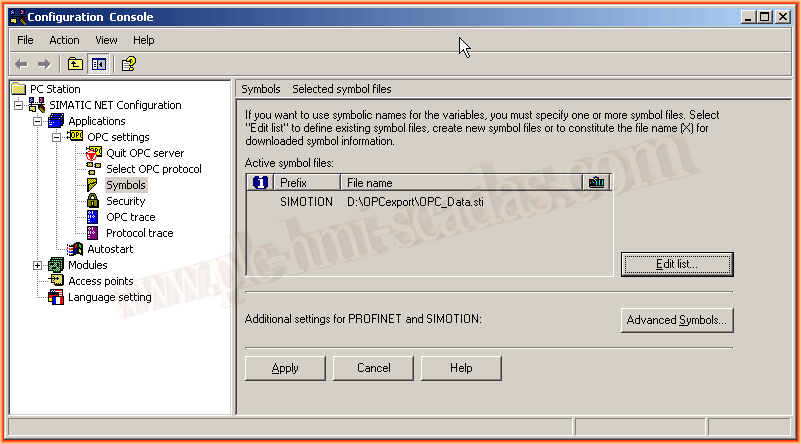
We have the option of Advanced Symbols, which if we consult the help, this is the documentation. If we need it because the requirements are met, we specify the network card we are using.

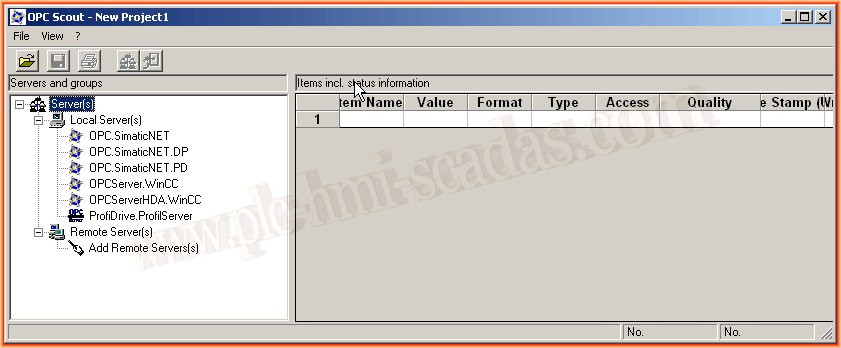
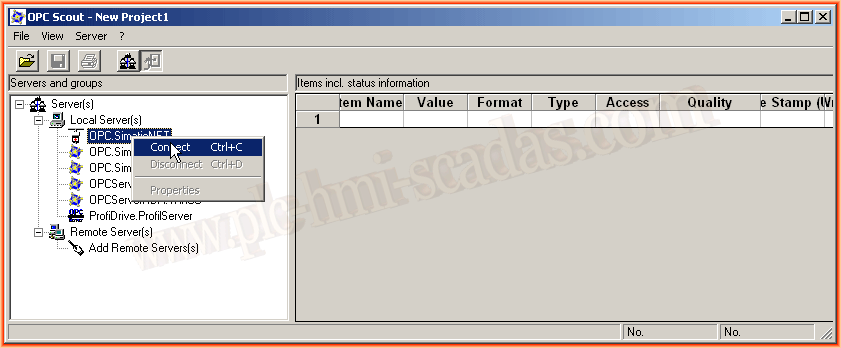
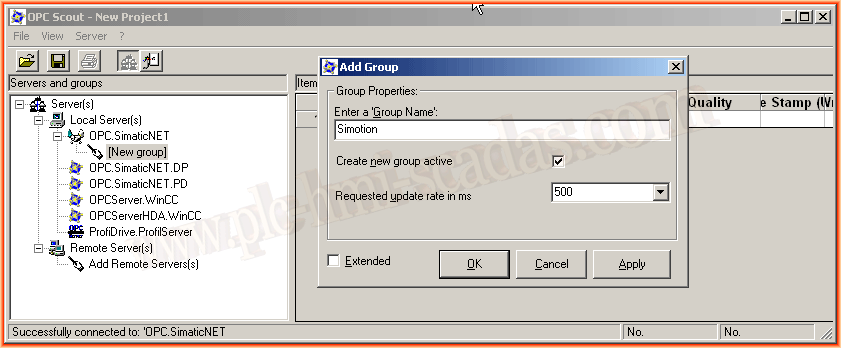
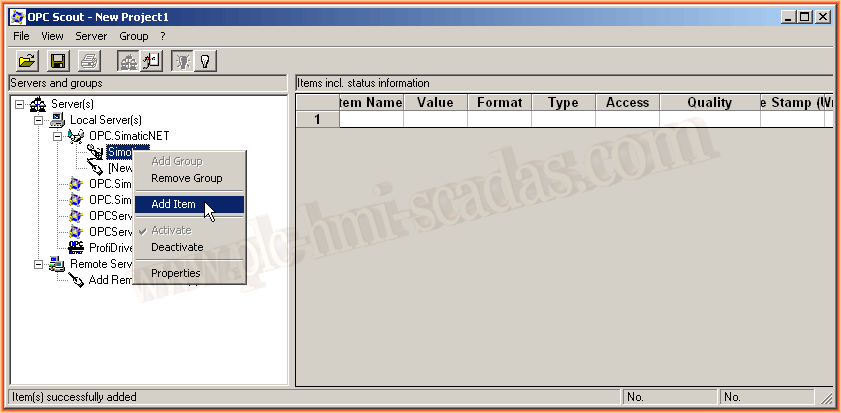
With the steps already completed, we can now check with the OPC Scout (OPC Client) that the configuration is correct. We start the OPC Scout, make a connection to the OPC Simatic.Net, create a new group, and we can add the items we are interested in to check it.

Once the operation has been verified as correct, we can configure the OPC Driver in WinCC and select OPC.SimaticNet as the server, then we add the Tags and that's it, ready to go. If you have questions about the OPC Driver configuration, you can check this guide, except for the server name, the procedure is the same.
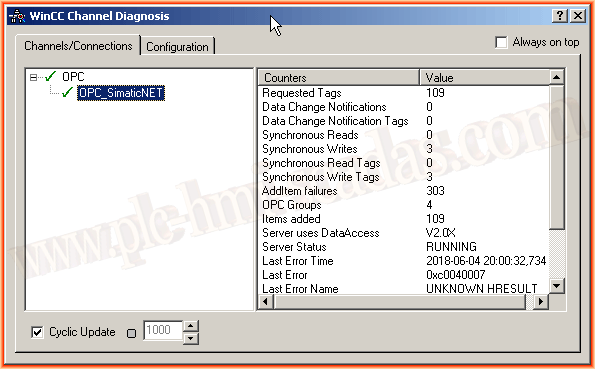
If we start WinCC, we will see that the connection with Simatic Net is correct, and here errors will be observed because there is no connection with Simotion.
June 10, 2018
"Gratitude in silence serves no one." Gladys Bronwyn Stern