WinCC Create ActiveX Controls
Taking advantage of the fact that I have the Visual Basic version installed, which I used to create the AddIn in the previous practice, let's see another example, the creation of our own ActiveX control. Nowadays, Visual Basic is not commonly used for these purposes; a *.dll is usually created instead of the *.ocx using .net, but as an example, here it is...
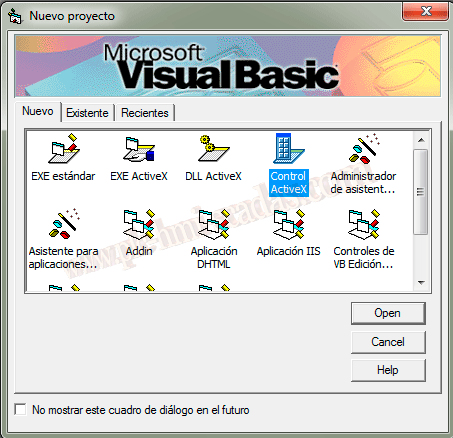
We start Visual Basic and create a new ActiveX Control project.
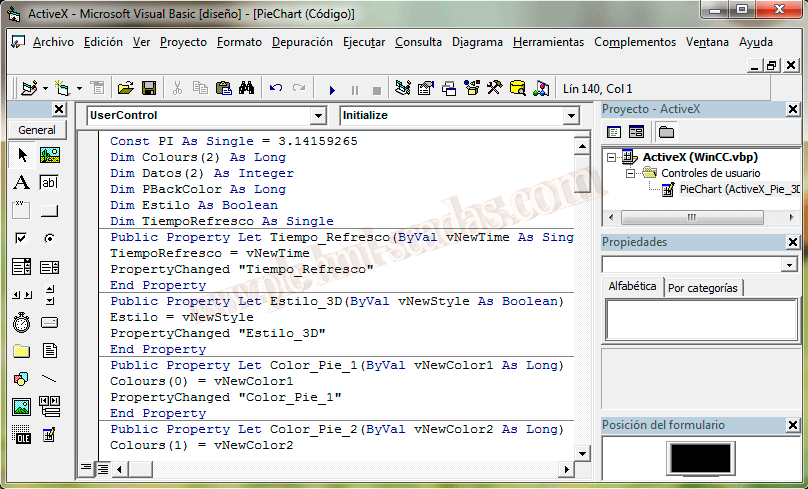
We create the properties, events, and methods that correspond to our control, according to the behavior we want it to have. We will not go into these details, as it is a bit outdated, as I have mentioned.
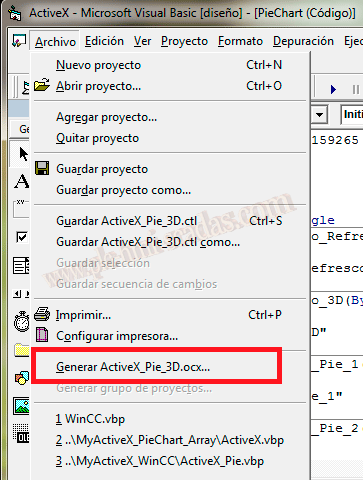
Once our Control is created, we can generate our *.ocx file. To do this, we go to File --> Build.
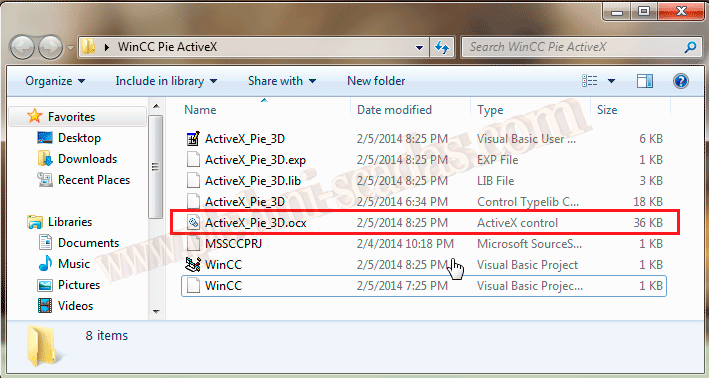
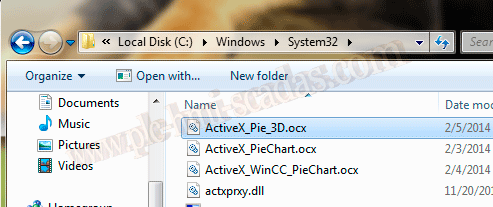
In the directory of our project, we already have our *.ocx. We copy this into the Windows --> System32 directory. These steps will help us register any *ocx / *.dll control.
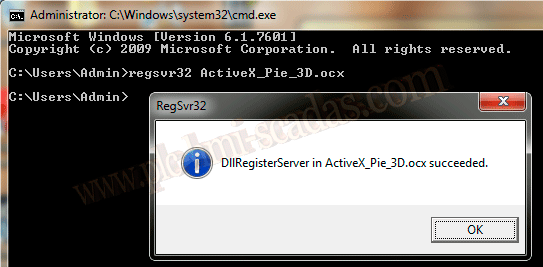
We proceed to register it. We open the console and execute regsvr32 name.ocx. If everything is correct, a pop-up window will inform us that it has been executed successfully.
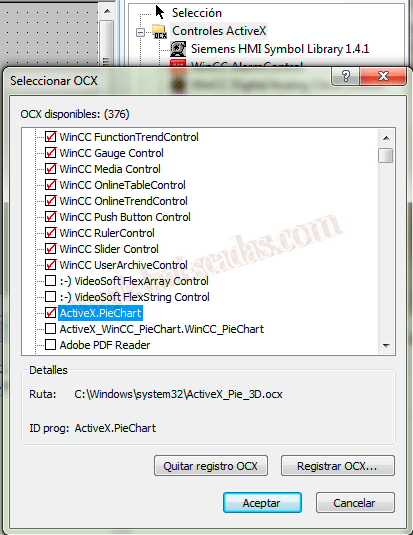
We can now start WinCC and also the Graphics Designer. We go to the ActiveX Controls Add/Remove directory and look for our Control, in this example ActiveX.PieChart.
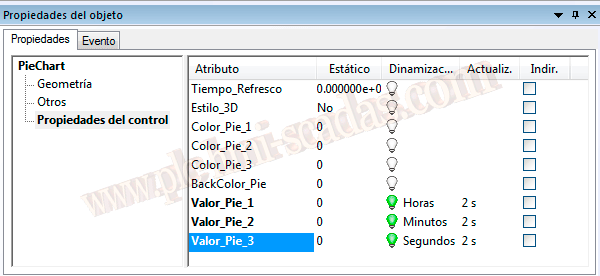
We have it ready to insert it into our screen, and we proceed to do so. If we check its properties, we will verify the properties that we had previously configured for that control.
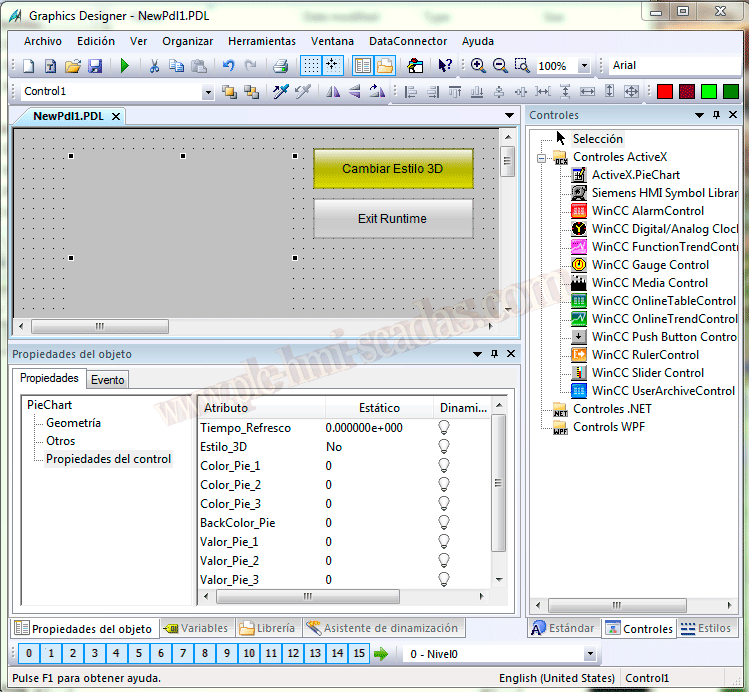
We assign some variables to their corresponding properties, which will show the percentage in our pie chart.
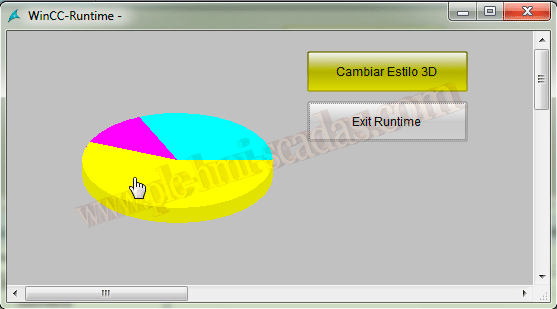
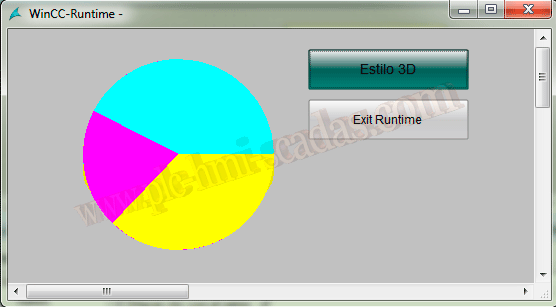
We run the Runtime and check our control, which will update according to the Refresh time we have assigned or by default the one configured, the colors we are interested in, and the style. If we test the button that changes the property Style_3D, we will see that it works correctly.
February 8, 2014
If you liked it or found it useful... share it :-)