Popup Window for Controlling Field Elements in TIA WinCC RT Professional
In a previous practice, we configured a popup window in WinCC V7 to control multiple motors. In this case, we will perform the same practice but applied to TIA Portal WinCC RT Professional, which incorporates some new features.
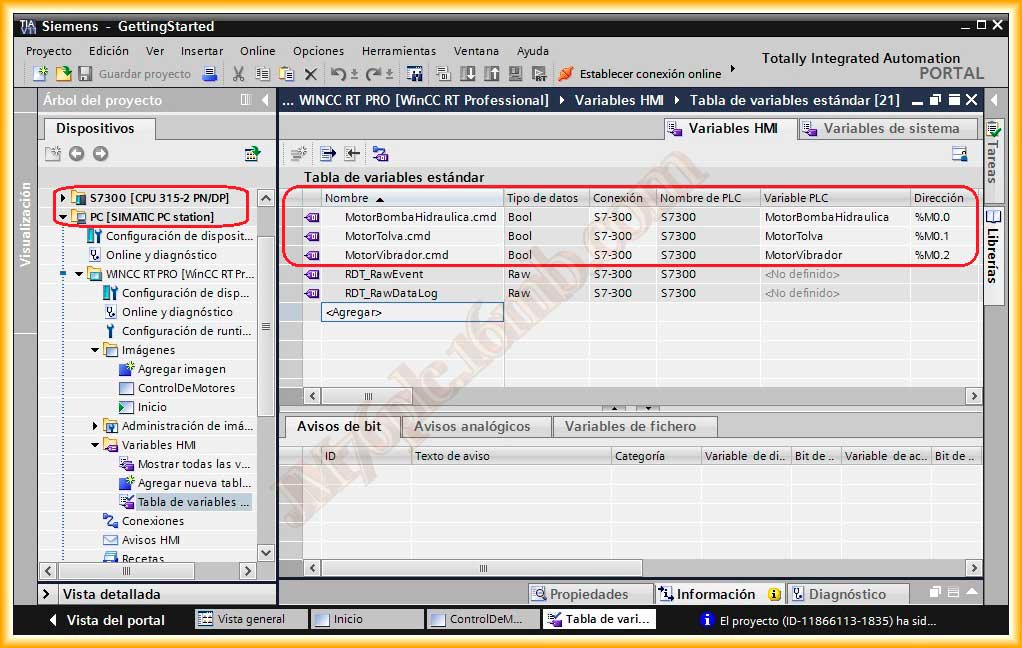
The first step will be to configure a series of variables, all of which have in common ".cmd". This is necessary to apply the SetTagPrefix to the point where all objects in the image window can inherit this part.
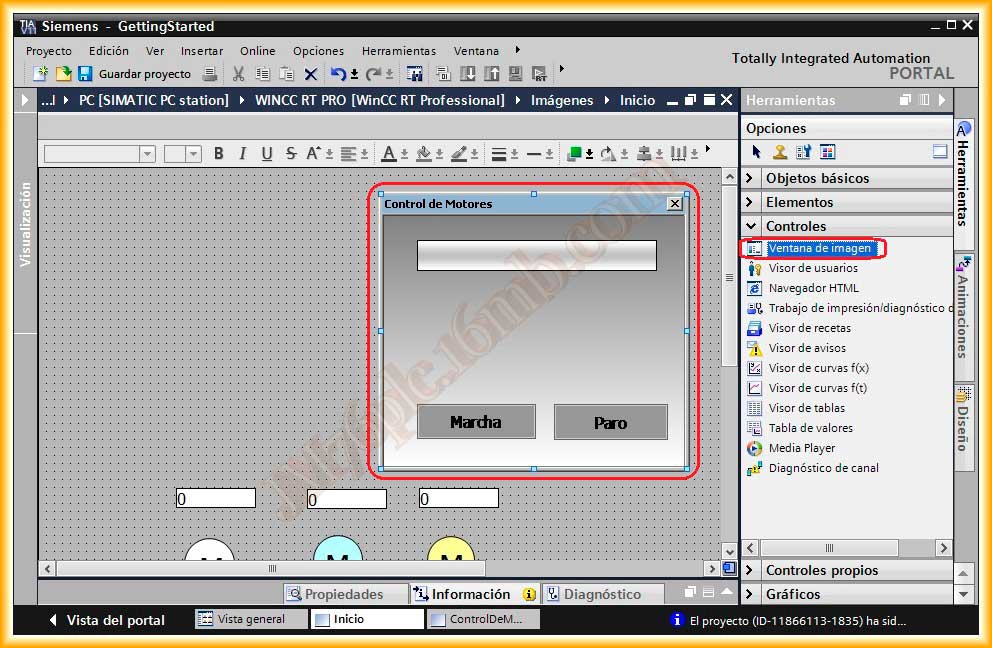
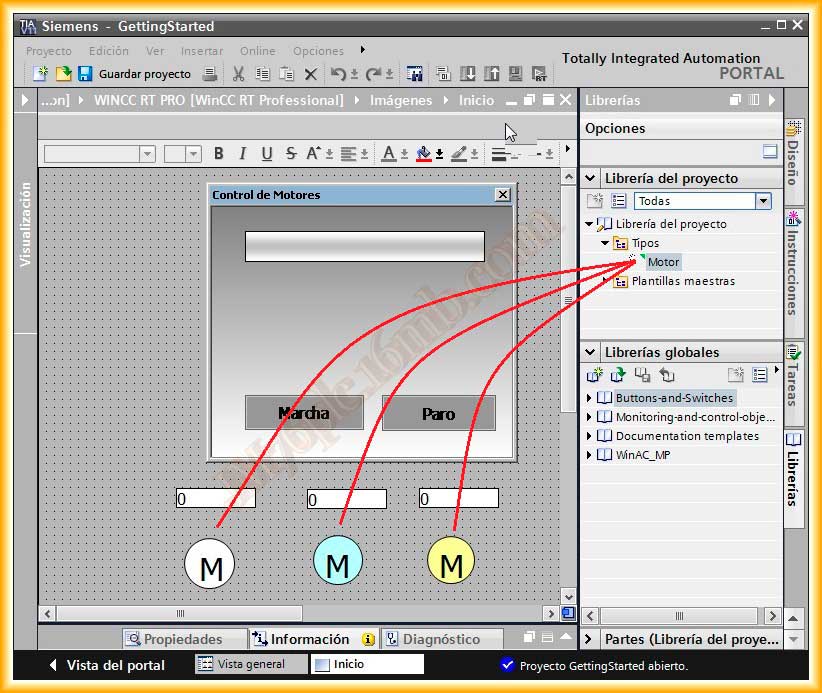
We insert into our image, which in my case is called Home, an image window that will contain the image ControlDeMotores.
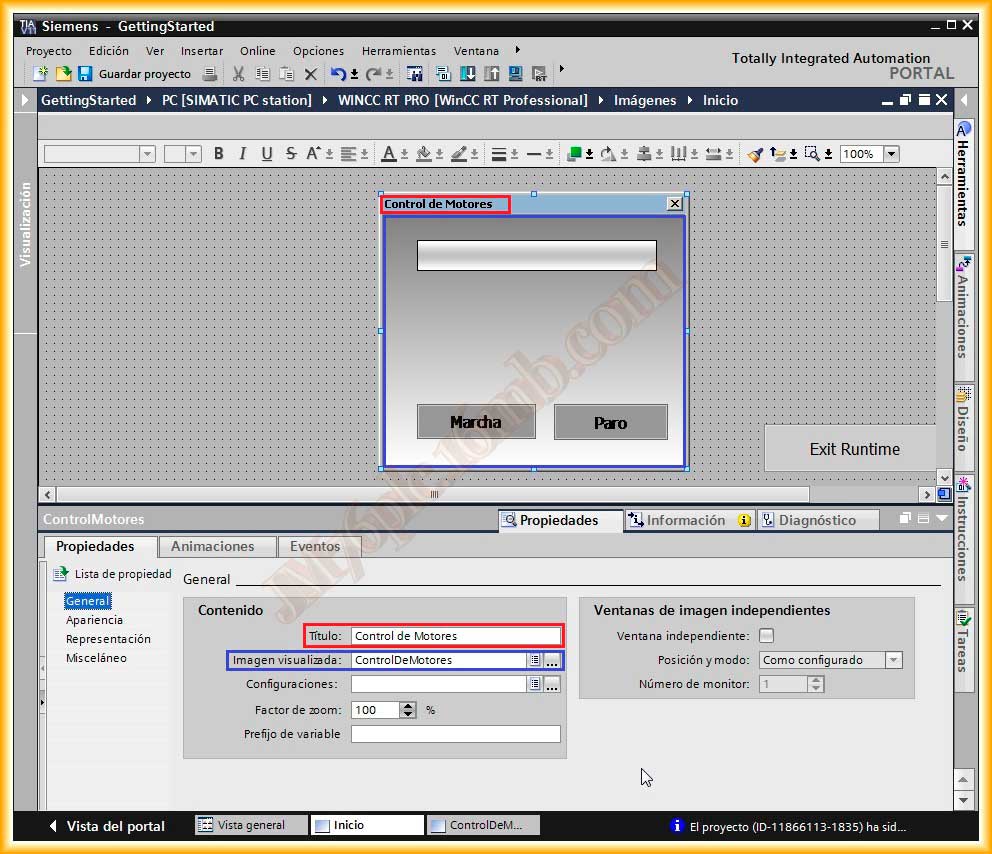
We configure the properties according to our needs. A radical change compared to WinCC V7 is that we can configure this image window as an independent window, and as objects are inserted into the image, they are visualized in the image window.
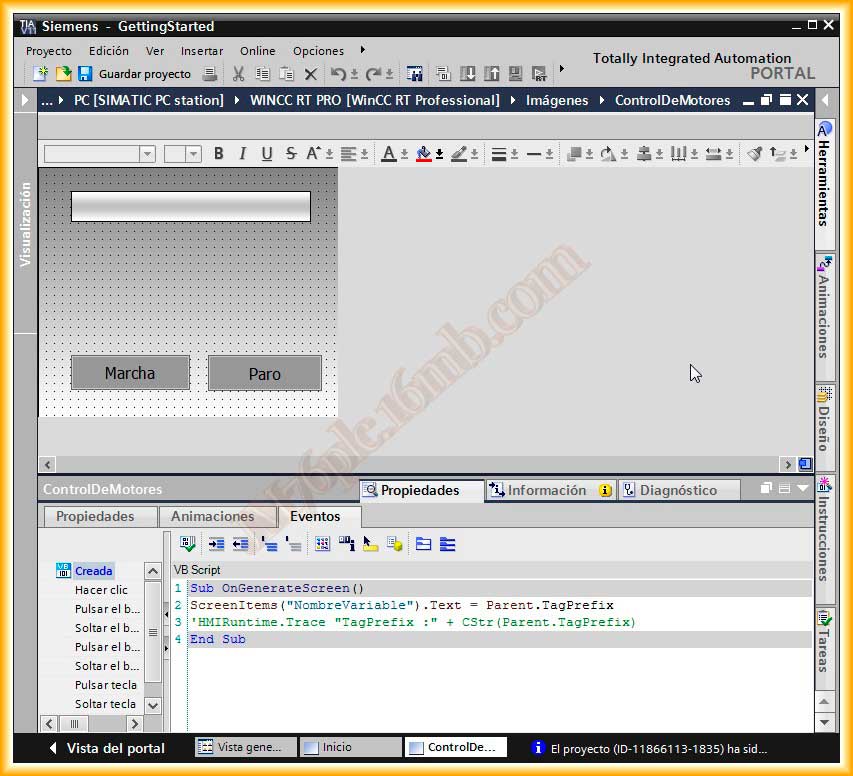
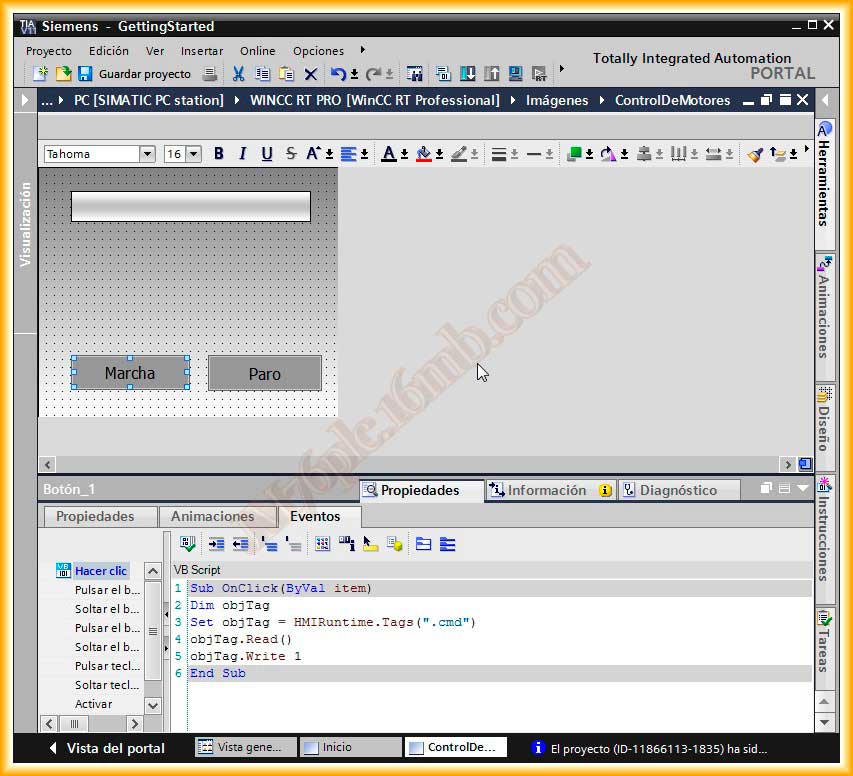
In the image ControlDeMotores, we insert a static text named NombreVariable, as this will be where the name of the variable we are going to manipulate is displayed, a Start button to activate and a Stop button.
In the image, we configure the event so that when created, the static text field shows the SetTagPrefix that will be sent when clicking on the Faceplate.
In the Start button, we add the following code to the click event, where the variable name is ".cmd" since by defining the SetTagPrefix all objects inherit this, thus the variable to manipulate is nombreVariable.cmd, although the dot can be replaced with an _ or - or another common reference in all variables.
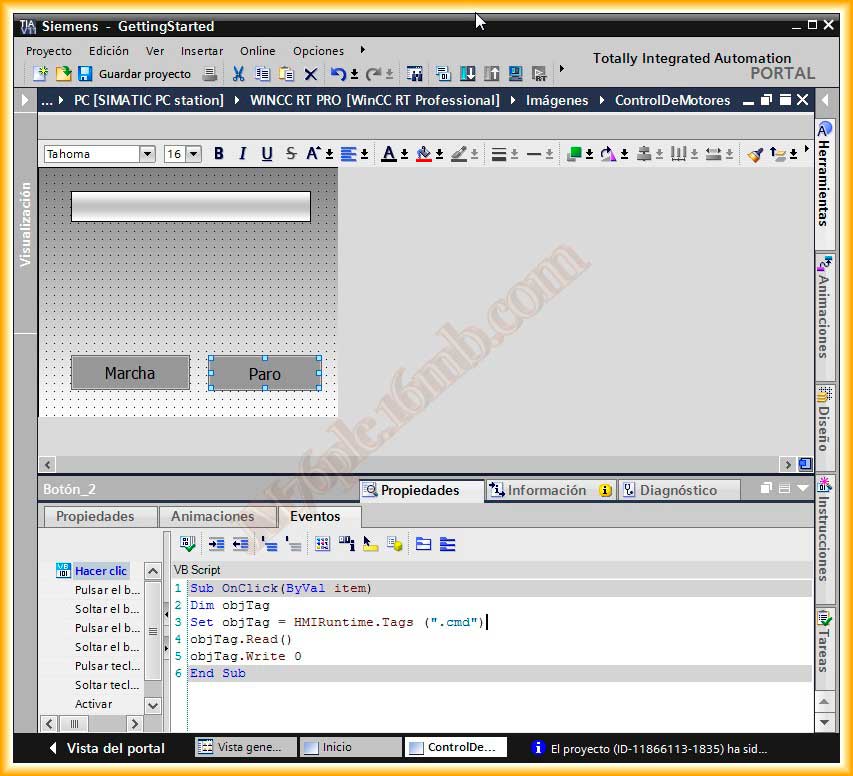
The Stop button follows the same methodology as the Start button, except that we reset the variable with a 0.
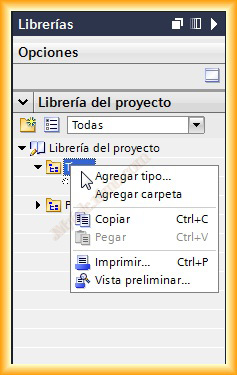
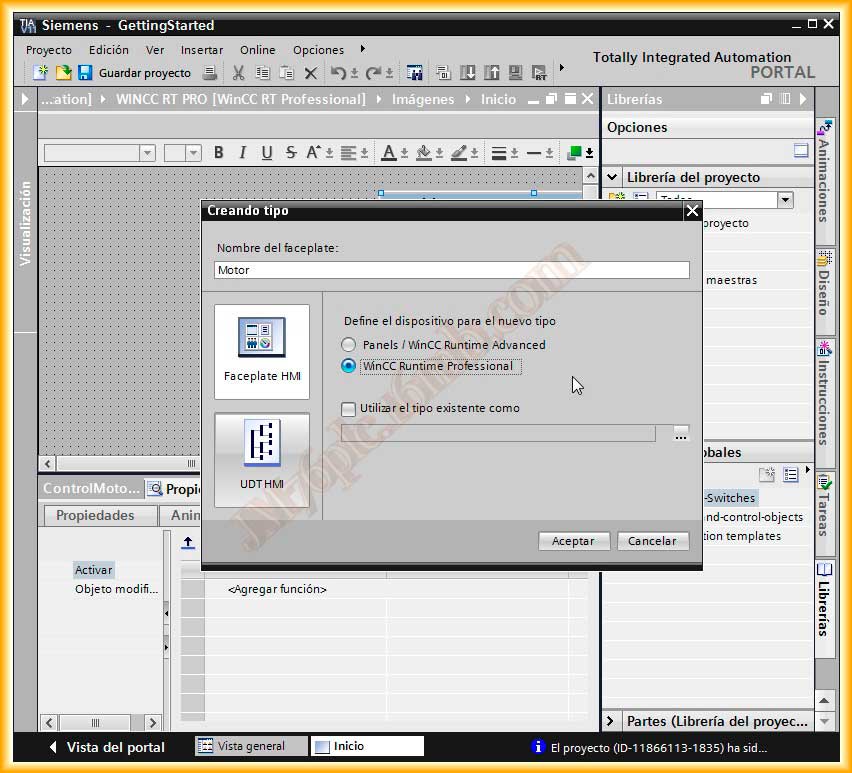
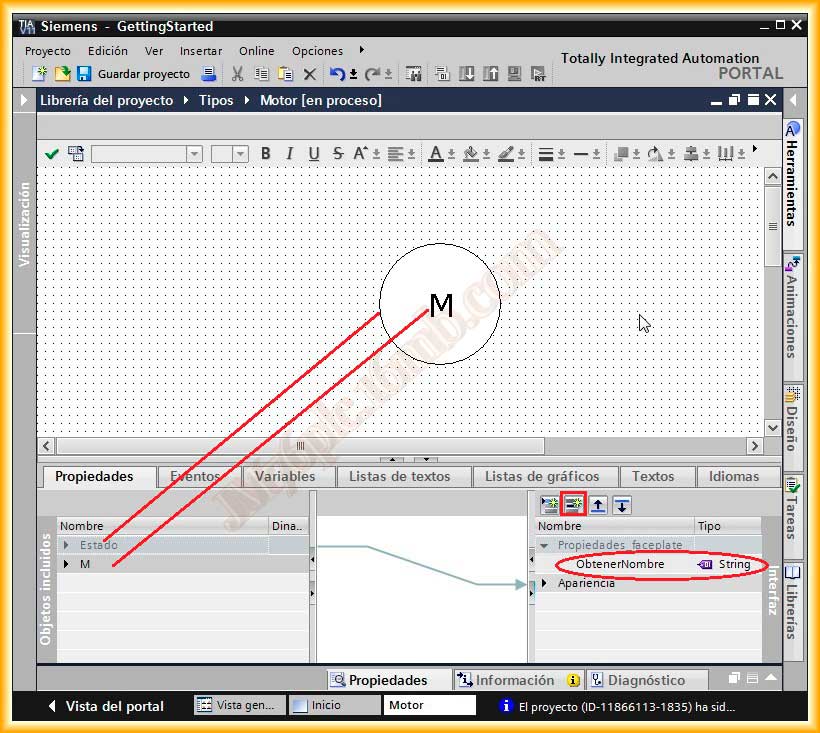
The next step will be the creation of the faceplate. Here there is a notable difference when creating it, as we need to go to the project library and what we need to do is Add Type. Immediately, a popup window will open where we configure the type of device where it will be executed; not all devices can execute faceplates.
The editor opens, where we will insert the objects like a normal image and we define properties as we see fit. For the example, I used a circle with text, and I added a new property of type String that will be where I define the name of the variable to control.
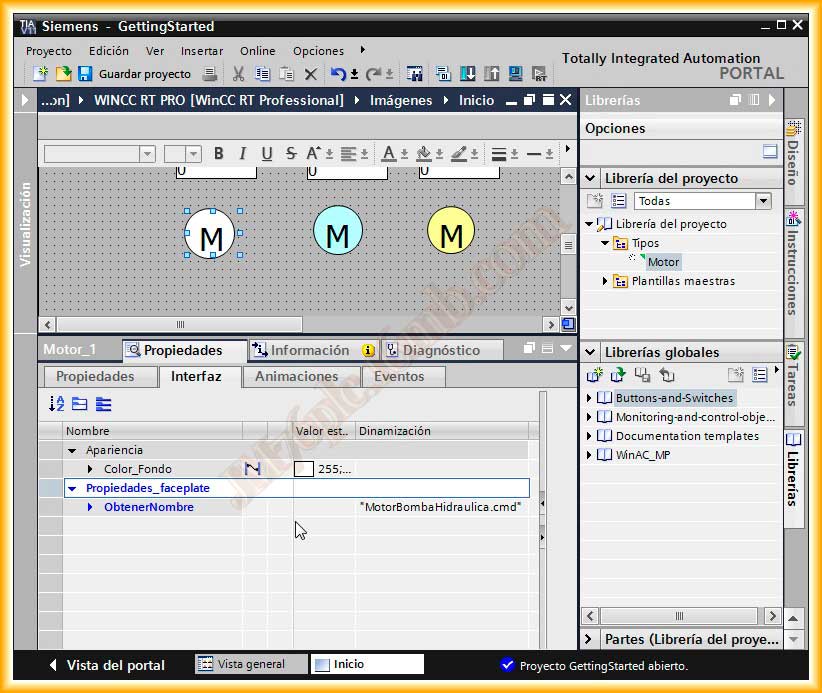
Once created, and having defined all properties and events, we can enable it for use; we drag it like any other object and define the properties we defined earlier.
Within the Interface tab, the properties we defined will appear, including the one designated for the variable name. For each faceplate, we specify the variable name and different background colors. If we need to modify the faceplate, the changes we make will apply to all its instances.
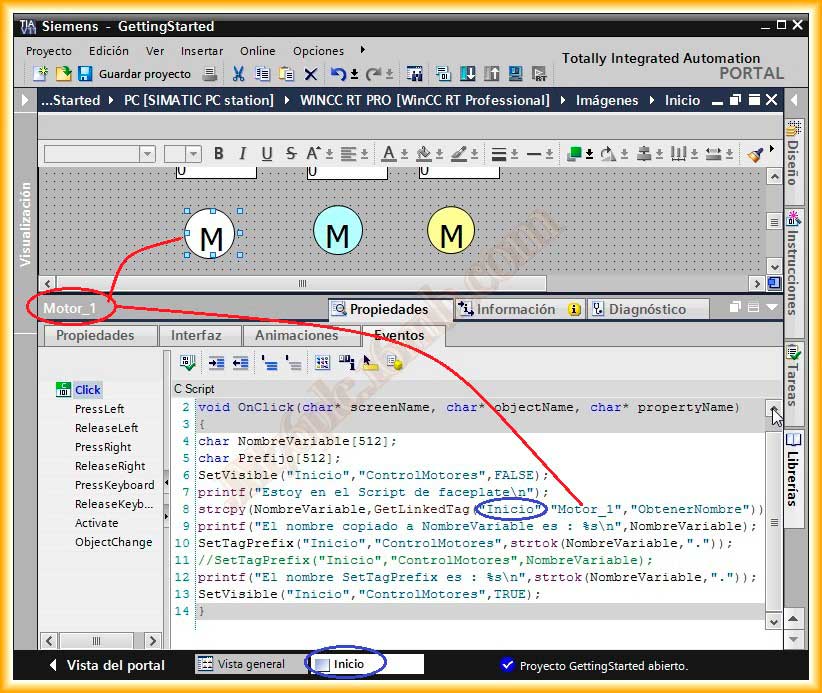
Finally, we will define the event that will execute when clicking on the object, which is the same code we used except that the name of some function has changed from WinCC V7 to TIA WinCC.
November 11, 2012
Below is a small video of the final operation of the configuration made.